
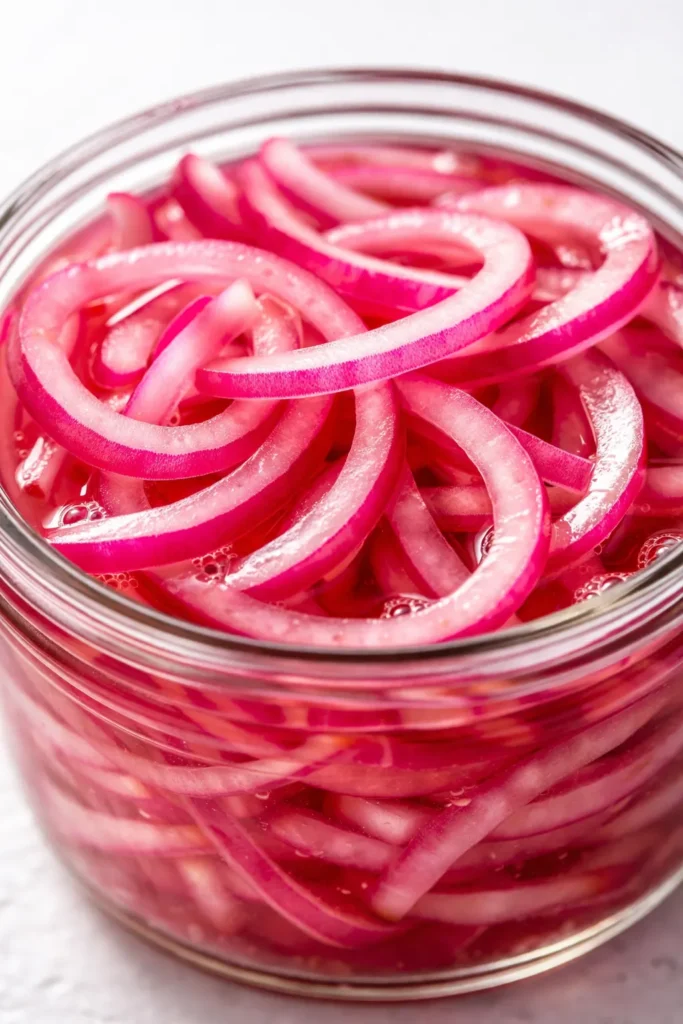
These are the quickest, most reliable pickled red onions I’ve ever made. They take about fifteen minutes of actual hands-on time, and they turn absolutely anything — a bowl of black beans, a piece of toast with cheese, a simple roasted chicken — into a meal worth sitting down for. I don’t say that lightly. I say it because I’ve watched it happen in my own kitchen for the last two years straight.
The short version: Thin slices of red onion, a hot brine of vinegar and spices, and about one hour of patience.
I’ve made a batch of these every single week for the last two years. My daughter Nora puts them on her avocado toast. I pile them high on tacos and grain bowls. My husband eats them straight out of the jar with a fork, standing at the counter, and I’ve stopped pretending to be annoyed by it. They’re that good.
- Serves: Makes 1 pint
- Hands-On Time: 15 min | Total Time: 15 min (plus 1 hour cooling time)
- Difficulty: So easy you’ll memorize it after the first try
- Cost per serving: ~$0.75 for the whole jar
- Calories: ~10 per serving (mostly brine, let’s be honest)
- Dietary Notes: Naturally vegan, gluten-free, dairy-free, and low-calorie
(Photo above: a tight overhead shot of a mason jar filled with vibrant magenta pickled onions, resting on a worn wooden cutting board next to a block of aged cheddar and a crusty baguette, soft afternoon light from the farmhouse kitchen window casting a warm shadow.)
The Trick That Makes These Onions Perfectly Pickled — Not Mushy or Bitter
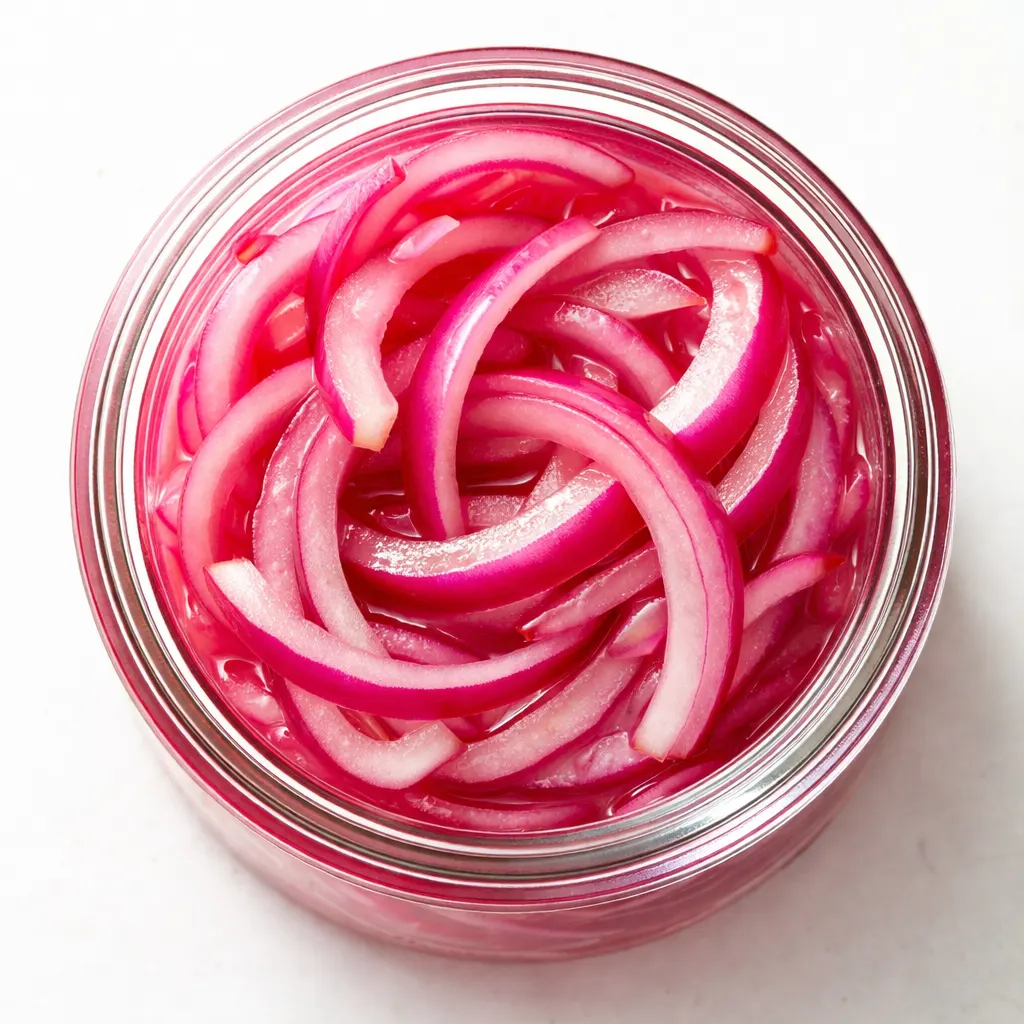
The secret is pouring the hot brine over the onions immediately after you slice them. Don’t wait for it to cool. The heat is what softens the onions just enough to take on the vinegar without turning them into sad, limp strings. It’s a quick shock, not a long bath. That’s the whole thing, right there.
The other non-negotiable is the slice. Slice them thin — paper-thin is the goal — and slice them against the grain. If you cut them too thick, the brine can’t penetrate and they stay harsh and crunchy. Too thin and they dissolve into nothing. A mandoline makes this foolproof, but a sharp knife and a steady hand work just fine. I’ve done it both ways, and I promise, even slices mean even pickling every single time.
This technique produces an onion that is still crisp enough to bite through cleanly, but soft enough to meld into whatever you put it on. The magenta color is a happy bonus.
Everything You Need — Plus My Honest Notes
- 3 medium red onions: The star of the show. Look for firm, heavy ones with tight, dry skins. I’ve tested this with yellow and white onions, and while they work in a pinch, they don’t give you that gorgeous color. If you’re making these for the visual alone, stick with red.
- 1 cup apple cider vinegar: This is the one that gives them that perfect tang without being harsh. White vinegar works too, but it’s more aggressive and less interesting. My grandmother Marta used whatever vinegar she had on hand. I’ve tried them all, and apple cider is the one I come back to every time.
- 1/2 cup water: Just enough to tame the vinegar’s edge without diluting the flavor.
- 1 tablespoon sugar: A tiny amount that makes a massive difference. It balances the acid without making them sweet. I’ve skipped it before to save calories and deeply regretted it. Don’t skip it.
- 1 teaspoon kosher salt: Use a coarse salt, not table salt. Table salt dissolves weirdly and can taste metallic in high concentrations.
- 1 teaspoon black peppercorns: Whole, not ground. They infuse the brine with a gentle heat that builds as the onions sit.
- 1 teaspoon coriander seeds: This is the spice that makes people say “what is that amazing flavor?” It’s floral and citrusy and completely unexpected.
- 1 bay leaf: Dried is fine. It adds a subtle earthiness that rounds everything out.
What to Pull Out Before You Start
- A 1-pint mason jar with a tight-fitting lid — wide-mouth is easiest for packing the onions.
- A small saucepan — 2-quart is perfect for the brine.
- A sharp knife or a mandoline — I use a mandoline because I’ve learned the hard way that uneven slices mean uneven pickling.
- A cutting board and a clean dish towel.
That’s genuinely it. If you have a canning funnel, it helps with pouring the brine, but it’s not necessary.
Let’s Make Them — It’s Embarrassingly Simple
This goes fast, so read through once before you start. The actual active time is about the length of a single podcast episode.
Prep and set up: Clear your counter. Set out your jar and your spices. Slice the onions before you even turn on the stove.
- Slice the onions: Peel the red onions and slice them paper-thin. Aim for a uniform 1/8 inch. If you’re using a mandoline, watch your fingers — I speak from experience. If you’re using a knife, go slow and let the knife do the work. (📸 Photo tip: Hands holding a perfectly uniform slice of red onion against the light — you can almost see through it.)
- Pack the jar: Stuff the sliced onions into your clean mason jar. Don’t press them down too hard — you want the brine to be able to flow around every layer. Fill it to the top. They will settle as the brine is poured.
- Make the brine: In your small saucepan, combine the apple cider vinegar, water, sugar, salt, peppercorns, coriander seeds, and bay leaf. Bring it to a boil over medium-high heat. Listen for the change — when it shifts from a gentle simmer to a steady, rolling boil, turn it off immediately. You don’t want to boil off too much of the vinegar. (📸 Photo tip: The brine just starting to boil in the small saucepan, steam rising, the spices swirling in the liquid.)
- Pour and seal: Carefully pour the hot brine directly over the onions in the jar. Fill it to the very top. Watch the color change — within seconds, the edges of the onions will start turning that incredible bright magenta. It’s one of my favorite things to witness in the kitchen, and it never gets old. Screw the lid on loosely at first, then tighten it once the initial steam subsides.
- Cool and refrigerate: Let the jar cool completely on the counter — about 30 to 45 minutes. You’ll hear the lid pop as the seal tightens. That sound is deeply satisfying. Once it’s cool to the touch, transfer it to the refrigerator.
How I Keep a Jar Ready All Week
I almost always have a jar of these in my fridge. They’re my secret weapon for Tuesday night tacos, Sunday meal prep bowls, and quick lunches when I need something that feels intentional without any real effort.
- Fridge: Keep the jar sealed. They last about 3 weeks in the fridge. The flavor deepens and gets mellow as they sit, so they’re even better on day three than they are on day one.
- Freezer: Don’t do it. The texture will be sad and limp. I know it’s tempting to batch up a double or triple recipe, but just make a fresh jar when you run out. It takes fifteen minutes.
- Reheat: Nope. These are meant to be eaten cold or at room temperature. Pull them out of the fridge about ten minutes before you use them so the chill comes off.
Things I Wish I’d Known the First Time
- The slice matters more than anything else. I cannot overstate this. Too thick and they stay sharp and crunchy, and the pickling flavor never fully penetrates. Too thin and they dissolve into a soggy mess. Aim for a uniform 1/8 inch. A mandoline is worth the investment here, but a sharp knife and patience will get you there.
- Don’t skip the sugar. I know it sounds like it doesn’t belong in a savory pickled onion. I know. But it’s what makes the difference between “pickled onions” and “onions in vinegar.” That tiny bit of sweetness is what makes them addictive instead of just acidic.
- Let them rest overnight if you can. I know it’s hard to wait when they look so beautiful after the brine goes in. But the flavor needs time to settle and mellow. If you can wait until the next day, you’ll be rewarded with something that tastes like it came from a fancy farmer’s market stall — not your own kitchen counter.
- Don’t throw away the brine when the jar is empty. If you have leftover brine after finishing the onions, you can use it to quick-pickle a second batch of fresh vegetables. Just slice up some radishes or cucumbers and pour the cold brine over them. They’ll be ready in an hour.
Make It Yours — Easy Variations
- Spicy version: Add 1 sliced jalapeño or a pinch of red pepper flakes to the jar before pouring the brine. My husband makes a jar of these every time he grills fish. He eats them on the side like they’re a salad.
- Herby version: A sprig of fresh dill or thyme in the jar adds a lovely background note. This is the version I make when I’m going to pile them on a roast beef sandwich.
- White vinegar version: Use all white distilled vinegar instead of apple cider vinegar for a sharper, more traditional deli-style pickle. My mom actually prefers this version. She says it reminds her of the pickles her grandmother used to make.
- Garlic version: Smash 2 cloves of garlic and throw them in with the onions. This is the version my sister puts on literally everything. She calls it “adult candy.”
- Mexican-style version: Add a pinch of dried oregano and a splash of fresh lime juice to the brine. This is my go-to for taco nights. The lime adds brightness that pairs beautifully with carnitas or grilled chicken.
Questions I Get About This Recipe All the Time
Q: Why did my onions turn a weird color? I was expecting bright magenta but they look almost blueish.
A: Ugh, I know that panic. Don’t worry, it’s totally normal. Red onions contain natural pigments called anthocyanins — the same stuff in red cabbage and blueberries. They react to the acid in the vinegar, and sometimes the reaction produces a deeper purple or even a slightly blueish tone. It always settles into the bright magenta we’re looking for within a few hours. Just give it time.
Q: Can I make this with other vegetables? I have a bunch of radishes I need to use up.
A: Yes! This brine works beautifully with thinly sliced radishes, cucumbers (if you’re eating them within a day or two), or even jalapeños. The only rule is to slice them thin enough to pickle in the heat of the brine. I’ve tested this with carrots too, and they’re great, but they need a little more time to soften.
Q: How long do these actually last in the fridge? I want to make a big batch for the month.
A: They last about 3 weeks in a sealed jar in the refrigerator. They’ll still be safe to eat after that, but the texture starts to get soft and the vinegar flavor can become overwhelming. I find that one pint jar is the perfect amount for our family for about a week and a half. If you want to make a double batch, go for it — just split it between two jars.
Q: What do you actually put these on? Give me some ideas because I’m stuck in a taco rut.
A: Oh, I love this question. Absolutely anything that needs a hit of acid and a pop of color. Tacos (obviously), salads, grain bowls, avocado toast, sandwiches, scrambled eggs in the morning, grilled fish, roasted vegetables, a simple bowl of black beans and rice, or even just a piece of crusty bread with good butter and a pile of these on top. My daughter Nora puts them on her instant ramen and swears it’s the only way to eat it. I keep a jar in the fridge just for Tuesday night tacos, but they find their way onto almost everything by the end of the week.
More Recipes My Family Makes on Repeat
If you liked this one, here are a few others that get the same reaction at our table — the kind my kids ask for and my husband texts me about from the grocery store:
- [INTERNAL LINK PLACEHOLDER: My Go-To Quick Bread & Butter Pickles] — The sweet-and-sour cousin of these pickled onions, and just as easy.
- [INTERNAL LINK PLACEHOLDER: The Simplest Roasted Chicken (That My Kids Actually Request)] — This is what I serve when I want the pickled onions to really shine on the plate.
- [INTERNAL LINK PLACEHOLDER: A Farmhouse Cheese Board for Saturday Afternoons] — The pickled onions belong here, trust me.
If you’ve never made pickled onions before, I hope this is the nudge you need. They take fifteen minutes and they turn the simplest meal into something that feels like thought and care. That’s not a small thing on a busy Tuesday.
If you try them, drop a comment below and let me know what you put them on — I love hearing how these work in other people’s kitchens. And tag me on Pinterest or Instagram so I can see your jar!
📌 Quick pickled red onions recipe that turns any meal into something special — save this for your next taco night or sandwich prep so you always have a jar ready.
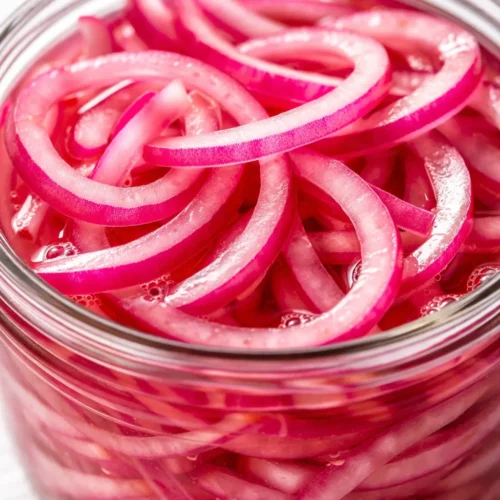
Crunchy, Bright Pink Quick-Pickled Red Onions
Equipment
- Small saucepan
- Sharp Knife
- Cutting Board
- Heat-safe bowl or Mason jar
- Whisk
Ingredients
- 1 medium red onion (about 8 oz)
- 0.5 cup white vinegar (5% acidity)
- 0.5 cup water
- 1 tablespoon granulated sugar
- 1.5 teaspoons fine sea salt
Instructions
- Prep the onion: Peel it, slice off the root end, and cut it in half from root to tip. Then slice each half crosswise into thin rings, about 1/8-inch thick.
- Boil the brine: In a small saucepan, combine the vinegar, water, sugar, and salt. Bring to a boil over high heat, stirring once or twice to dissolve. About 2 minutes.
- Pour and wait: Place the sliced onion in a heat-safe bowl or jar. Pour the boiling brine directly over the onions, covering them completely. Stir gently. Let cool at room temperature for about 15 minutes.
- Store: Transfer to an airtight jar and refrigerate for up to 3 weeks. The onions are best in the first week when they are crunchiest.
Notes
Related posts:
 The Super Simple Chocolate Cake for Dad That Disappears in Minutes
 My Grandmother’s Peach Cobbler with the Biscuit Topping That Stays Crispy Every Time
 My Grandmother’s Chocolate Wafers for the Ultimate Homemade Oreo Ice Cream Sandwiches
 My Grandmother’s Strawberry Shortcake, Turned Into the Creamiest Ice Cream (No Machine Required)
 The DIY Caramel Crunch Frappe That Beats the Drive-Thru (In 5 Minutes)
 Starbucks Cake Pop Recipe That Tastes Exactly Like the Real Thing — Made in Your Own Kitchen