
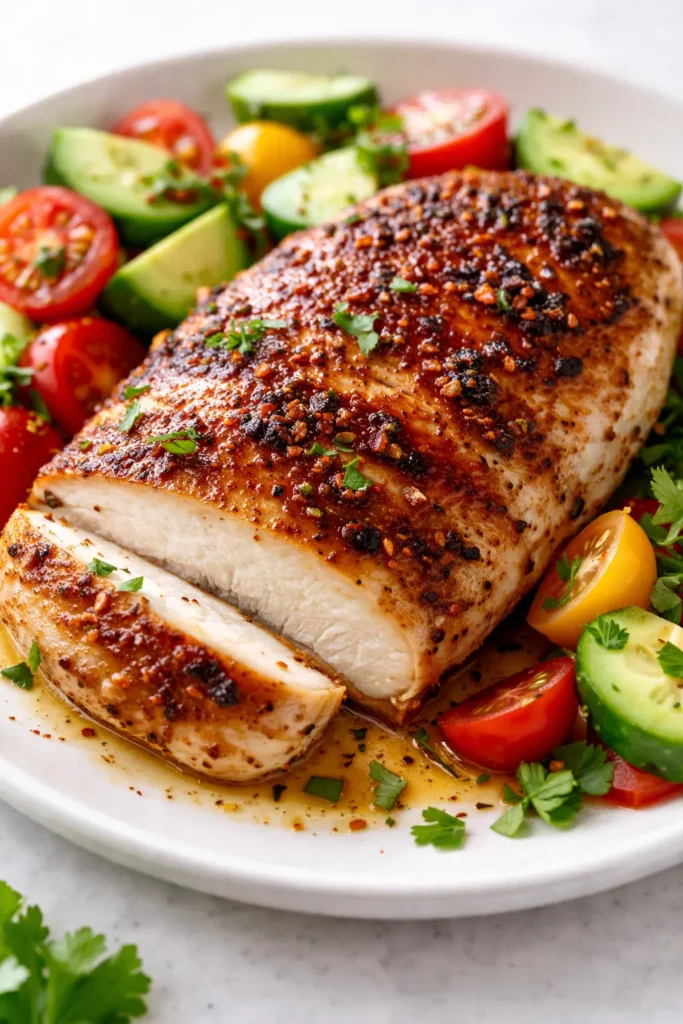
The problem with most meal prep chicken is that it’s dry by Wednesday. Dry, sad, and flavorless. I spent a whole year trying to fix it — different marinades, different cooking times, different storage methods. Nothing worked until I went back to basics. This ranch chicken meal prep uses a quick brine and a hot sear that locks in all that buttermilk flavor. My family actually fights over the last container on Fridays, and that’s the real test.
The short version: Juicy, ranch-flavored chicken that stays tender from Sunday through Friday without drying out.
I’ve made this every week for the past two months. My daughter Nora calls it “the dorm room hero” because she takes it back to Savannah in her little cooler. Pop it in the microwave, and she says it’s the best thing in the dining hall.
- Serves: 4–6 as a main
- Hands-On Time: 15 min | Total Time: 45 min
- Difficulty: Easy — just a little planning goes a long way
- Cost per serving: ~$2.50
- Calories: ~350 per serving
- Dietary Notes: High Protein, Gluten-Free adaptable, Low-Carb adaptable
(Photo above: Overhead shot of three glass meal prep containers. Each has sliced ranch chicken fanned out next to roasted broccoli and fluffy jasmine rice. A light dusting of fresh dill on top. Morning light from the left hits the golden crust of the chicken.)
The Trick That Keeps This Chicken From Getting Dry
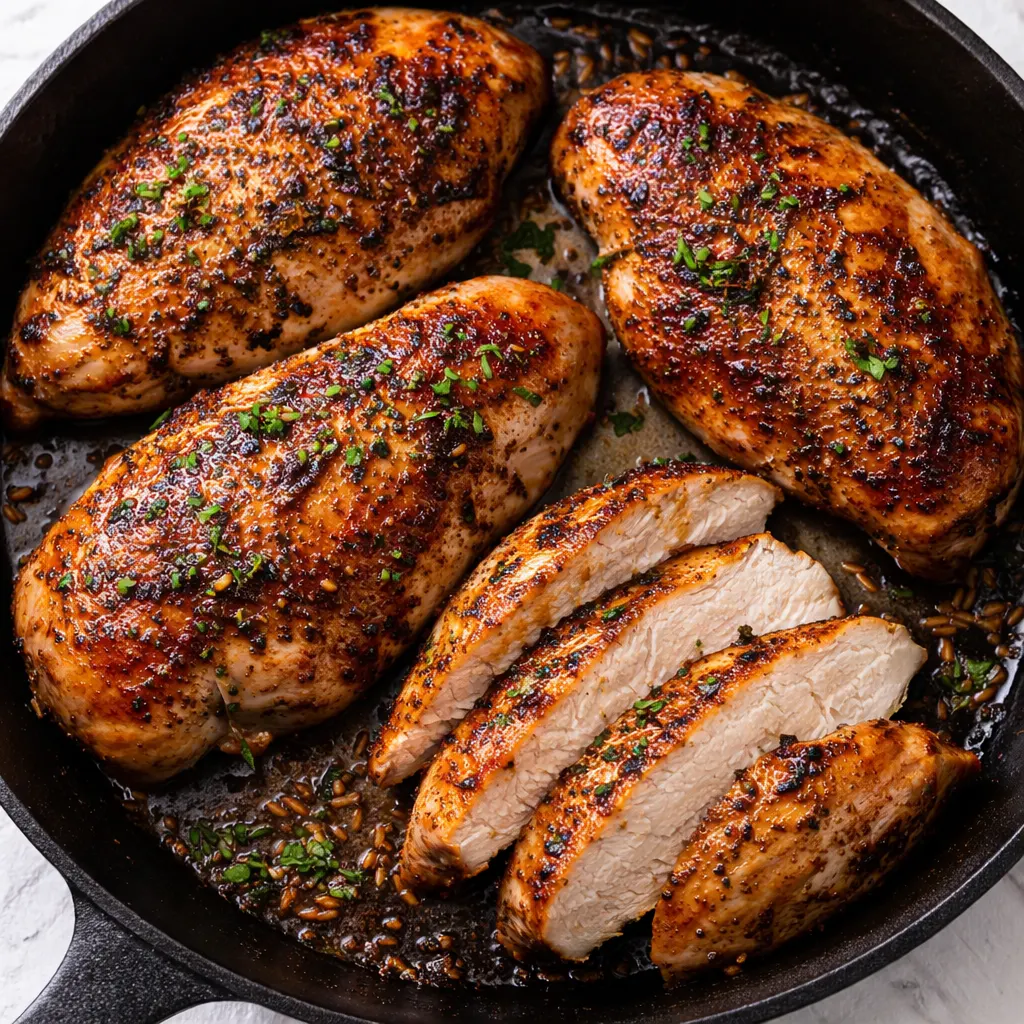
The secret here isn’t a fancy marinade. It’s a twenty-minute saltwater brine that changes everything. Most meal prep chicken gets that dry, stringy texture because the muscle fibers squeeze out moisture as they cool and reheat. The brine gives the fibers a head start — they absorb liquid so they don’t lose it later.
The second trick is the sear. A screaming-hot cast iron pan creates a golden crust in minutes that seals in the buttermilk ranch flavor. No rubbery, pale chicken here.
This method produces chicken that stays tender through five days of reheating. Every time I pull it out for lunch, it tastes like I just made it.
Ingredients Worth Talking About
- 2 lbs boneless, skinless chicken breasts: The blank canvas. Brining is non-negotiable here — it’s the difference between juicy and sad. I pound mine to even thickness so every piece cooks at the same speed.
- 1/4 cup kosher salt + 4 cups warm water: The quick brine. Don’t use table salt — it’s too fine and will make it salty. Kosher salt dissolves evenly and does the job right.
- 1 cup buttermilk: The tang that makes ranch taste like ranch. My kids can smell the difference if I use regular milk — and they’ll tell you.
- 1 packet (1 oz) Ranch Seasoning & Salad Dressing Mix: The shortcut that actually works. I’ve made Marta’s homemade version too, but sometimes the packet is what you have on hand, and that’s fine.
- 1 tsp garlic powder + 1 tsp onion powder: They amplify the ranch flavor without overpowering it. Fresh garlic is great here too, but powder coats more evenly.
- 2 tbsp olive oil + 2 tbsp butter: The perfect sear. Butter adds flavor, oil prevents burning. Brown butter is a bonus if you let it go a little long, but don’t push it.
The Setup (It’s Minimal, I Promise)
- Large bowl for brining
- Cast iron skillet or heavy-bottomed stainless pan — a non-stick works too, but you won’t get that same golden crust
- Whisk
- Tongs
- Cutting board for resting
- 3–4 glass meal prep containers with tight lids
Let’s Make It (Step by Step)
This goes fast once you start, so have everything ready before the chicken hits the pan.
- Brine the chicken: Dissolve the kosher salt in warm water. Submerge the chicken breasts for 20 minutes. Drain and pat them very dry with paper towels. (📸 Photo tip: The chicken should look dry, almost matte — no standing water on the surface. Wet chicken steams instead of sears.)
- Mix the coating: In a shallow bowl, whisk together the buttermilk, ranch seasoning, garlic powder, and onion powder. The smell alone will tell you this is going to be good.
- Marinate: Coat each chicken breast in the buttermilk mixture. Let them sit for 10 minutes at room temperature — or cover and refrigerate overnight if you’re planning ahead. (📸 Photo tip: The coating should cling to the chicken, not drip off in puddles.)
- Sear: Heat a cast iron skillet over medium-high heat. Add the olive oil and butter. When the butter stops foaming, carefully place the chicken in the pan. Leave it alone. Don’t touch it for 5 minutes. The crust needs time to form.
- Flip and finish: Flip the chicken. Cook for another 4–6 minutes, depending on thickness. The internal temperature should reach 165°F. The sound of the sizzle tells you everything — it should be steady, not screaming. If it’s screaming, the pan is too hot.
- Rest: Transfer the chicken to a cutting board. Let it rest for a full 10 minutes. I know it’s tempting to cut into it right away, but this is where the juices reabsorb. Cut it too soon and they run out onto the board instead of staying in the meat.
- Slice and assemble: Slice against the grain into even strips. Divide into your meal prep containers with your choice of sides.
How I Meal Prep This for the Week
I make a double batch of this ranch chicken every Sunday while the coffee’s brewing. By the time I’ve washed the dishes, the week’s lunches are sorted. Here’s the system that works for me:
- Fridge: Assemble the bowls fully. Leave any sauces or dressings on the side so nothing gets soggy. Stays fresh for 5 days.
- Freezer: Yes — slice the chicken first and freeze in a single layer on a baking sheet. Once frozen, transfer to a bag. Thaws in minutes and reheats beautifully.
- Reheat: 30 seconds in the microwave, then 1 minute in the air fryer at 350°F to crisp the edges back up. The microwave alone works in a pinch, but the air fryer brings it back to life. I keep it real with you — it’s worth the extra minute.
Things I Wish I’d Known the First Time
- Pat it completely dry: After brining, dry the chicken thoroughly. Any leftover water turns into steam, and steam is the enemy of a golden crust. I use paper towels and press firmly.
- Don’t crowd the pan: If the pieces are touching, they’ll steam instead of sear. Work in batches. It adds five minutes to the total time and saves you from gray, rubbery chicken.
- Rest it fully: Set a timer. Walk away. Ten minutes feels like forever when the house smells this good, but it’s the difference between juicy chicken and dry chicken. The texture you’re cooking for finishes as it rests.
- Double the ranch mix: Use one packet for the buttermilk marinade. Save half a packet to mix with sour cream or Greek yogurt for a dipping sauce. My kids call it “the green sauce” and they put it on everything.
Make It Yours
- Dairy-Free: Swap the buttermilk for 1 cup of unsweetened almond milk + 1 tbsp lemon juice. Use olive oil instead of butter. The dairy-free ranch packets work great here. I make this version for my sister and she can’t tell the difference.
- Low-Carb / Keto: Serve over roasted broccoli, cauliflower rice, or a big bed of mixed greens with avocado. The ranch chicken is naturally low-carb — it’s the rice you’re swapping.
- Spicy: Add 1/2 tsp cayenne pepper to the buttermilk mixture. My husband always makes this version. He says it’s “the only meal prep that makes him excited for Monday.”
- Crunchy Ranch: After marinating, dredge the chicken in a mix of crushed pork rinds or almond flour and parmesan. Bake at 400°F for 20 minutes instead of searing. Nora begged me to put this in the rotation.
Questions I Get About This Recipe All the Time
Q: Why did my chicken turn out dry even though I followed the recipe?
A: Ugh, I’ve been there. Two things to check: 1) Did you brine it? That step is non-negotiable. 2) Did you cook it past 165°F? A good instant-read thermometer is worth its weight in gold. Pull it off the heat the second it hits temp.
Q: Can I use chicken thighs instead of breasts?
A: Yes — and honestly, they’re even more forgiving because of the extra fat. Same method, same marinade. Cook them to 175°F for the best texture, and they’ll stay juicy for even longer than breasts.
Q: How long does this last in the fridge?
A: Properly stored in airtight containers, it’s good for 5 days. I meal prep on Sunday and we finish it by Friday. After that, the texture starts to change. If you need it to last longer, freeze the sliced chicken on day one.
Q: What do you serve with this ranch chicken?
A: We rotate between roasted broccoli and jasmine rice, sweet potato wedges, or a simple salad with cherry tomatoes and cucumbers. Some weeks I do a quinoa bowl with black beans and corn. The ranch chicken goes with everything. My kids love it with buttered noodles — not fancy, but it works.
More Recipes My Family Makes on Repeat
If this one’s a hit at your house, here are a few others that get the same reaction at our table:
- Creamy Dill Chicken — The herb-forward cousin of this recipe, ready in 30 minutes
- Greek Lemon Chicken Meal Prep — Bright, tangy, and stays just as juicy all week
- Best Ever Chicken Marinade — The master recipe I use when I’m out of ranch packets
This is the meal prep that actually keeps me on track during a busy week. No dry chicken, no boring flavors. Just the kind of lunch that makes you look forward to the microwave beeping. Give it a try this Sunday — drop a comment below and let me know how it went for you. I love hearing about the wins.
📌 Ranch chicken meal prep that doesn’t dry out — save this one for your next Sunday meal prep session!
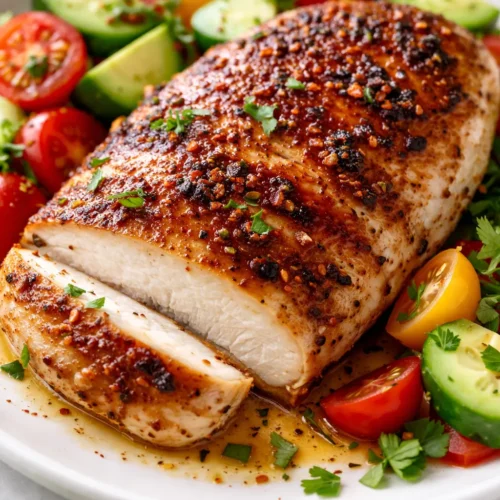
Ranch Chicken Meal Prep That Stays Juicy All Week
Equipment
- Large Bowl
- Cast Iron Skillet
- Tongs
- Cutting Board
- Meal Prep Containers (3–4)
Ingredients
- 2 lbs boneless skinless chicken breasts
For the Brine
- 1/4 cup kosher salt
- 4 cups warm water
For the Marinade
- 1 cup buttermilk
- 1 packet (1 oz) Ranch Seasoning & Salad Dressing Mix
- 1 tsp garlic powder
- 1 tsp onion powder
For Cooking
- 2 tbsp olive oil
- 2 tbsp butter
Instructions
- Brine the chicken: Dissolve kosher salt in warm water. Submerge chicken breasts for 20 minutes. Drain and pat very dry with paper towels — the chicken should look matte with no standing water. Wet chicken steams instead of sears.
- Mix the coating: In a shallow bowl, whisk together buttermilk, ranch seasoning, garlic powder, and onion powder. The smell tells you it’s going to be good.
- Marinate: Coat each chicken breast in the buttermilk mixture. Let sit 10 minutes at room temperature — or cover and refrigerate overnight. The coating should cling, not drip off.
- Sear: Heat a cast iron skillet over medium-high heat. Add olive oil and butter. When the butter stops foaming, carefully place chicken in pan. Leave it alone for 5 minutes — the crust needs time to form. Listen for a steady sizzle; if it’s screaming, the pan is too hot.
- Flip and finish: Flip chicken and cook another 4–6 minutes until internal temperature reaches 165°F.
- Rest: Transfer to a cutting board and let rest a full 10 minutes. This is where juices reabsorb. Cut too soon and they run out onto the board.
- Slice and assemble: Slice against the grain into even strips. Divide into meal prep containers with your choice of sides.
Notes
Related posts:
 The Slow Cooker Cowboy Casserole That Saves Tired Weeknights (No Soggy Tots Allowed)
 Quick Lemon Ricotta Pasta for Busy Weeknights: Creamy, Bright, and on the Table in 20 Minutes
 Lemon Garlic Butter Baked Salmon in Foil That’s Ready in 25 Minutes — No Fuss, No Mess
 Lipton Onion Soup Meatloaf for Tuesday Nights: Moist, Savory, and the Only One You’ll Ever Need
 Kielbasa Sausage Cheesy Potato Casserole That Tastes Like Sunday Dinner — In Under an Hour
 Quinoa Chicken Sausage Bowls That Are Ready in 30 Minutes (And Actually Keep Well)