
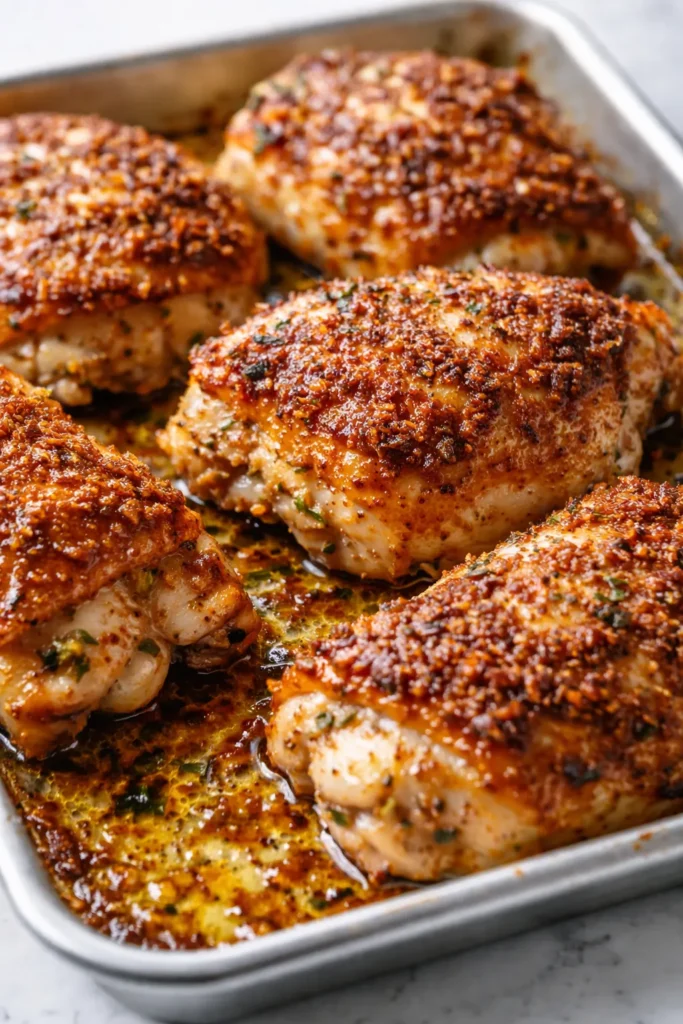
You know that moment when you pull a sheet pan chicken out of the oven and the skin is flabby instead of crackly? I’ve been there more times than I want to count. It’s the reason I spent a whole winter testing every variation I could think of — higher heat, lower heat, different racks, different fats. This version is the one that finally worked. The skin shatters when you bite into it. The meat underneath is so juicy it almost doesn’t need a sauce. And the smell of garlic and Parmesan toasting together? That alone is worth the forty minutes.
The short version: These come together in about 15 minutes of hands-on work and the oven does the rest. Crispy. Garlicky. One pan to wash.
I’ve made this for company, for busy Tuesdays when I barely have energy to chop an onion, and for my daughter Nora the weekend before she headed back to Savannah. She texted me from the road asking for the recipe before she even made it home. That’s when I knew it was ready to share.
- Serves: 4 as a main
- Hands-On Time: 15 min | Total Time: 50 min
- Difficulty: Easy enough for a Tuesday — no special skills required
- Cost per serving: ~$3.50
- Calories: ~450 per serving
- Dietary Notes: Naturally low-carb, gluten-free, and adaptable for dairy-free
(Photo above: overhead shot of the golden-brown chicken thighs on a rimmed baking sheet, the crispy Parmesan topping bubbling at the edges, a small bowl of lemon wedges in the corner, natural afternoon light from the left.)
The Trick That Keeps the Skin Crackly (Not Rubbery)
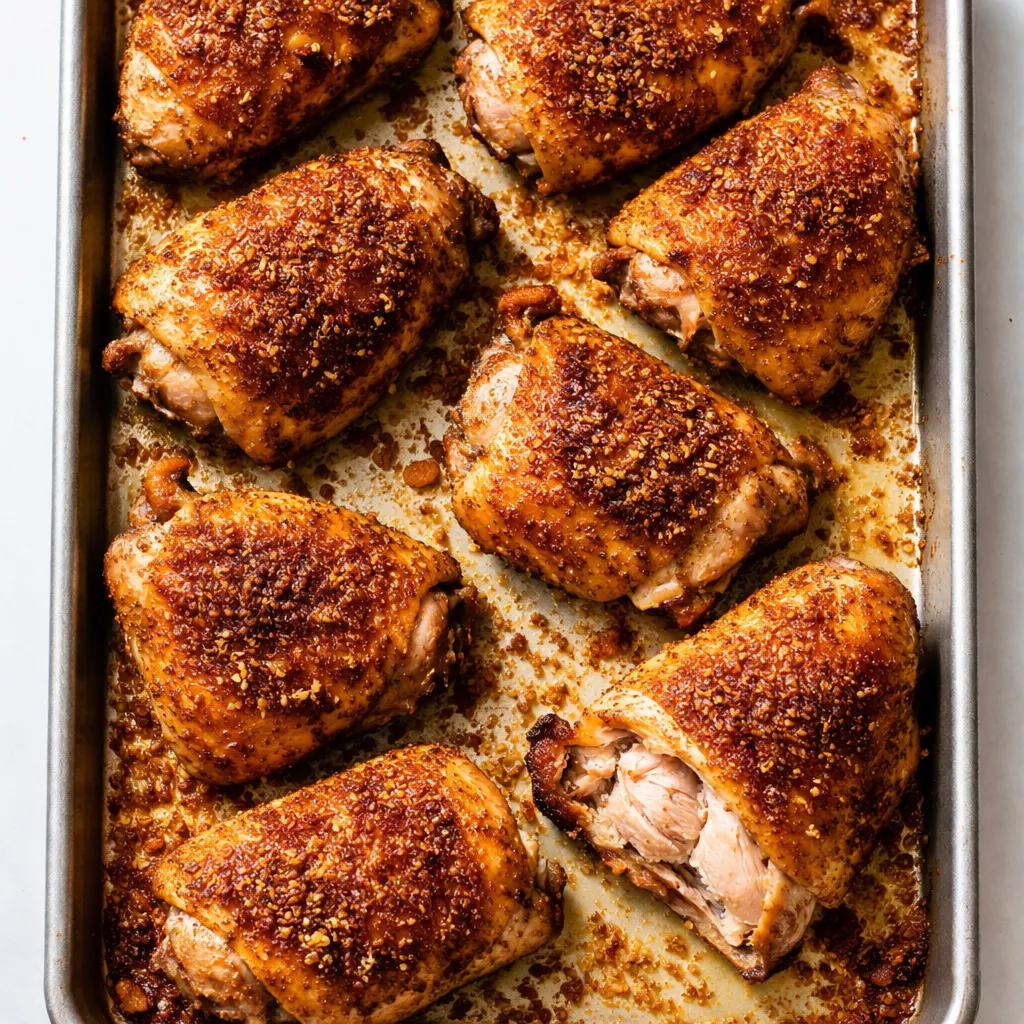
It’s not complicated, but it is specific. First: you have to pat the chicken completely dry. Not mostly dry. Completely dry. Second: a wire rack set inside the sheet pan. That little bit of airflow underneath keeps the skin from sitting in its own juices and steaming. Third: high heat. 425°F. No lower. That’s the temperature where the fat renders fast enough to crisp the skin before the garlic in the topping burns. I learned this the hard way after a string of garlic-flavored, soggy-skinned disappointments. Dry chicken, wire rack, hot oven. That’s the whole trick.
Everything You Need (Plus a Few Notes I Wish Someone Had Given Me)
- 6 bone-in, skin-on chicken thighs (about 2 lbs): The bone adds flavor and keeps the meat juicy. The skin is what we’re here for. Don’t try this with skinless — you’ll miss the whole point.
- 1 cup freshly grated Parmesan (about 3 oz from the block): The pre-shredded bagged stuff has cellulose that keeps it from melting smoothly. I tested it side by side and the texture difference is real. Grate it yourself. It takes two minutes.
- 4 cloves garlic, minced: Fresh only. The jarred stuff tastes metallic when it roasts. This is the star.
- 3 tablespoons mayonnaise: I know it sounds weird. I promise you won’t taste it. It keeps the topping creamy and helps the Parmesan adhere without adding moisture that would soften the skin.
- 1 tablespoon olive oil: Helps the topping brown evenly.
- ½ teaspoon black pepper: Freshly cracked.
- Kosher salt: For seasoning the chicken directly — don’t skip this step.
- Lemon wedges and fresh parsley or chives: For serving. The squeeze of lemon at the end cuts through the richness and makes everything sing.
The Setup (It’s Minimal)
- Rimmed baking sheet — 13×18 inches. The rim keeps any rendered fat from spilling into your oven.
- Wire rack — Fits inside the baking sheet. This is non-negotiable for crispy skin. If you don’t have one, line the sheet with foil and crumple it slightly so the chicken isn’t sitting flat.
- Small bowl — For mixing the topping.
- Paper towels — Lots of them. For drying the chicken.
Let’s Make It (Step by Step, the Way I Do It)
This goes fast, so read through once before you start. The oven needs to be fully hot — don’t rush it.
Preheat: Set your oven to 425°F and position the rack in the upper third. Let it heat for a full 15 minutes while you prep everything else.
- Dry the chicken: Pat every single chicken thigh dry with paper towels — tops, bottoms, sides. I’m serious about this. Any leftover moisture turns to steam in the oven and the skin never crisps. Season both sides generously with kosher salt.
- Mix the topping: In a small bowl, combine the grated Parmesan, minced garlic, mayonnaise, olive oil, and black pepper. Stir until it forms a thick, cohesive paste. (📸 Photo tip: The consistency should be like a thick pesto — not runny, not crumbly.)
- Coat the thighs: Using your hands (or a spatula if you’d rather), spread the mixture evenly over the tops of the chicken thighs. A little on the sides is fine, but don’t get it on the underside — you want the skin there to crisp directly against the rack.
- Arrange: Place the thighs skin-side up on the wire rack set inside the baking sheet. Leave a little space between each one so the heat can circulate. Crowding them will trap steam.
- Bake: 40 to 45 minutes. You’re looking for deep golden brown skin and an internal temperature of 175–185°F. The topping will bubble and darken in spots — that’s where the flavor lives. (📸 Photo tip: At the 35-minute mark, check the edges. They should be dark brown and crisp, not pale. If the topping is browning too fast, tent loosely with foil for the last 10 minutes.)
- Rest and serve: Let the chicken rest on the rack for 5 minutes. This lets the juices redistribute so they don’t run out when you cut into it. Squeeze fresh lemon over the top and scatter with parsley or chives.
How I Meal Prep These for the Week
I make a double batch on Sundays and we eat them for dinner, then I shred the leftovers for salads and grain bowls during the week. It saves me every time.
- Fridge: Store in an airtight container for up to 4 days. To keep the skin crispy, reheat in a 375°F oven or air fryer for 5–7 minutes. The microwave works in a pinch but the skin will soften.
- Freezer: I don’t recommend freezing these fully cooked — the skin loses its magic. You can, however, freeze the uncooked topping in a small bag and prep the chicken fresh when you’re ready.
- Reheat: Oven or air fryer is best. I’ve found that 375°F for 5–6 minutes brings the skin right back to life.
What I Learned After Making This a Dozen Times
- Don’t skip the wire rack. I know it’s an extra thing to wash. But without it, the underside of the chicken sits in rendered fat and juices, which steam the skin instead of crisping it. If you absolutely don’t have one, line your pan with foil and crumple it into ridges so the chicken is slightly elevated. It helps.
- Grate your own cheese. The pre-shredded bagged Parmesan has starches and anti-caking agents that make it grainy when it melts. I tested both versions side by side. The freshly grated one was smoother and clung to the chicken better. It takes two minutes.
- Pat the chicken dry right before it goes into the oven. If you salt it and let it sit for a while, moisture beads up on the surface again. Give it one more quick pat with a paper towel before you add the topping.
- Even if the topping gets a little dark in spots, don’t panic. That’s the Parmesan and garlic toasting. It tastes deeply savory, not burnt. I’ve pulled it too early because I was afraid of the dark spots, and the skin wasn’t nearly as crisp. Let it go.
Swaps That Actually Work (For Picky Kids and Busy Nights)
- Dairy-Free: Use ½ cup nutritional yeast or a dairy-free Parmesan alternative in place of the cheese. The texture will be slightly different but it still gets crispy and delicious.
- Boneless, Skinless Thighs: It works, but you’ll lose the crispy skin element. Bake for 20–25 minutes instead. The topping will still be great. This is what I make when the kids want chicken for a quick pasta dinner.
- Spicy: Add ½ teaspoon red pepper flakes or a teaspoon of sriracha to the mayonnaise mixture. My husband does this to his portion before baking and it’s fantastic.
- Herbaceous: Stir in a tablespoon of fresh chopped rosemary or thyme. It pairs beautifully with the garlic and lemon.
Questions I Get About This Recipe All the Time
Q: Why did my chicken skin come out soggy?
A: Ugh, I’ve been there. It’s almost always one of two things: the chicken wasn’t dried thoroughly enough (I know, I sound like a broken record), or the oven wasn’t fully up to temperature. Make sure you’re giving it the full 15 minutes to preheat. And that wire rack matters more than you’d think.
Q: Can I use chicken breasts instead?
A: Yes, but you’ll need to adjust the timing. Boneless, skinless breasts will cook in about 20–25 minutes. I’d recommend pounding them to an even thickness first so they cook evenly. The topping will be delicious, just without the crispy skin element.
Q: How long do leftovers last and can I reheat them?
A: In the fridge, up to 4 days in an airtight container. For reheating, I swear by the air fryer — 5 minutes at 375°F brings the skin right back. The oven works too. The microwave is fine for the meat but the skin will be soft.
Q: What do you serve with this?
A: My family loves it with a simple arugula salad tossed in lemon vinaigrette — the peppery bite cuts through the richness. Roasted broccoli is another weeknight staple. And if I’m feeling indulgent, I make a batch of creamy mashed potatoes to soak up the pan juices.
More Recipes My Family Makes on Repeat
If this one ends up in your regular rotation the way it has in mine, here are a few others that get the same reaction at our table:
- [INTERNAL LINK PLACEHOLDER: Simple Arugula Salad with Lemon Vinaigrette] — The peppery bite is the perfect counter to the rich chicken.
- [INTERNAL LINK PLACEHOLDER: My Go-To Roasted Broccoli] — We eat this alongside the chicken at least once a week.
- [INTERNAL LINK PLACEHOLDER: Creamy Garlic Mashed Potatoes] — For nights when you want the full comfort food experience.
This is the sheet pan chicken I make when I need dinner to work without me hovering over it. It comes out of the oven looking like I fussed, but really I just let the heat do the hard part. If you try it, tag me on Pinterest or drop a comment below — I love hearing how it goes in your kitchen.
📌 Save this sheet pan parmesan garlic chicken recipe for nights when you need a crispy, juicy dinner with almost no cleanup — it’s the weeknight hero you didn’t know you needed.
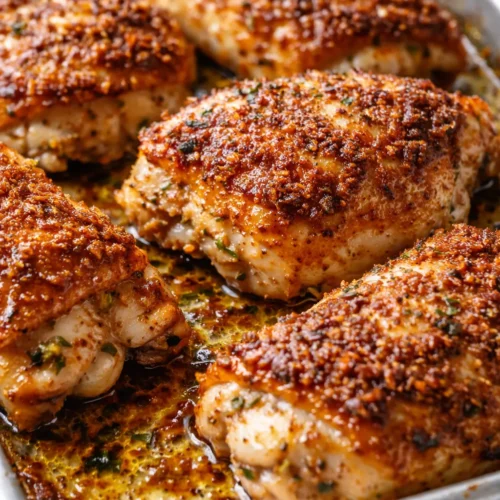
Sheet Pan Parmesan Garlic Chicken Thighs
Equipment
- Rimmed baking sheet (13×18 inches)
- Wire rack that fits inside baking sheet
- Small bowl
- Paper towels
Ingredients
- 6 bone-in, skin-on chicken thighs (about 2 lbs)
- 1 cup freshly grated Parmesan (about 3 oz from the block)
- 4 cloves garlic, minced
- 3 tablespoons mayonnaise
- 1 tablespoon olive oil
- 1/2 teaspoon black pepper, freshly cracked
- Kosher salt, for seasoning chicken directly
- Lemon wedges and fresh parsley or chives, for serving
Instructions
- Preheat your oven to 425°F. Position the rack in the upper third. Let it heat for a full 15 minutes while you prep everything else.
- Pat every single chicken thigh dry with paper towels — tops, bottoms, sides. Any leftover moisture turns to steam in the oven and the skin never crisps. Season both sides generously with kosher salt.
- In a small bowl, combine the grated Parmesan, minced garlic, mayonnaise, olive oil, and black pepper. Stir until it forms a thick, cohesive paste — like a thick pesto.
- Using your hands or a spatula, spread the mixture evenly over the tops of the chicken thighs. A little on the sides is fine, but don’t get it on the underside — you want the skin there to crisp directly against the rack.
- Place the thighs skin-side up on the wire rack set inside the baking sheet. Leave a little space between each one so the heat can circulate. Crowding them will trap steam.
- Bake for 40 to 45 minutes. You’re looking for deep golden brown skin and an internal temperature of 175–185°F. If the topping is browning too fast, tent loosely with foil for the last 10 minutes.
- Let the chicken rest on the rack for 5 minutes. Squeeze fresh lemon over the top and scatter with parsley or chives before serving.
Notes
Related posts:
 Mini Quiche Recipe: The Store-Bought Crust Version That Tastes Like You Made It From Scratch
 Easy Shrimp Lo Mein That’s Faster Than Delivery (Ready in 30 Minutes)
 The Slow Cooker Cowboy Casserole That Saves Tired Weeknights (No Soggy Tots Allowed)
 Creamy Beef and Shells for Tuesday Nights: The One-Pot Dinner My Kids Actually Ask For
 Quick Lemon Ricotta Pasta for Busy Weeknights: Creamy, Bright, and on the Table in 20 Minutes
 Juicy Oven Baked Chicken Thighs That Stay Golden and Tender — in 40 Minutes