
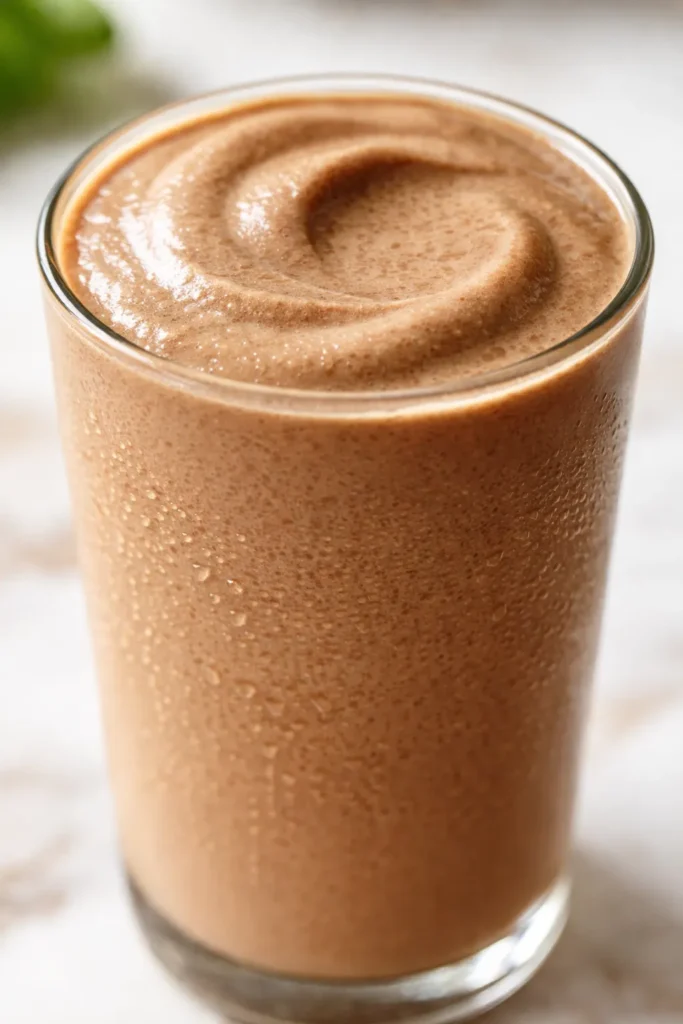
There are coffee milkshakes that taste like a dessert trying to be a drink, and then there are coffee milkshakes that taste like someone in a cafe actually thought about what they were doing. This one is the second kind.
The first time I made it, I was trying to replicate the stuff I got from a little place in Asheville that roasts its own beans. My version was always too watery, or too sweet, or the coffee flavor got lost somewhere between the ice cream and the milk. It wasn’t bad. It just wasn’t that.
The fix came from an old trick of my grandmother Marta’s. She used to freeze leftover coffee in a tin ice cube tray she’d had since the 1950s. She didn’t do it for milkshakes. She did it so she wouldn’t waste coffee. But the moment I dropped one of those dark, frozen cubes into a standard milkshake base, the whole thing clicked. No dilution. Just pure, concentrated coffee flavor locking into the cream.
The short version: Strong coffee frozen into cubes, blended with vanilla ice cream and a splash of heavy cream, until it’s thick enough to hold its shape. Ten minutes of active work. The rest is waiting for the ice cubes to freeze.
I’ve made this for weekend afternoons when the porch is too hot to sit still, and for late-night kitchen counter moments when I need something that tastes like work is over. It works every single time.
- Serves: 1 tall or 2 small
- Hands-On Time: 10 min | Total Time: 4 hours 10 min (includes freezing)
- Difficulty: Easy — the hardest part is waiting for the coffee cubes to freeze
- Cost per serving: ~$2.50
- Calories: ~480 per serving
- Dietary Notes: Vegetarian. Easily made dairy-free (see variations).
(Photo above: A tall, frosty glass filled with a thick coffee milkshake, topped with a dollop of whipped cream and a dusting of cocoa. Morning light from the window catches the condensation on the glass. A few coffee beans scattered on the linen napkin underneath.)
The Thing That Makes This Creamy Instead of Icy
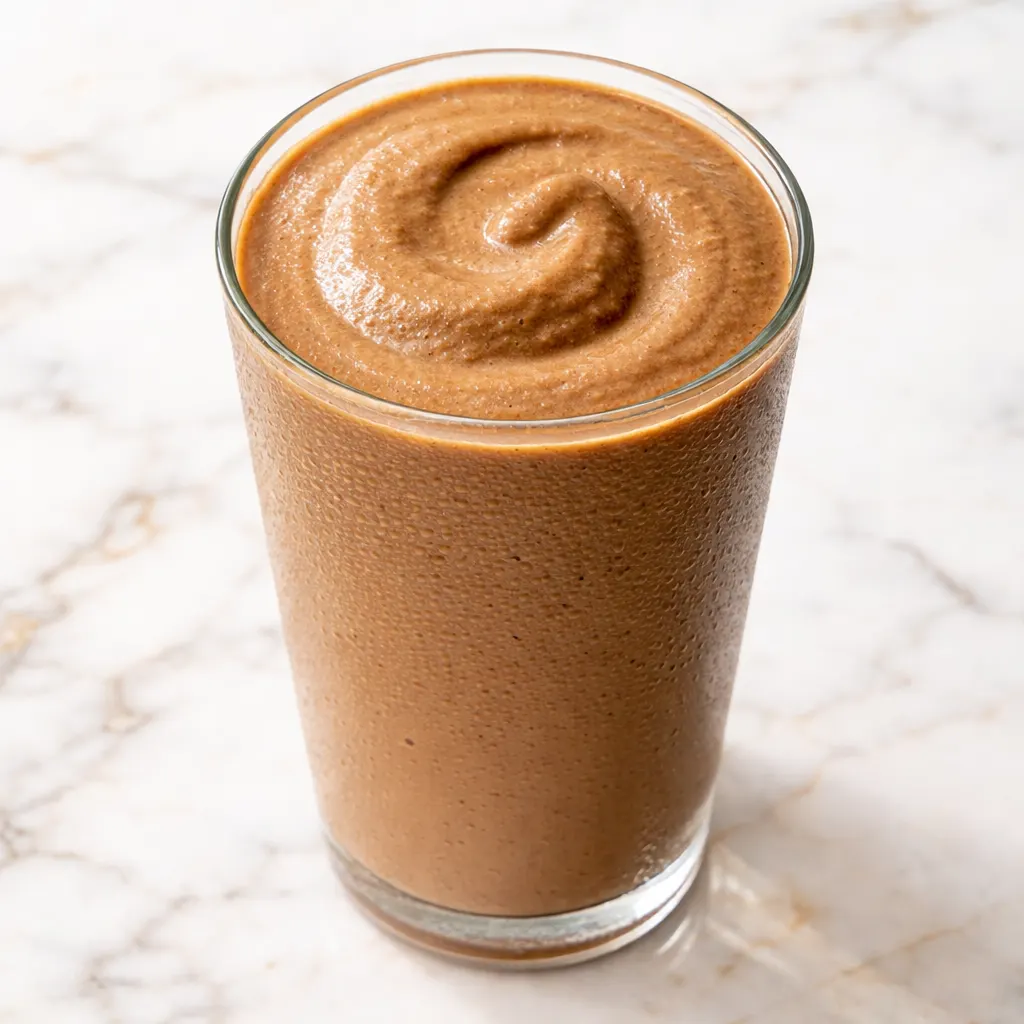
Most milkshakes start melting the second you pour them. The problem is the ice. Regular ice cubes dilute the cream and mute the coffee flavor until what you are left with is a slightly brown, slightly sweet glass of milk. It is fine. It is not a milkshake worth texting anyone about.
The frozen coffee cubes solve this entirely. They chill the shake without watering it down. Every sip tastes like the coffee you brewed, not the water it was made from. The second trick is the ratio. You need more ice cream than you think, and less milk than any standard recipe will tell you. The milk is not the base here. The milk is just the lubricant to get the blender moving. The ice cream and the coffee cubes are doing the real work.
I learned this balance after making three too-thin batches in one afternoon. My family was happy to drink the mistakes, but I knew exactly what I was aiming for — a shake thick enough that you have to let it soften for a minute before you can get a straw through it.
Everything You Need (And a Few Notes From Me)
- 1 ½ cups strong brewed coffee, cooled: This is the foundation. Do not use weak coffee. The flavor concentrates as it freezes, so any bitterness or blandness in the cup will be twice as loud in the shake. I use a dark roast, brewed double-strength. My kids can smell the difference when I use a lighter roast — they say it tastes “thin.” They are not wrong.
- 2 cups vanilla ice cream (good quality): The better the ice cream, the less sweetener you need elsewhere. I use a brand that lists cream, sugar, and vanilla as the first three ingredients. Anything with a long list of gums will leave a slick feeling on your tongue. Marta would have used the store-brand vanilla and it would have been just fine — she believed in making things work with what you had.
- ¼ cup heavy cream or whole milk: Heavy cream gives it a richness that stands up to the coffee bitterness. Whole milk works if that’s what you have, but the shake will be thinner and you should freeze the milk glass for 15 minutes before pouring. The cream version is the one my husband requests for his birthday.
- 1-2 tablespoons simple syrup or maple syrup (optional): Depending on how sweet your ice cream is and how bitter your coffee is, you might not need this. Taste the base before you blend the full batch. I almost never add it — I like the edge of the coffee against the sweet cream.
- Pinch of flaky sea salt: This is not optional. Just leave it out and taste the difference. The salt sharpens everything. It makes the coffee taste like coffee and the vanilla taste like vanilla. I started adding it after a friend who runs a coffee shop suggested it. She was right.
What to Pull Out Before You Start
- Standard ice cube tray (makes 12-15 cubes)
- Blender — a high-speed blender is ideal, but a standard one works too. You just need to let it run a little longer.
- Tall glass or mason jar — chill it in the freezer for 10 minutes if you remember. It keeps the shake cold longer.
- Fine-mesh strainer — only if you brewed coffee with grounds that snuck through. Usually not needed.
Let’s Make It (Step by Step)
This goes fast once the coffee cubes are frozen. I usually make a double batch of cubes so I have them ready for the week.
Freeze the coffee (do this first): Pour the cooled coffee into an ice cube tray. Freeze until solid — at least 4 hours, or overnight.
- Pour a splash of cream into the blender: Just enough to cover the blades. This gets the blender moving without straining the motor. Add the frozen coffee cubes (6-8 cubes for a thick shake, 4-5 for a thinner one). (📸 Photo tip: The cubes should be a deep, dark brown — almost black at the edges. That is how you know you used strong enough coffee.)
- Scoop in the ice cream: Use the full 2 cups. Press it down gently into the cubes. Add the pinch of sea salt and the syrup now if you are using it.
- Blend on low to start: Pulse it 4 or 5 times to break up the large chunks. Then increase to medium speed. Listen for the sound — a chugging, laboring sound means it is too thick. Add another tablespoon of cream. A smooth, whirring sound means you are exactly where you need to be. (📸 Photo tip: When the blender forms a vortex and the mixture climbs up the sides in a smooth wave, it is ready.)
- Taste it: Dip a spoon in. The texture should be thick enough to coat the spoon completely. If it tastes too bitter, add a teaspoon more syrup. If it tastes flat, add another pinch of salt. This is the step Marta never skipped — she always tasted before serving, even if she had made the same recipe a hundred times.
- Pour and serve immediately: It will be very thick. You may need to coax it out of the blender with a spatula. Top with whipped cream and a dusting of cocoa or cinnamon if you are feeling fancy. I almost never am, but the cocoa dusting does look beautiful in the morning light.
Make-Ahead Notes (Because Nobody Wants to Wait 4 Hours for a Milkshake)
The coffee cubes are the make-ahead secret. I brew a full pot of strong coffee on Sunday night, let it cool, and fill two trays. Once they are solid, I pop them out into a freezer bag. They keep for up to a month. After that, the flavor starts to fade, but they are still usable.
- Fridge: This is a fresh drink. It does not store once blended. Make it and drink it immediately.
- Freezer: The coffee cubes can be frozen for up to 1 month in an airtight bag.
- Reheat: Do not reheat. Please do not reheat. Just make fresh cubes.
Things I Wish I’d Known the First Time
- Don’t skip cooling the coffee before freezing: Hot coffee in a freezer will warm the ice cream in the next step and create large, uneven ice crystals. Let it come to room temperature first, then pour it into the tray.
- If your shake is too thin, add more cubes, not more ice cream: More ice cream throws off the coffee-to-cream ratio. More cubes deepen the coffee flavor and thicken the shake without adding extra sugar. I keep a stash of cubes in the freezer just for this.
- Rinse the blender immediately: Coffee milkshake residue hardens like cement in the bottom of a blender. A quick rinse with hot water right after you pour it saves you a scrubbing session later. I learned this the hard way after ruining a spatula trying to chip it out.
- Taste your coffee before freezing: If you don’t like the taste of the coffee on its own, you will not like it in the milkshake. Freezing concentrates everything — the good and the bad. I have tossed an entire tray of cubes because I used a batch that was too bitter. It hurt, but the milkshakes I saved from mediocrity were worth it.
Swaps That Actually Work
- Dairy-Free: Use a high-fat oat or coconut ice cream and full-fat oat milk or coconut cream in place of the heavy cream. The frozen coffee cubes stay the same. This is the version I make for my sister-in-law who is dairy-free — she says it is the only coffee shake that does not taste like a compromise.
- Mocha: Add 1 tablespoon of cocoa powder to the blender along with the coffee cubes. Blend thoroughly. It adds a faint bitterness that plays beautifully off the sweet cream. My daughter Nora’s preferred version when she comes home from Savannah.
- The Adult Version: Add 1 ounce of bourbon or Kahlúa to the blender. Reduce the simple syrup by half. The alcohol will thin the shake slightly, so add one extra coffee cube to compensate.
- Kid-Friendly (Creamsicle-style): Use vanilla ice cream and add a splash of orange juice (1-2 tablespoons) and a drop of vanilla extract. The orange and coffee combination is unexpected and surprisingly good. My youngest calls it a “sunrise shake.”
Questions I Get About This Recipe All the Time
Q: Why did my milkshake turn out watery and bland?
A: Two likely culprits. First, your coffee was not strong enough. It needs to be double-strength so that when it freezes, the flavor can stand up to the ice cream. Second, you might have added too much milk. The milk is just there to get the blender moving. Stick to the heavy cream or use just enough milk to barely cover the blades.
Q: Can I make this with decaf coffee?
A: Absolutely. I do it all the time for evening shakes. Use the same double-strength ratio. Dark roast decaf is best — lighter decaf tends to taste flat when frozen. I have tested this with several brands, and the dark roast consistently delivers the best flavor.
Q: How long can I store the leftover shake?
A: You cannot. A blended milkshade does not hold. The texture breaks down within minutes as the ice cream melts and the coffee cubes separate. Make exactly what you are going to drink. If you absolutely must save it, pour it into a freezer-safe container and freeze it for 1-2 hours, then re-blend with a splash of cream. It will be close but not identical. I do not recommend it, but I have done it when I made too much.
Q: What is the best thing to serve with this?
A: Something salty. A soft pretzel with mustard, or a plate of crispy bacon. The salt balances the sweetness and the fat from the pretzel or bacon coats your mouth in a way that makes the next sip of coffee shake taste even richer. My family makes this an occasional weekend breakfast. I pair it with a scrambled egg sandwich on a buttered roll. It works in a way that feels deeply correct.
More Recipes My Family Makes on Repeat
If you liked this coffee milkshake, here are a few others that get the same reaction at our table:
- My Grandmother’s Extra-Thick Hot Chocolate — The one that uses a ganache base instead of powder. It is the only hot chocolate my kids request.
- Cold Brew Smoothie with Banana and Oats — A make-ahead breakfast that tastes like a treat. My husband takes it to work in a thermos.
- Vanilla Bean Ice Cream (No Machine) — The base for this milkshake. If you make it from scratch, you will never go back to store-bought.
The moment that milkshake hits your lips — cold, thick, a little bit bitter, a little bit sweet — is the moment you will understand why I keep a bag of frozen coffee cubes in my freezer at all times. It is not just a drink. It is a ten-minute vacation in a glass. The kind of thing that resets your afternoon.
If you try it, drop a comment below — I love hearing how it goes for you. And if you make it for a weekend brunch or a late-night kitchen counter moment, tag me on Pinterest so I can see yours!
📌 Save this coffee milkshake recipe for your next weekend brunch or late-night craving — the frozen coffee cube trick means you can have it ready in 10 minutes.
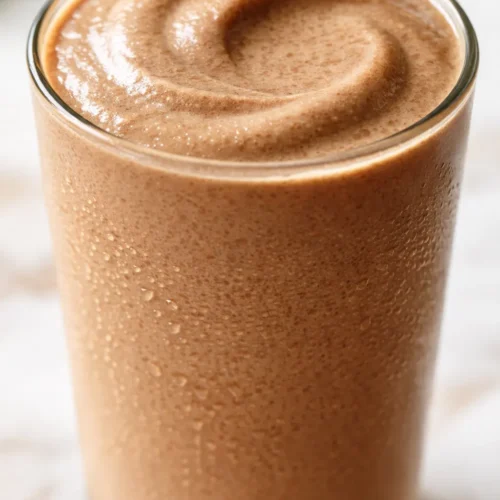
My Grandmother’s Coffee Milkshake with Frozen Coffee Cubes
Equipment
- Ice Cube Tray
- Blender
- Tall Glass or Mason Jar
Ingredients
- 1 ½ cups strong brewed coffee, cooled
- 2 cups vanilla ice cream (good quality)
- ¼ cup heavy cream or whole milk
- 1-2 tablespoons simple syrup or maple syrup (optional)
- 1 pinch flaky sea salt
For serving: whipped cream and cocoa powder (optional)
Instructions
- Freeze the coffee: Pour cooled coffee into an ice cube tray. Freeze until solid, at least 4 hours or overnight.
- Add a splash of cream to the blender (just enough to cover the blades). Add 6–8 frozen coffee cubes for a thick shake, or 4–5 for a thinner one.
- Scoop in the ice cream. Add the pinch of sea salt and syrup if using.
- Blend on low to pulse, then increase to medium speed until smooth and thick. Listen for a smooth whirring sound — if it chugs, add another tablespoon of cream.
- Taste and adjust: add more salt if flat, more syrup if too bitter.
- Pour into a chilled glass immediately. Top with whipped cream and cocoa if desired.
Notes
Dairy-free: Use high-fat oat or coconut ice cream and full-fat oat milk or coconut cream.
Mocha: Add 1 tablespoon cocoa powder with the coffee cubes.
Adult version: Add 1 ounce bourbon or Kahlúa, reduce syrup by half, and add one extra coffee cube.
Kid-friendly Creamsicle: Add 1-2 tablespoons orange juice and a drop of vanilla extract.
Thin shake rescue: Add more frozen coffee cubes, not more ice cream.
Related posts:
 The Super Simple Chocolate Cake for Dad That Disappears in Minutes
 My Grandmother’s Peach Cobbler with the Biscuit Topping That Stays Crispy Every Time
 My Grandmother’s Chocolate Wafers for the Ultimate Homemade Oreo Ice Cream Sandwiches
 The DIY Caramel Crunch Frappe That Beats the Drive-Thru (In 5 Minutes)
 Zucchini Carrot Muffins That Are Actually Fluffy (Not Soggy) – Ready in 35 Minutes
 The Best French Toast Iced Latte You’ll Make at Home — Ready in 5 Minutes