
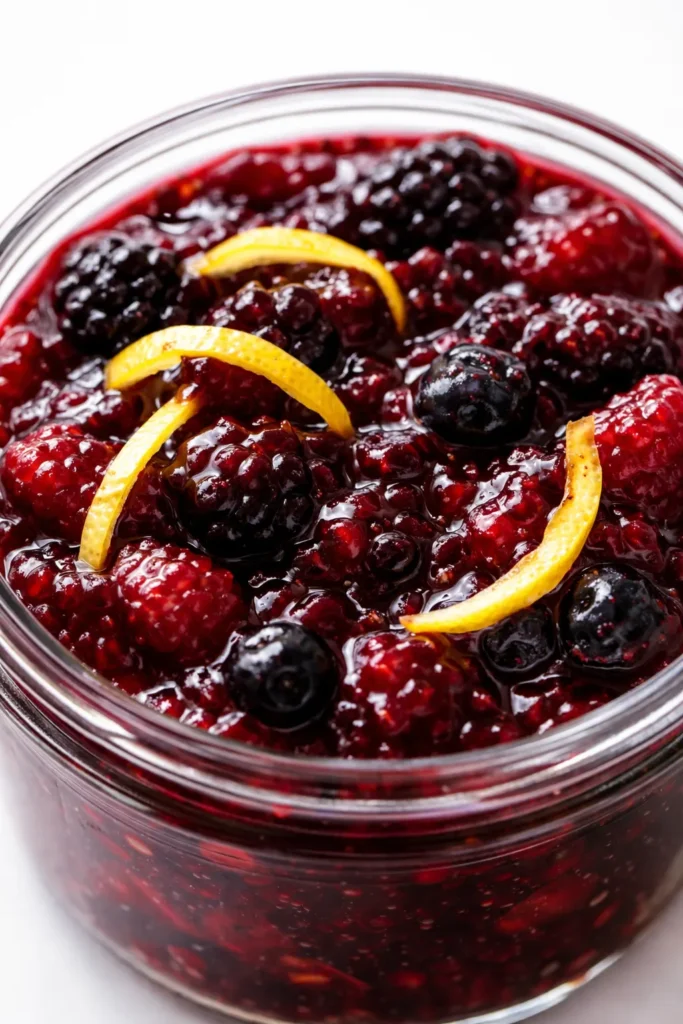
That moment when you tilt the spoon and the last few drops come together in a single, slow, reluctant sheet — that’s the signal. The jam is ready. The whole kitchen smells like the height of summer, even if it’s raining outside. Marta used to judge her jam by how it fell off a wooden spoon, and she never once used a thermometer. This is her method, written down for the first time.
The short version: Just three ingredients and a little patience — a summer staple that beats anything from the store.
I’ve made this every July for the past fifteen years, and my daughter texts me from Savannah the minute she sees the first blackberries pop up at her local market. She says it’s the taste of home.
- Serves: Makes about 3 half-pints
- Hands-On Time: 30 min | Total Time: 1 hour 15 min
- Difficulty: Moderate — requires watching the pot closely, but the method is forgiving
- Cost per serving: ~$3.00 per jar
- Calories: ~50 per tablespoon
- Dietary Notes: Naturally vegan, gluten-free, no added pectin
(Photo above: A deep, garnet-red berry jam in a clear glass Mason jar, a little bit of foam skimmed to the side, sitting on Marta’s worn wooden counter. A folded tea towel and a sprig of mint in the background — summer sunlight catching the side of the jar.)
Why My Version Sets Without Commercial Pectin
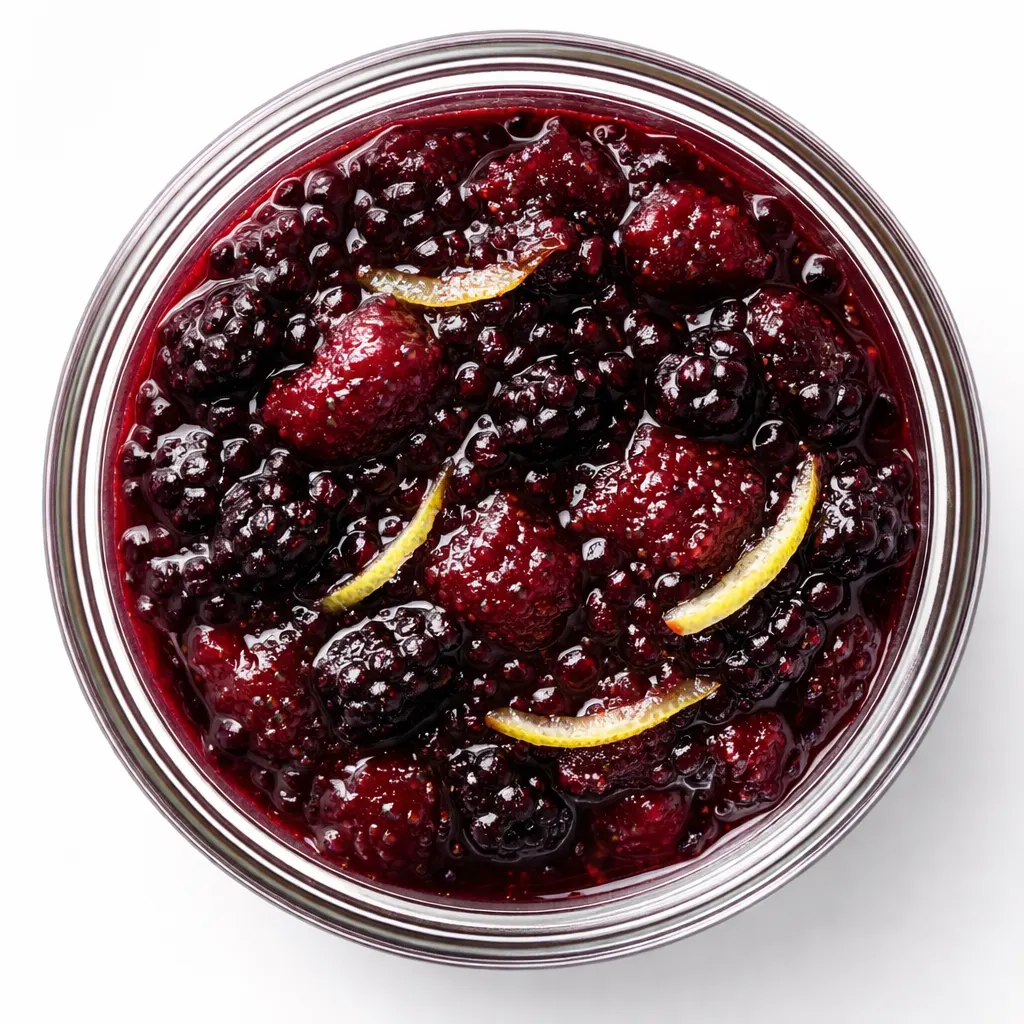
The trick is all in the ratio. Too much sugar and it’s candy. Too little and it’s syrup. I use a precise 3:4 fruit-to-sugar ratio by weight, which gives you a soft, spreadable set that tastes purely of the fruit.
And the lemon — you absolutely need it. It’s not for flavor, though it brightens everything. It’s for the natural pectin in the lemon rind and juice to help the berries along. Marta used a whole lemon, seeds and all, tied up in cheesecloth. She said the seeds had the most pectin. She was right.
This method produces a jam that is intensely fruity, perfectly spreadable, and never, ever grainy. It is summer in a jar.
The Short List (Three Ingredients, One Big Flavor)
- 2 lbs (about 6 cups) mixed fresh berries: I use blackberries, raspberries, and a handful of blueberries — whatever is best at the market. Frozen berries work too, but thaw them completely first and save the juice. My sister uses frozen every January and swears it gets her through winter.
- 1 ½ lbs (about 3 cups) granulated sugar: Don’t skimp here. Sugar is doing structural work — it’s preserving the fruit and helping it set. Low-sugar jam has a different set, and if that’s what you need, I have a variation below.
- 1 large lemon, well-washed: You’ll use the juice and the seeds. The rind goes in too — it releases natural pectin as it simmers.
What You’ll Need
- A large, heavy-bottomed pot — a 5- or 6-quart Dutch oven is ideal, it holds the heat evenly and prevents scorching
- A wooden spoon or a long-handled silicone spatula
- A small, shallow plate for the wrinkle test — pop it in the freezer when you start cooking
- A fine-mesh strainer or a slotted spoon for skimming foam
- 3 half-pint Mason jars with new lids and rings, sterilized
The Process (You Can Do This)
This is not a fast recipe, but it is a wholly absorbing one. You just need to pay attention.
- Prep the fruit: Rinse the berries and pick through them for any stems or bad spots. Add them to your large pot with the sugar and the juice of the whole lemon. Toss everything gently to coat the berries. Let it sit for about 15 minutes — this draws the juices out so the berries don’t scorch right away.
(📸 Photo tip: You should see a pool of dark, syrupy juice in the bottom of the pot after resting. That’s exactly what you want.) - The simmer: Bring the pot to a medium heat. Stir gently until the sugar has completely dissolved into the fruit juices. Once it’s fully liquid, bring it to a boil. Adjust the heat so it settles into a steady, vigorous simmer — not a furious boil, but a rolling one that rises an inch or so in the pot.
- Add the lemon: Tie the lemon seeds and the squeezed lemon rind into a small piece of cheesecloth — or just toss them in loose if you’re careful to fish them out later. (Marta just let people find them in their jar, which I do not recommend.) Drop the bundle into the pot.
- Skim the foam: After about 10 minutes, a pinkish foam will rise to the top. This is just air and impurities. Skim it off with a fine-mesh strainer and discard it. Don’t skip this — it keeps your jam looking jewel-bright instead of cloudy.
- The wrinkle test: After about 20-25 minutes of simmering, start testing. Drop a small spoonful of jam onto your cold plate from the freezer. Let it sit for 30 seconds. Gently push it with your fingertip. If it wrinkles and holds its shape, it’s done. If it’s still runny, keep cooking, testing every 2 minutes.
(📸 Photo tip: The jam on the plate should have a visible skin forming on top and push into a gentle ridge rather than flooding back together.) - Jar it: When it’s ready, remove the lemon seeds and rind. Ladle the hot jam into your sterilized jars, leaving about ¼ inch of headspace. Wipe the rims clean with a damp paper towel — any sticky residue will prevent the lids from sealing. Screw the lids on fingertip tight.
- Process or store: For pantry stability, process in a boiling water bath for 10 minutes. If you’ll eat it within a month, just refrigerate it. Either way, let the jars sit undisturbed on the counter for 12 hours — you’ll hear the lids ping as they seal. That sound never gets old.
The Batch-Cooking Version (For When the Berries Are Ripe)
Summer berries wait for no one. When they’re perfect, I buy triple the amount and make jam all day. I freeze the extra berries for a second batch in January.
- Fridge: Store unopened jam in the fridge for up to a month. Once opened, keep it refrigerated and use within 2-3 weeks.
- Freezer: Yes! Skip the water bath processing. Let the jam cool completely, ladle it into freezer-safe jars or containers, leaving ½ inch headspace, and freeze for up to a year. Thaw in the fridge overnight.
- Reheat: I take it out of the fridge 15 minutes before serving to let it soften. Never microwave it — it can break the set. Just let it come to room temp naturally.
My Hard-Won Advice (So Your Set Is Perfect)
- Use a wide pot: A wider surface area means more water evaporates faster, which means a faster set and brighter flavor. A tall, narrow pot works, but it takes much longer and the color dulls.
- Trust the cold plate test, not the clock: Every batch is different. Humidity, ripeness of berries, even your elevation changes the timing. I’ve had jam set in 18 minutes and jam that took 45. The plate never lies.
- Don’t double the batch: I know it’s tempting, but a larger batch takes significantly longer to reduce and often ends up tasting cooked rather than bright. Make two separate batches instead. Your jam will thank you.
- The set is soft, not stiff: This is a natural-pectin jam. It will be a soft, spreadable set — perfect on toast, swirled into yogurt, or spooned over ice cream. If you want a stiff, sliceable jam, that’s a different recipe entirely.
Make It Your Own
- Strawberry-Balsamic: Swap half the berries for hulled strawberries and add 2 tablespoons of good balsamic vinegar at the end. It’s my go-to for serving with sharp cheddar on crackers.
- Low-Sugar Version: Reduce the sugar to 1 cup per pound of fruit. The jam will be softer and won’t keep as long at room temperature, so freeze it or refrigerate it. The flavor is intensely fruity and less sweet — my daughter’s preferred version.
- Spiced Berry: Toss a cinnamon stick, 2 whole cloves, and a star anise into the pot while it simmers. Fish them out before jarring. This is incredible around the holidays.
- No Added Sugar: You can use a teaspoon of powdered pectin and a cup of honey or maple syrup. The flavor will be darker and honey-forward. I do this when I have a cold and want it for tea.
The Questions I Get About This Recipe
Q: Why did my jam not set?
A: Ugh, it happens to all of us. The most common reason is it didn’t cook long enough to reach the gelling point — 220°F if you’re using a thermometer, or the wrinkle test if you’re not. You can re-cook it! Pour the jam back into the pot, add a tablespoon of lemon juice, and boil hard for another 5-10 minutes. Use a fresh cold plate to test.
Q: Can I use frozen berries?
A: Absolutely. Let them thaw completely first, and drain off some of the excess liquid — you can drink it, use it in cocktails, or cook it down for syrup. Then follow the recipe exactly. I do this all winter long.
Q: How long does homemade jam last?
A: If you processed the jars in a water bath, they’re shelf-stable for up to a year in a cool, dark pantry. Once opened, refrigerate and use within a month. If you skipped the water bath, keep it in the fridge for up to a month.
Q: What should I serve with this jam?
A: Oh, so many things! It’s divine on our family’s Sunday morning sourdough waffles. But our favorite unexpected pairing? A spoonful on a cheese board with a sharp cheddar or a triple-cream brie. A tiny drizzle over vanilla ice cream. Or just straight from the jar, which my husband does after the kids go to bed.
More Recipes From Our Kitchen That Pair Perfectly With This Jam
If you liked this one, here are a few others that I make every single summer — they’re practically neighbors on the pantry shelf.
- Classic Sourdough Waffles — The only waffles we make on summer Saturdays. Crispy, tangy from the starter, and they soak up jam like a dream.
- Triple-Berry Crisp — When you can’t be bothered to make jam but the berries are begging to be used. Golden oat topping, bubbling filling.
- [INTERNAL LINK PLACEHOLDER: Homemade Buttermilk Biscuits] — The fluffy, flaky vehicle for all that summer jam. I use Marta’s recipe, naturally.
This is the jam I want in my pantry for the whole year — the taste of summer mornings in Asheville, captured in a jar. I hope it becomes that for you too.
If you make it, drop a comment below — I love hearing about your berry haul or your grandma’s jam secrets. It’s my favorite kind of mail.
📌 Homemade berry jam recipe that sets perfectly without pectin — save it for your next summer berry haul to enjoy all year long.
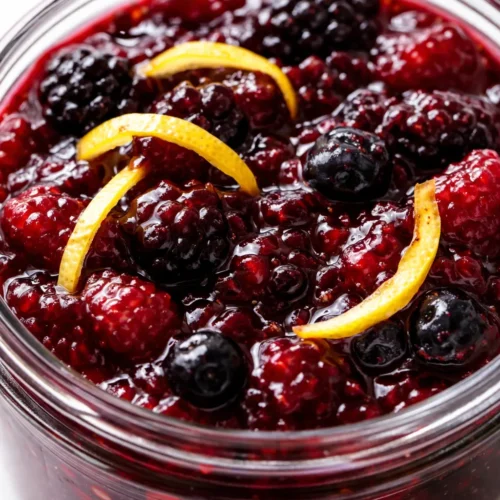
Small-Batch Summer Berry Jam with the Perfect Set (No Pectin Added)
Equipment
- Large heavy-bottomed pot (5-6 quart Dutch oven)
- Wooden spoon or long-handled silicone spatula
- Small shallow plate (for wrinkle test, kept in freezer)
- Fine-mesh strainer or slotted spoon
- 3 half-pint Mason jars with new lids and rings, sterilized
Ingredients
- 2 lbs mixed fresh berries (blackberries, raspberries, blueberries)
- 1.5 lbs granulated sugar (about 3 cups)
- 1 large lemon, well-washed (juice and seeds used; rind optional in cheesecloth)
Instructions
- Prep the fruit: Rinse the berries and pick through for any stems or bad spots. Add them to your large pot with the sugar and the juice of the whole lemon. Toss gently to coat. Let sit for about 15 minutes – this draws the juices out.
- The simmer: Bring the pot to medium heat. Stir gently until the sugar has completely dissolved. Once liquid, bring to a boil. Adjust heat to a steady, vigorous simmer – a rolling boil that rises an inch or so in the pot.
- Add the lemon: Tie the lemon seeds and squeezed rind in a small piece of cheesecloth (or toss them in loose if you’ll fish them out later). Drop the bundle into the pot.
- Skim the foam: After about 10 minutes, a pinkish foam will rise. Skim it off with a fine-mesh strainer and discard. This keeps the jam jewel-bright.
- The wrinkle test: After about 20-25 minutes, start testing. Drop a small spoonful onto your cold plate from the freezer. Let sit for 30 seconds. Push gently with your fingertip – if it wrinkles and holds shape, it’s done. If runny, cook another 2 minutes and test again.
- Jar it: Remove lemon seeds and rind. Ladle hot jam into sterilized jars, leaving ¼ inch headspace. Wipe rims clean. Screw lids fingertip tight.
- Process or store: For pantry stability, process in boiling water bath for 10 minutes. Or just refrigerate if using within a month. Let jars sit undisturbed for 12 hours – you’ll hear the lids ping as they seal.
Notes
Related posts:
 The Super Simple Chocolate Cake for Dad That Disappears in Minutes
 My Grandmother’s Peach Cobbler with the Biscuit Topping That Stays Crispy Every Time
 The DIY Caramel Crunch Frappe That Beats the Drive-Thru (In 5 Minutes)
 Zucchini Carrot Muffins That Are Actually Fluffy (Not Soggy) – Ready in 35 Minutes
 The Best French Toast Iced Latte You’ll Make at Home — Ready in 5 Minutes
 The Strawberry Shortcake Crumble You’d Never Guess Has Oreos in It