
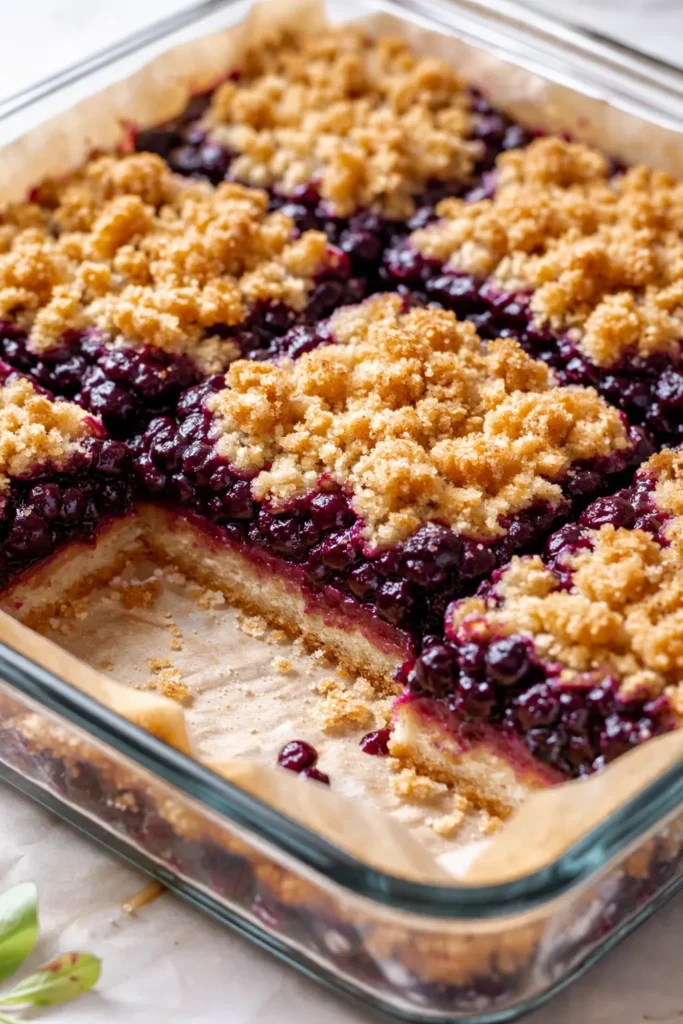
Let me tell you about the first time I made these huckleberry crumb bars. Nora wandered into the kitchen without her shoes on — the smell of brown butter and bursting huckleberries is that powerful. She stood there in her socks, staring at the pan cooling on the counter, and said “Mom, I’m not waiting until they’re cool.” She didn’t. Neither did I. That right there is the moment these bars earned their permanent spot in our summer rotation.
The short version: Buttery brown sugar crumb base, a thick layer of tart-sweet huckleberries, and a streusel topping that shatters when you bite into it. One pan, zero leftovers.
I’ve been making these every summer for the past four years — ever since a trip to Montana where I first tasted a huckleberry straight off the bush. Their season is fleeting, but this recipe freezes beautifully, so I can pull out a pan in December and taste August all over again.
- Serves: 12 as a dessert or coffee break treat
- Hands-On Time: 20 min | Total Time: 1 hour (doesn’t include cooling time)
- Difficulty: Easy enough for a Tuesday — even my husband can make these
- Cost per serving: ~$1.50 (fresh frozen huckleberries keep it budget-friendly)
- Calories: ~310 per serving
- Dietary Notes: Adaptable for gluten-free (see swaps below)
(Photo above: overhead shot of the bars cooling in a blue ceramic baking dish, a fork resting on the edge, steam still rising from a perfectly cut square showing the jammy deep-purple berry layer. Morning light streaming in from the left.)
The Thing That Makes the Crumb Stay Crunchy (Not Soggy)
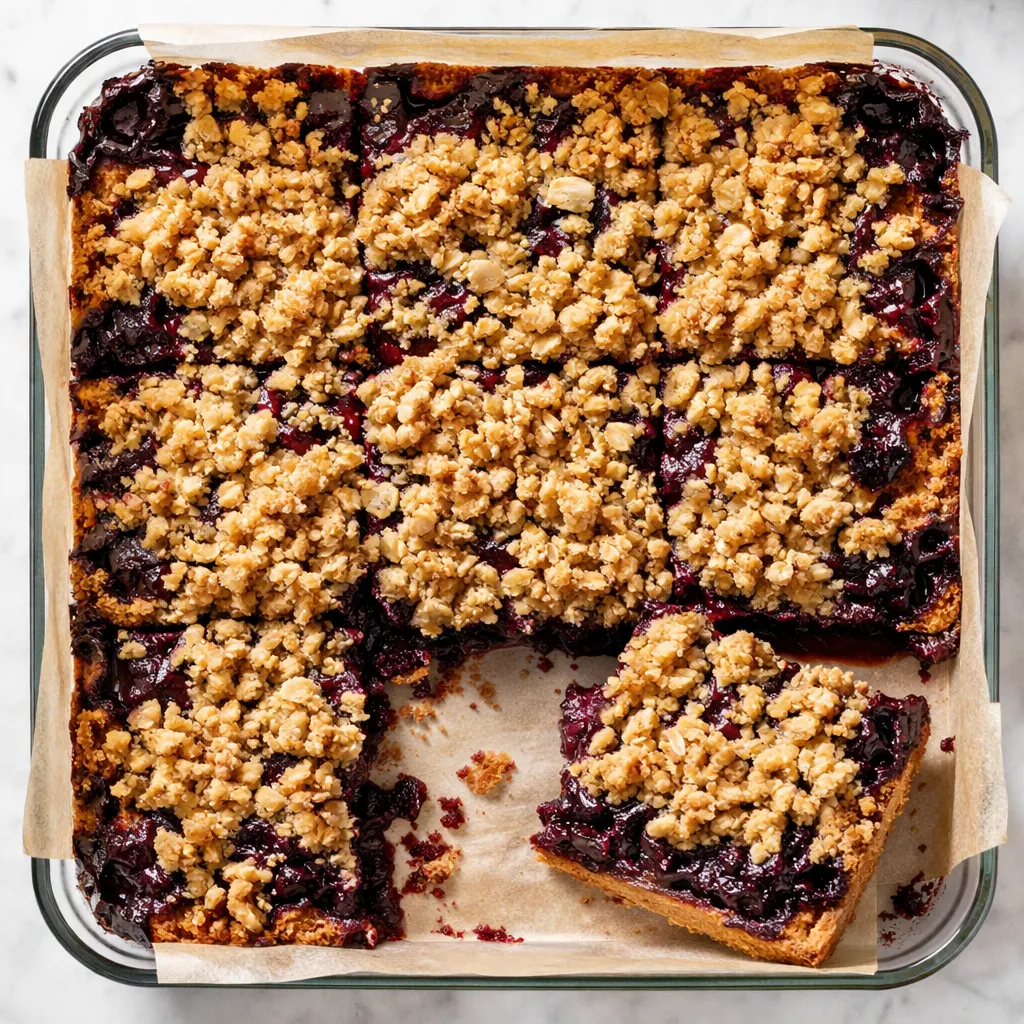
The enemy of a good fruit bar is a soggy bottom crust. The berries release liquid as they bake — it’s just what they do. My trick is to pre-bake the crust for 12 minutes before the berries go in. That head start gives it a barrier that holds up against all that juicy goodness. Plus, browning the butter for the streusel adds a layer of nutty flavor that makes the whole thing taste way more complicated than it actually is.
When I skip the pre-bake step — and yes, I’ve done it when I’m in a hurry — the bottom crust turns into a pasty, doughy mess that makes me sad. So now I never skip it. And neither should you.
Everything You Need (And a Few Notes From Me)
- 1 ½ cups (190g) all-purpose flour: I’ve used King Arthur for years. It just behaves the way I expect it to.
- 1 cup (200g) packed light brown sugar: Dark brown works too, but light lets the huckleberries shine. My kids actually prefer the flavor with light brown — it’s less molasses-forward.
- 1 ½ sticks (170g) cold unsalted butter, cubed: Cold is key here. If the butter warms up, your crumb turns into a paste. I cube mine and stick it in the freezer for 10 minutes before I start.
- 2 ½ cups fresh or frozen huckleberries: If you don’t have huckleberries, wild blueberries are the closest substitute. Don’t use thawed frozen berries straight from the bag — they’ll turn the filling into soup. Use them frozen or fresh.
- 1/3 cup (65g) granulated sugar: Just enough to sweeten the berries without overpowering their natural tartness.
- 2 tbsp cornstarch: This thickens the berry juice so it sets up like jam instead of running all over the pan. Learned this the hard way after my first batch turned into huckleberry soup.
- 1 tbsp fresh lemon juice: A little acid brightens everything up.
- 1 tsp vanilla extract: Pure vanilla, not imitation. You can taste the difference.
- ½ tsp salt: Salt balances the sweetness and makes the butter taste more buttery.
What to Pull Out Before You Start
- 8×8-inch baking pan (metal or ceramic — glass works too, just watch the edges)
- Parchment paper (for the sling — this is non-negotiable if you want clean slices)
- Food processor or pastry cutter (I use a processor for speed, but a bowl and your hands work beautifully)
- Medium saucepan (for browning the butter)
- Mixing bowls (one medium, one small)
Let’s Make Huckleberry Crumb Bars (Start to Finish)
Preheat your oven to 375°F. Line your 8×8 pan with parchment, leaving an overhang on two sides — this is the sling that lets you lift the whole thing out later.
- Brown the butter (optional, but don’t skip it): In a small saucepan over medium heat, melt the cubed butter. It’ll foam up, then settle down. Swirl the pan gently until it turns a deep amber color and smells like toasted nuts. Pour it into a bowl to cool slightly. This step adds a richness that store-bought cookies can’t touch. (📸 Photo tip: At this point, the butter should be the color of dark honey — not lighter, not darker.)
- Make the crust + crumb: In a food processor, pulse the flour, brown sugar, and salt. Add the browned butter and pulse until it looks like wet sand. If you don’t have a processor, use a pastry cutter or your fingers — just work fast so the butter doesn’t get too warm.
- Press the bottom crust: Reserve about 1 cup of the mixture for the topping. Press the rest firmly into the prepared pan. Use the bottom of a measuring cup to get it even. This is the step that keeps your base from crumbling apart.
- Pre-bake the crust: Bake for 12 minutes, until the edges are just starting to turn golden. (📸 Photo tip: The edges should look set and slightly dry — not raw and shiny.)
- Prepare the filling: While the crust bakes, toss the huckleberries with granulated sugar, cornstarch, lemon juice, and vanilla. If using frozen berries, don’t thaw them — just toss them straight from the freezer.
- Assemble: Spread the berry mixture evenly over the hot crust. Sprinkle the reserved crumb mixture over the top in big clumps. I use my fingers for this part — it makes prettier lumps than a spoon.
- Bake: 30-35 minutes, until the top is deep golden brown and the berries are bubbling up around the edges. If the top is browning too fast, tent it loosely with foil for the last 10 minutes.
- Cool (the hard part): Let the bars cool completely in the pan on a wire rack. I know. It’s torture. But cutting them warm is how you get a crumbly mess. Give it at least 2 hours.
How I Make These Ahead (For Stress-Free Mornings)
I almost always make a double batch of these — one for now, one for the freezer. They’re my secret weapon for lazy weekend mornings when the family wants something special without me having to start from scratch.
- Fridge: Store in an airtight container in the fridge for up to 5 days. They firm up beautifully when cold.
- Freezer: Yes! Freeze the whole baked pan or individual bars wrapped tightly in plastic + foil. They keep for 3 months.
- Reheat: Pop them in a 300°F oven for 10 minutes to bring back the crispness. The microwave makes the topping soft — avoid it if you can.
What I’ve Learned After 20+ Batches of These
- Don’t overwork the crumb: If you pulse the flour and butter until it forms a uniform dough, you’ve gone too far. You want clumps and crumbs of different sizes — that’s what gives you those craggy peaks on top.
- Use frozen berries straight from the bag: Thawed frozen berries release too much liquid too fast. Keeping them frozen means they hold their shape better and the filling stays thick.
- Pre-bake the crust no matter what: This isn’t negotiable. Even 10 minutes makes a difference. It creates a barrier that keeps the bottom from getting soggy.
- Let them cool completely: I know it’s hard when the whole house smells like brown butter and berries. Trust me, I’ve burned my tongue more than once rushing it. The bars need time to set so they cut cleanly.
Make These Your Own (Easy Swaps My Family Loves)
- Gluten-Free: Swap the all-purpose flour for a 1:1 gluten-free baking flour (I use Bob’s Red Mill). The texture is slightly more tender, but my gluten-free sister-in-law swears by it.
- Different Berries: No huckleberries? Use wild blueberries, blackberries, or a mix of raspberries and chopped strawberries. The cornstarch amount stays the same.
- Less Sweet: Cut the brown sugar in the crust to 3/4 cup and the granulated sugar in the filling to 1/4 cup. The tartness of the berries comes through more.
- Add Almond Extract: This is Nora’s favorite variation — add 1/4 tsp almond extract to the berry filling. It gives it a subtle cherry-almond vibe that’s amazing.
The Questions I Get About These Bars (Almost Every Time I Post Them)
Q: Why did my filling turn out runny?
A: Ugh, I’ve been there. It usually means one of two things: the cornstarch wasn’t mixed evenly into the berries, or the bars were cut too soon. Make sure you toss the berries really well with the cornstarch, and give them the full 2 hours to cool. If it’s still runny after that, you can stick the pan in the fridge for 30 minutes to firm it up.
Q: Can I make these dairy-free?
A: Yes, absolutely. I’ve tested it with vegan butter (I like Miyoko’s) and it works perfectly. Just make sure it’s cold and cube it the same way you would regular butter. The flavor is slightly less rich, but still delicious.
Q: How long do these last? Can I freeze them?
A: In the fridge, they’re perfect for 5 days. In the freezer, they’ll keep for 3 months. I wrap individual bars in plastic wrap, then foil, and pull one out whenever I need a little treat. Reheat in a 300°F oven for 10 minutes to crisp the topping back up.
Q: What do you serve with huckleberry crumb bars?
A: A scoop of vanilla bean ice cream is the classic move. But honestly? My favorite way is with a cup of strong black coffee in the morning. The bitterness of the coffee cuts through the sweetness perfectly. My kids love them with a drizzle of heavy cream on top.
More Recipes My Family Makes on Repeat
If these huckleberry crumb bars have a permanent spot in your kitchen, here are a few others that get the same reaction at our table:
- [INTERNAL LINK PLACEHOLDER: Wild Blueberry Muffins with Brown Butter Streusel] — The crumb topping stays crunchy for days.
- [INTERNAL LINK PLACEHOLDER: Easy Peach Cobbler with Buttermilk Biscuits] — The summer dessert I’m known for at every potluck.
- [INTERNAL LINK PLACEHOLDER: My Grandmother’s German Apple Cake (Versunkener Apfelkuchen)] — Marta’s recipe, exactly as she wrote it.
These bars are the taste of August mornings and mountain trips — the kind of thing you make when you want to capture a season in a pan. I hope you make them for your family, for a weekend breakfast , or just because the smell of brown butter and huckleberries is worth the hour it takes to get there.
If you try them, drop a comment below and let me know how they turned out — I love hearing about your kitchen victories.
📌 Huckleberry crumb bars recipe that stays crunchy even after a day in the fridge — save this for your next berry season haul or weekend baking project.
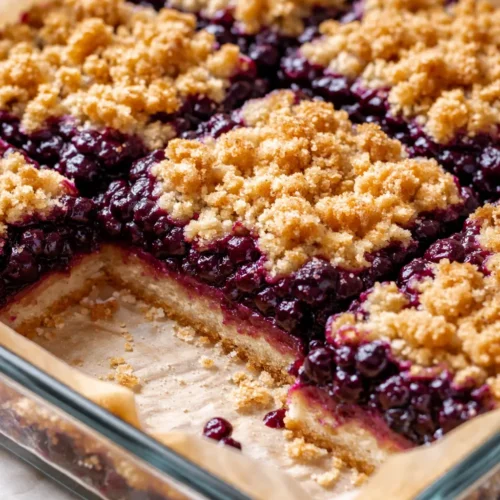
Huckleberry Crumb Bars
Equipment
- 8×8 inch Baking Pan
- Parchment Paper
- Food processor (or pastry cutter)
- Medium Saucepan
- Mixing Bowls
- Wire Rack
Ingredients
For the crust and streusel:
- 1 1/2 cups all-purpose flour (190g)
- 1 cup packed light brown sugar (200g)
- 1 1/2 sticks cold unsalted butter, cubed (170g)
- 1/2 tsp salt
For the filling:
- 2 1/2 cups fresh or frozen huckleberries
- 1/3 cup granulated sugar (65g)
- 2 tbsp cornstarch
- 1 tbsp fresh lemon juice
- 1 tsp vanilla extract
Instructions
- Preheat oven to 375°F. Line an 8×8-inch baking pan with parchment paper, leaving overhang on two sides for easy removal.
- Brown the butter: In a small saucepan over medium heat, melt the cubed butter. It will foam, then settle. Swirl the pan until the butter turns a deep amber color and smells like toasted nuts. Pour into a bowl and let cool slightly.
- Make the crust and streusel: In a food processor, pulse flour, brown sugar, and salt. Add browned butter and pulse until mixture looks like wet sand. Reserve about 1 cup for the topping. Press the remaining mixture firmly into the prepared pan using the bottom of a measuring cup.
- Pre-bake the crust: Bake for 12 minutes, until the edges are just starting to turn golden. Remove from oven.
- Prepare the filling: In a bowl, toss huckleberries with granulated sugar, cornstarch, lemon juice, and vanilla. If using frozen berries, do not thaw.
- Assemble: Spread the berry mixture evenly over the hot crust. Sprinkle reserved crumb mixture over the top in clumps.
- Bake: 30-35 minutes, until the top is deep golden brown and berries bubble around edges. If top browns too fast, tent with foil for last 10 minutes.
- Cool: Let bars cool completely in the pan on a wire rack, at least 2 hours. Cutting them warm will cause crumbles.
Notes
Related posts:
 The Slow Cooker Cowboy Casserole That Saves Tired Weeknights (No Soggy Tots Allowed)
 Lemon Garlic Butter Baked Salmon in Foil That’s Ready in 25 Minutes — No Fuss, No Mess
 Moist Chocolate Zucchini Bread That Doesn’t Turn Out Rubbery — Finally
 Creamy Homemade Strawberry Dole Whip (That Tastes Just Like the Real Thing)
 Blueberry Peach Bread That Doesn’t Sink or Turn Mushy — Finally
 Quinoa Chicken Sausage Bowls That Are Ready in 30 Minutes (And Actually Keep Well)