
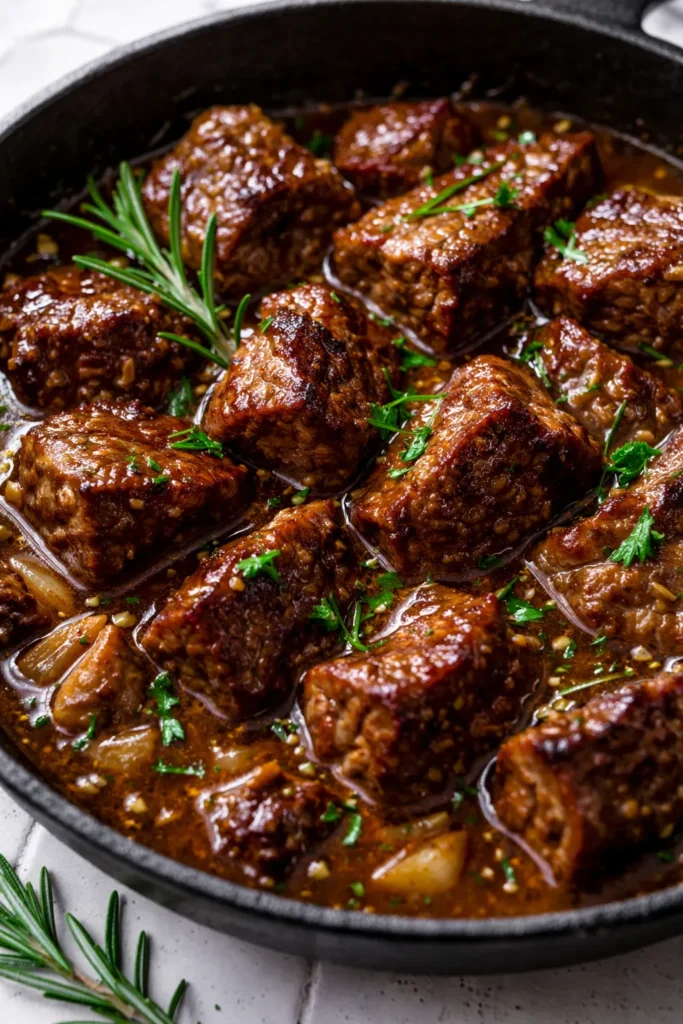
That first forkful — when the beef practically falls apart and the gravy coats every single grain of rice or mashes into the potatoes — is the moment my husband looks up and says “okay, this is a keeper.” I’ve made beef tips more ways than I can count, and this is the only version that disappears completely every single time. My daughter Nora texts me for this recipe when she’s homesick. It’s that good.
The short version: Beef tips so tender they melt, in a rich garlic-rosemary gravy, all done in about an hour and 15 minutes.
I spent way too many years fighting with tough beef tips. The trick — which I learned after cooking this weekly for a whole winter — is two things: getting a really good sear, and then letting the meat finish itself in the gravy. The oven does the work, you just wait.
- Serves: 4-6 as a main over rice, egg noodles, or potatoes
- Hands-On Time: 30 min | Total Time: 1 hr 15 min
- Difficulty: Easy enough for a Tuesday, special enough for Sunday
- Cost per serving: ~$10.00
- Calories: ~450 per serving (without sides)
- Dietary Notes: Naturally gluten-free adaptable (flour swap). Low-Carb friendly.
(Photo above: Close-up overhead shot of the beef tips in a deep cast iron skillet, the gravy thick and dark brown with visible flecks of rosemary and garlic. A spoon rests on the edge of the pan, and a small dish of creamy mashed potatoes is in the corner.)
The One Step That Keeps These From Being Tough
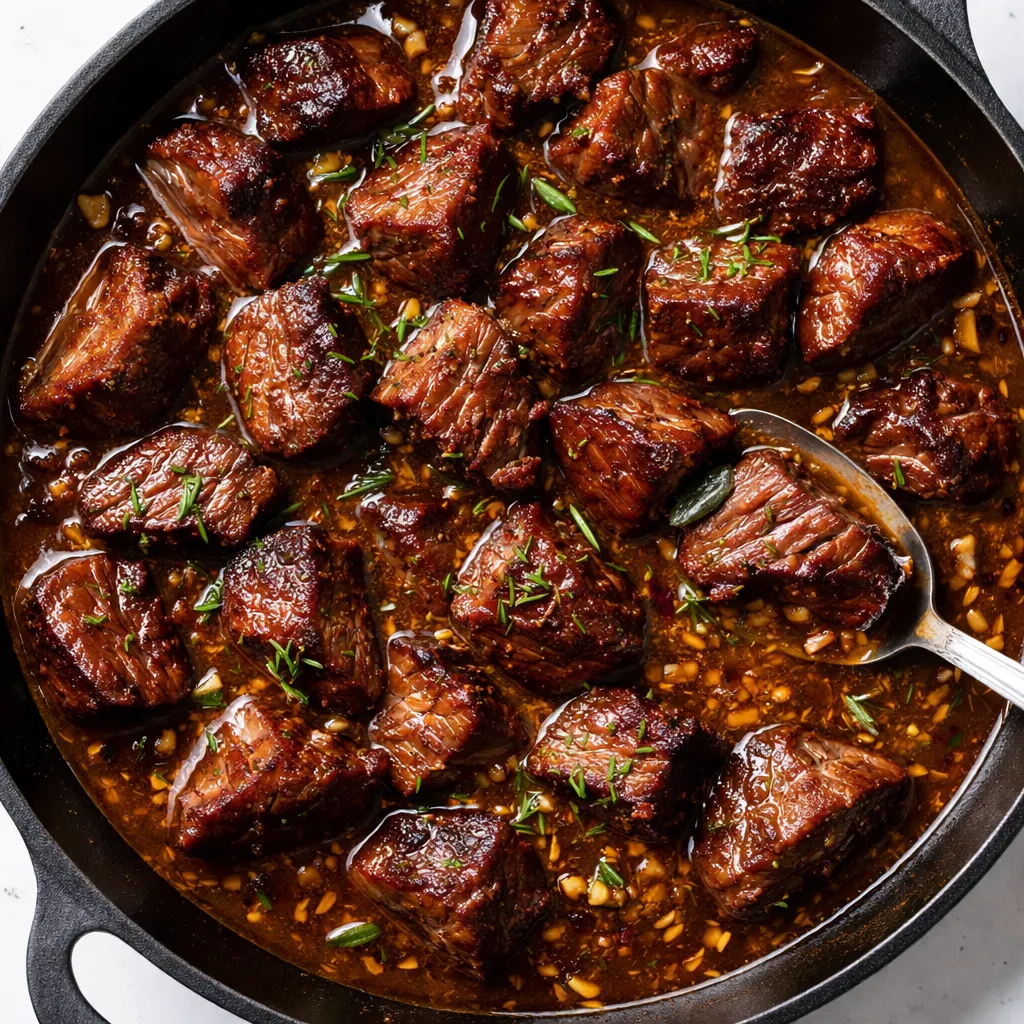
The biggest mistake people make with beef tips is skipping the sear. I know, everyone says it — but it’s not just about flavor. Browning the meat creates a crust that locks in the juices and gives the gravy its deep color and richness. If you dump raw meat into the liquid, you end up with gray, boiled beef. The second thing is the cut of meat. Don’t use stew meat from the store that’s already cut up. It’s usually odds and ends that cook unevenly. Go for sirloin or chuck roast you cut yourself into even, bite-sized pieces. That one change made all the difference for me.
And the rosemary and garlic? They go in at exactly the right moment. Garlic in the beginning so it melts into the gravy, rosemary in the last hour so the flavor is still fresh and piney-sweet, not bitter or stale.
What Goes In (And Why Each One Earns Its Spot)
- 2 lbs sirloin steak or boneless chuck roast: Cut into 1.5″ cubes at home. Don’t buy pre-cut “stew meat” — it’s a mix of random pieces that cook unevenly. I learned this the hard way after a few chewy batches.
- 4 tbsp olive oil, divided: For searing. You need enough to coat the pan so the meat browns instead of steams. My kids know this smell means dinner is going to be good.
- 1 large yellow onion, diced: The base of the gravy. Cook it until it’s translucent and soft.
- 6 cloves garlic, smashed and roughly chopped: Don’t use the jarred stuff. Fresh garlic melts into the gravy here.
- 2 tbsp tomato paste: Adds that savory depth that makes people think you simmered this for hours.
- 3 tbsp all-purpose flour (or cornstarch for GF): Thickens the gravy perfectly.
- 2 cups beef broth (low sodium): The backbone of the sauce. Use something you actually like the taste of — it concentrates.
- 1 cup red wine (or more broth): Adds acidity and complexity. A dry Cabernet or Merlot works beautifully. I use whatever bottle my husband opens for dinner the night before.
- 3 sprigs fresh rosemary: Not dried. Dried rosemary can be sharp and piney. Fresh rosemary gives a soft, aromatic sweetness.
- 2 bay leaves: For background depth.
- Salt and black pepper to taste.
What to Pull Out Before You Start
- A heavy-bottomed Dutch oven or deep cast iron skillet with a lid.
- A wooden spoon to scrape up the brown bits (the fond).
- A sharp knife for cutting the beef.
- Tongs for turning the meat.
Let’s Make These Beef Tips (Start to Finish)
This goes faster than you’d think, but don’t rush the sear. That’s where the flavor lives.
Prep and Sear: Pat the beef cubes completely dry with paper towels. This is crucial for browning. Season generously with salt and pepper. Heat 2 tablespoons of oil in your Dutch oven over medium-high until it shimmers. Add half the beef in a single layer — don’t crowd the pan. Sear for 3-4 minutes per side until deeply browned. Transfer to a plate. Repeat with the remaining oil and beef.
- Sauté the aromatics: Reduce heat to medium. Add the diced onion and cook until soft and golden, about 5 minutes. Add the garlic and tomato paste, stirring constantly for 1 minute until the paste darkens and smells rich. (📸 Photo tip: The tomato paste should coat the onions and turn a deep brick red — that’s when it’s ready.)
- Make the gravy base: Sprinkle the flour over the onions and stir well. Cook for 1 minute to get rid of the raw flour taste. Slowly pour in the beef broth and red wine, scraping up all those browned bits from the bottom of the pan with your wooden spoon. That scraping is where the flavor lives — don’t skip it.
- Return the beef: Add the seared beef back to the pot, along with any juices that collected on the plate. Tuck the rosemary sprigs and bay leaves into the liquid.
- Simmer: Bring the gravy to a gentle simmer (not a rolling boil — just a few lazy bubbles breaking the surface). Cover the pot, reduce the heat to low, and let it do its thing for 45 minutes to 1 hour, until the beef is fork-tender. (📸 Photo tip: After 45 minutes, try pulling a piece of beef apart with a fork. If it resists, give it another 10 minutes.)
- Finish and serve: Remove the rosemary stems and bay leaves. Taste the gravy. Add salt and pepper if needed. If the gravy is too thin, let it simmer uncovered for 5 minutes to thicken. If it’s too thick, splash in a little extra broth.
- Serve: Spoon over mashed potatoes, egg noodles, or rice. Garnish with a tiny sprinkle of fresh rosemary if you’re feeling fancy.
How I Make This for Busy Weeks
I started doubling this recipe on Sundays because my family goes through it in two days flat. Here’s how I store and reheat it so it tastes as good as day one.
- Fridge: Keeps beautifully in an airtight container for up to 4 days. The flavors meld and get even better.
- Freezer: Yes! Cool completely, transfer to a freezer-safe container, and freeze for up to 3 months. Thaw overnight in the fridge.
- Reheat: Gently warm in a pot over low heat, adding a splash of broth if the gravy has thickened too much. The microwave works in a pinch, but the stovetop keeps the texture of the beef perfect.
Things I Wish Someone Had Told Me About Beef Tips
- Dry the meat, season it big: Wet meat won’t brown. Pat those cubes dry with paper towels and season them like you mean it — a good teaspoon of salt and plenty of pepper.
- Don’t skip the tomato paste step: Cooking the tomato paste for that extra minute caramelizes it and adds a savory depth that a splash of Worcestershire can’t fully replace. My grandmother Marta used to say it ‘wakes up the pot.’ She was right.
- Low and slow is the law: A hard boil will make the beef tough no matter how good the sear was. A gentle simmer with tiny bubbles is what breaks down the connective tissue into gelatin. If you see it boiling hard, turn it down.
- Taste the gravy before you serve: This makes all the difference. The liquid reduces, flavors concentrate, and you might need a pinch of salt or a grind of pepper at the very end. Trust your own taste buds.
Ways to Make This Your Own
- Gluten-Free: Swap the all-purpose flour for 2 tablespoons of cornstarch mixed with 2 tablespoons of cold water (slurry). Stir it in at the end and let it simmer for a minute to thicken.
- Dairy-Free: This recipe is naturally dairy-free if you use oil or a dairy-free butter alternative for the sear.
- Low-Carb/Keto: Serve over cauliflower mash or roasted zucchini noodles. The gravy itself is very low-carb with the flour swap.
- Extra Veggies: Add a cup of sliced mushrooms along with the onions for a classic beef and mushroom combo. My kids actually love the mushrooms even more than the beef sometimes.
- Slow Cooker Version: Sear the beef, sauté the aromatics, and deglaze the pan on the stovetop first. Then transfer everything to the slow cooker and cook on low for 7-8 hours or high for 4-5 hours.
The Questions I Get About This Recipe All the Time
Q: Why did my beef tips turn out tough?
A: Ugh, I’ve been there. It usually comes down to one of two things: not enough time simmering (they need at least 45 minutes to break down connective tissue) or they boiled instead of simmered. A gentle simmer is key. If you’ve already made it tough, try adding a little more broth and simmering it very low for another 30 minutes — sometimes you can rescue it!
Q: Can I use dried rosemary instead of fresh?
A: You can, but I honestly wouldn’t here. Fresh rosemary adds a sweet, floral pine flavor that dried rosemary just doesn’t have. If you’re in a pinch, use half the amount and crush it in your palm before adding to release the oils. But trust me on this one — fresh is worth the trip to the store.
Q: How long does this last in the fridge? Can I freeze it?
A: Yes and yes! It keeps beautifully in an airtight container in the fridge for up to 4 days. The flavors actually get better overnight. It also freezes perfectly for up to 3 months. Thaw in the fridge overnight and reheat gently on the stovetop.
Q: What do you serve with these beef tips?
A: Honestly, the options are endless. My husband likes them over wide egg noodles with a pile of buttered peas on the side. My daughter Nora prefers them over mashed potatoes so the gravy pools in the middle. For a low-carb night, I do cauliflower mash. And on busy weeknights? Buttered egg noodles straight from the bag. You really can’t go wrong.
More Recipes My Family Makes on Repeat
If you liked this one, here are a few others that get the same reaction at our table:
- [INTERNAL LINK PLACEHOLDER: Cozy French Onion Pot Roast] — A slow-braised beauty that fills the house with the smell of caramelized onions and melting cheese.
- [INTERNAL LINK PLACEHOLDER: Garlic Herb Smothered Pork Chops] — The only pork chop recipe my kids ask for by name. Tender, juicy, and smothered in a rich garlic gravy.
- [INTERNAL LINK PLACEHOLDER: Weeknight Shepherd’s Pie] — The one I make when I need a full meal in one dish. Ground lamb or beef, veggie-packed, with a fluffy potato top.
The first time I made this, I called my mom before I even took a bite. It was that kind of good. It’s the kind of meal that makes a Tuesday feel like a Sunday, and honestly? That’s the whole point. I hope it becomes a favorite in your kitchen the way it has in mine.
If you make these beef tips, will you let me know? Drop a comment below or tag me on Pinterest — I love seeing your versions.
📌 Save this tender Garlic and Rosemary Beef Tips recipe for your cozy supper rotation — you’ll be glad you have it come a chilly Tuesday night.
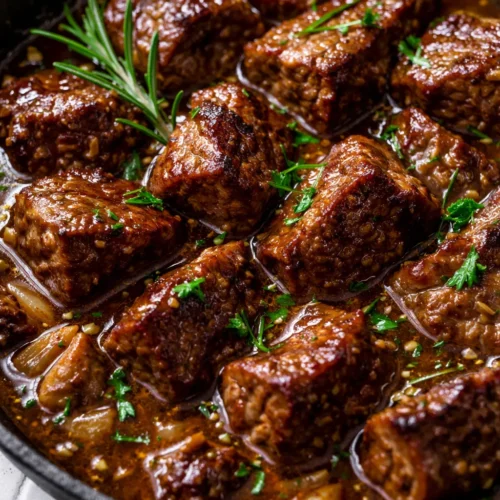
Tender Garlic and Rosemary Beef Tips with a Rich, Silky Gravy
Equipment
- Dutch oven or deep cast iron skillet with lid
- Wooden spoon
- Sharp Knife
- Tongs
Ingredients
- 2 lbs sirloin steak or boneless chuck roast, cut into 1.5-inch cubes
- 4 tbsp olive oil, divided
- 1 large yellow onion, diced
- 6 cloves garlic, smashed and roughly chopped
- 2 tbsp tomato paste
- 3 tbsp all-purpose flour (or cornstarch for gluten-free)
- 2 cups low-sodium beef broth
- 1 cup red wine (or additional beef broth)
- 3 sprigs fresh rosemary
- 2 bay leaves
- Salt and black pepper to taste
Instructions
- Pat the beef cubes completely dry with paper towels. Season generously with salt and pepper. Heat 2 tablespoons of olive oil in your Dutch oven over medium-high until shimmering. Add half the beef in a single layer – don’t crowd the pan. Sear for 3-4 minutes per side until deeply browned. Transfer to a plate. Repeat with the remaining oil and beef.
- Reduce heat to medium. Add the diced onion and cook until soft and golden, about 5 minutes. Add the garlic and tomato paste, stirring constantly for 1 minute until the paste darkens and smells rich. (The tomato paste should coat the onions and turn a deep brick red – that’s when it’s ready.)
- Sprinkle the flour over the onions and stir well. Cook for 1 minute to get rid of the raw flour taste. Slowly pour in the beef broth and red wine, scraping up all those browned bits from the bottom of the pan with your wooden spoon. That scraping is where the flavor lives – don’t skip it.
- Add the seared beef back to the pot, along with any juices that collected on the plate. Tuck the rosemary sprigs and bay leaves into the liquid.
- Bring the gravy to a gentle simmer (not a rolling boil – just a few lazy bubbles breaking the surface). Cover the pot, reduce the heat to low, and let it cook for 45 minutes to 1 hour, until the beef is fork-tender. After 45 minutes, try pulling a piece of beef apart with a fork. If it resists, give it another 10 minutes.
- Remove the rosemary stems and bay leaves. Taste the gravy. Add salt and pepper if needed. If the gravy is too thin, let it simmer uncovered for 5 minutes to thicken. If it’s too thick, splash in a little extra broth.
- Spoon over mashed potatoes, egg noodles, or rice. Garnish with a tiny sprinkle of fresh rosemary if you’re feeling fancy.
Notes
Related posts:
 Lasagna Roll-Ups That Taste Like Sunday Dinner (In 45 Minutes Flat)
 Creamy Smothered Chicken and Rice for the Weeknights You Need Real Comfort: Rich, Velvety, One Pot
 Easy Beef and Broccoli That’s Better Than Takeout in 30 Minutes
 Crunchy Cucumber Carrot Salad That Stays Crisp for Days — in 15 Minutes
 Egg Roll in a Bowl That’s Faster Than Takeout (Ready in 20 Minutes)
 The Grilled Nectarine Burrata Prosciutto Salad That Balances Sweet, Salty, and Creamy Perfectly