
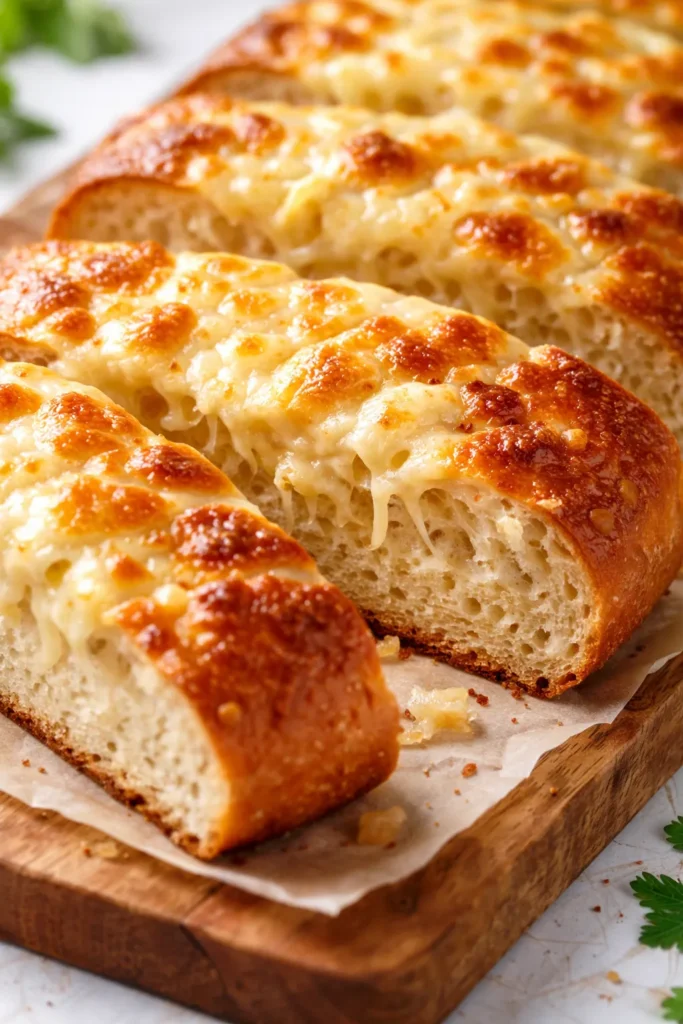
The first time I pulled this garlic bread out of the oven, my husband walked in the door, stopped mid-sentence, and asked if we were having soup just so he could justify eating half the loaf. The smell alone — garlic toasting in butter, cheese melting into the crevices of the bread — is the kind of thing that makes everyone in the house wander into the kitchen. This isn’t complicated. It’s 25 minutes, five ingredients, and a method that keeps the bread crispy on the bottom, soft in the center, and perfectly golden on top.
The short version: This cheesy garlic bread comes together in 25 minutes with 5 ingredients and zero soggy spots — even my pickiest eater clears her plate.
I’ve tested this on day-old bread, fresh bakery loaves, and even gluten-free baguettes — it works every time because the method, not the bread, does the heavy lifting. My daughter Nora, who is normally a “just the bread, please” kind of eater, asked for seconds before she’d finished her first piece. That’s when I knew the formula was right.
- Serves: 6-8 as a side
- Hands-On Time: 10 min | Total Time: 25 min
- Difficulty: Easy enough for a Tuesday night
- Cost per serving: ~$1.50
- Calories: ~220 per serving
- Dietary Notes: Naturally vegetarian. Easily made dairy-free.
(Photo above: A close-up, overhead shot of a cast-iron skillet filled with golden-brown slices of garlic bread, melty mozzarella bubbling around the edges and fresh parsley scattered on top. Warm afternoon light hits the cheese pull from the top right corner.)
The Trick That Keeps It Crispy (Not Soggy)
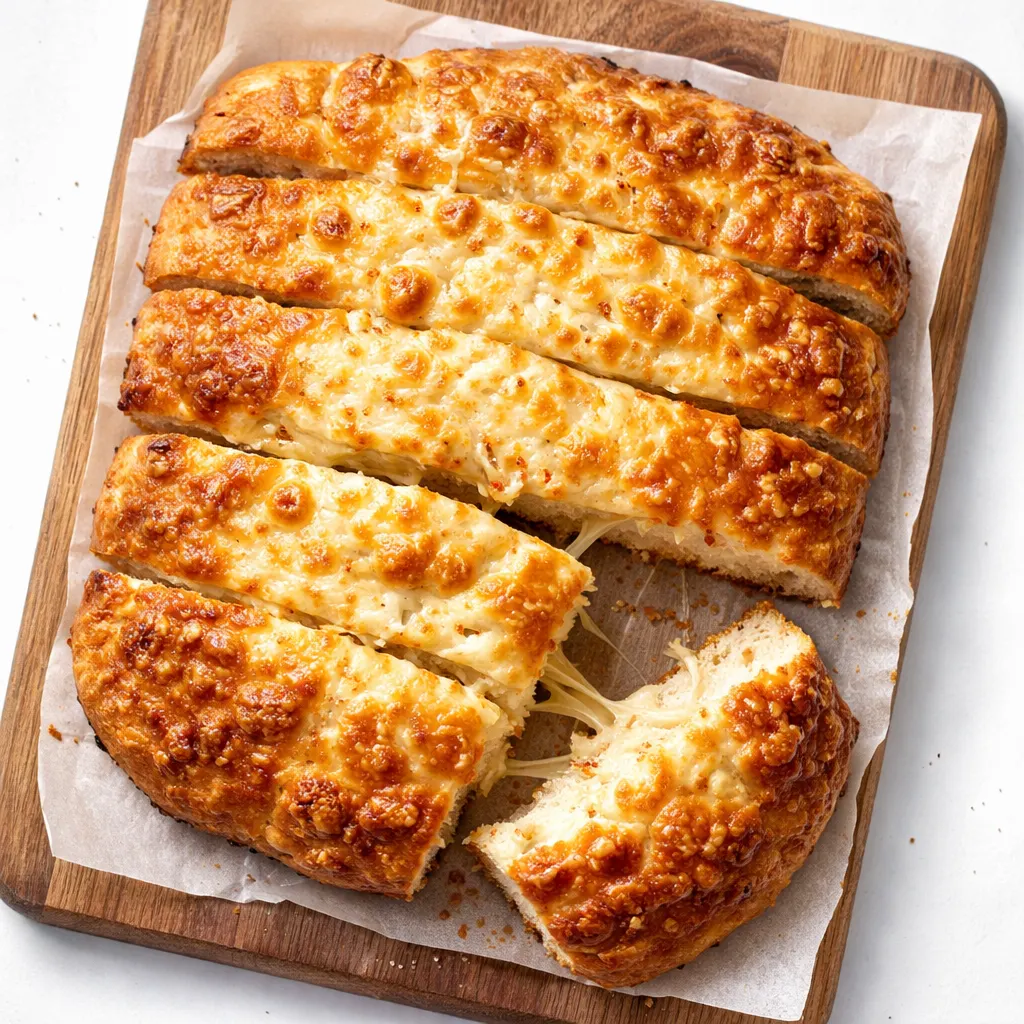
The number one problem with homemade garlic bread is that the bread absorbs the butter before it has a chance to crisp. My trick? I use half butter for flavor and half olive oil for structure. The oil has a higher smoke point, so it helps the bread toast rather than steam under the cheese. I also bake it at a high temperature — 400°F — instead of a lower one. That blast of heat gives the bottom crust a head start before the cheese even starts melting. And that final minute under the broiler? That’s what gives you the golden-brown, bubbly spots that taste like restaurant-quality.
What Goes In (Plus My Honest Notes)
- 1 loaf French bread or ciabatta (about 16 ounces): Day-old is actually perfect here — it holds its shape better and won’t turn mushy. Fresh works fine too, just let it sit out for an hour before you start.
- 4 tablespoons salted butter, softened: I use salted because I find it balances the garlic better. If you only have unsalted, add a pinch of flaky salt.
- 2 tablespoons olive oil: This is the non-negotiable step for crispiness. Don’t skip it or sub with all butter.
- 4 cloves garlic, minced (or pressed): Fresh garlic is a must for that punchy, aromatic flavor — pre-minced jarred garlic has a metallic taste that doesn’t bake well.
- 1 ½ cups shredded mozzarella: Low-moisture, part-skim is best. Fresh mozzarella releases too much water and makes the bread soggy.
- ½ cup grated Parmesan: The saltiness cuts through the richness of the mozzarella.
- 2 tablespoons fresh parsley, chopped: For color and freshness. My kids don’t mind this one — it just tastes like “green stuff” to them.
Tools for This Recipe
- Large rimmed baking sheet (or cast-iron skillet)
- Serrated knife
- Small bowl
- Box grater or food processor (for the Parmesan)
A cast-iron skillet holds heat beautifully and gives the bottom crust an extra-crispy finish — but a regular sheet pan works perfectly too.
Making Cheesy Garlic Bread: My Exact Process
This moves fast once you start, so I recommend prepping your ingredients first. Grate the cheese, mince the garlic, chop the parsley.
Preheat and prep the pan: Place a rack in the middle of the oven and preheat to 400°F. Line a baking sheet with parchment paper (easy cleanup, even crispier bottom).
- Make the garlic butter: In a small bowl, mash the softened butter, olive oil, minced garlic, and a pinch of salt together with a fork until it looks like a thick paste. Stir in half the parsley. (📸 Photo tip: The mixture should be spreadable but not greasy — if it separates, let it sit at room temp for 5 minutes.)
- Slice the bread: Use a serrated knife to cut the loaf in half lengthwise, then cut each half into 3-4 pieces (so you have 6-8 total). Place them cut-side up on the baking sheet.
- Spread the garlic butter: Divide the garlic butter evenly among the bread slices, spreading it all the way to the edges. This prevents the bread from drying out.
- Top with cheese: Sprinkle the mozzarella evenly over the butter, then follow with the Parmesan. Don’t pile it too high — a single layer melts more evenly. (📸 Photo tip: You should still see some bread peeking through the cheese at the edges.)
- Bake: Bake for 10-12 minutes, until the cheese is fully melted and the edges of the bread are golden brown and crispy. (The smell at this point — garlicky, toasty butter — is the signal that the crust is setting.)
- Broil for the finish: Switch the oven to broil. Watch it closely — it needs 1-2 minutes max. Remove when the cheese is bubbling and browned in spots. Don’t walk away. I’ve burned a batch here and it’s heartbreaking.
- Garnish and serve: Sprinkle with the remaining fresh parsley and let it sit for 2 minutes before serving. This brief rest lets the cheese set slightly so it doesn’t all slide off when you pick it up.
Sunday Prep = Stress-Free Weeknight Side
This is one of those recipes that’s actually better assembled ahead. I make the garlic butter and grate the cheese on Sunday, then assemble and bake it fresh on a busy weeknight. It takes 5 minutes to throw together and 12 minutes to bake.
- Fridge: Assemble the garlic bread (but don’t bake it) up to 2 hours ahead. Wrap tightly in plastic wrap. Bake straight from the fridge, adding 2-3 minutes.
- Freezer: I don’t recommend freezing this one — the dairy separates during thawing and the texture turns grainy. It’s so quick to make that fresh is always better.
- Reheat: Leftovers (if you have any) reheat best in a 350°F oven for 5 minutes, or in an air fryer at 350°F for 3 minutes. The microwave makes it chewy.
Things I Wish I’d Known the First Time
- Don’t over-mix the garlic butter: Over-mixing incorporates too much air, which makes it puff up and separate during baking. Just a few stirs until combined is perfect.
- Grate your own Parmesan: I know, I know — it’s one more step. But pre-shredded Parmesan has anti-caking agents that prevent it from melting smoothly. It takes 30 seconds to grate a block and the texture is so much creamier.
- Watch the broiler like a hawk: Ovens vary wildly under the broiler. Yours might brown in 30 seconds or take 2 minutes. Stay at the oven door and pull it the second it looks like the cheese is bubbling aggressively.
- Let it rest before cutting: This is the hardest step when the whole kitchen smells like garlic butter. But if you cut it too soon, the cheese slides off and the steam escapes, leaving it flat. Two minutes is all it needs.
- Make extra garlic butter: It keeps in the fridge for a week or in the freezer for a month. I always double it so I’m ready for the next batch.
Make It Yours: Easy Variations
- Dairy-Free version: Use vegan butter and a good-quality dairy-free mozzarella (I like Miyoko’s or Violife). Bake the same way. Comes out surprisingly crispy.
- Spicy version (for the adults): Add ½ teaspoon red pepper flakes to the garlic butter and sprinkle a pinch of smoked paprika over the cheese before baking. My husband requests this every time.
- Kid-Friendly version: My daughter Nora prefers it with just mozzarella (no Parmesan) and a little less garlic. It still gets crispy and gooey, just milder.
- Herb version: Swap the parsley for 1 tablespoon fresh rosemary (finely chopped) or 1 teaspoon dried oregano mixed into the butter. Adds a lovely woodsy note.
Questions I Get About This Cheesy Garlic Bread All the Time
Q: Why did my garlic bread turn out soggy?
A: Ugh, I’ve been there. It usually means the bread absorbed too much moisture before it had a chance to crisp. Two fixes: 1) Use day-old bread, and 2) Don’t skip the olive oil — it helps the bread toast instead of steam. If you’re using fresh mozzarella, pat it dry with paper towels before grating.
Q: Can I use garlic powder instead of fresh garlic?
A: You can, but the flavor will be different. Use 1 teaspoon garlic powder mixed into the butter. Fresh garlic gives that punchy, almost sweet aroma when it bakes. If all you have is powder, add a pinch of salt to wake it up.
Q: How do I reheat leftover garlic bread without burning it?
A: The oven or air fryer is your friend here. 350°F for 5 minutes (oven) or 3 minutes (air fryer). The microwave works in a pinch, but it’ll be chewy rather than crispy. I’ve reheated it in a dry skillet over medium heat for 2 minutes per side, and that works beautifully too.
Q: What do you serve with cheesy garlic bread?
A: It’s my go-to side for tomato soup, pasta (especially spaghetti and meatballs), and grilled chicken salads. My kids love it with a bowl of chili or even just scrambled eggs for a lazy weekend breakfast. We’ve also turned it into a mini meal by topping it with a fried egg.
More Recipes My Family Makes on Repeat
If you loved this garlic bread, here are a few other side dishes that get the same reaction at our table:
- Easy Homemade Focaccia — A chewy, herby bread that takes 10 minutes of hands-on time and makes the whole house smell like a bakery.
- [INTERNAL LINK PLACEHOLDER: Simple Tomato Basil Soup] — The creamy, velvety soup that practically begs to be dipped into this garlic bread.
- Perfect Roasted Broccoli with Parmesan — A crunchy, cheesy side that even my broccoli-averse kid asks for.
This cheesy garlic bread has become our official “Tuesday is pasta night” side dish — and honestly, I’ve caught my family eating it plain, straight off the tray, before dinner even started. It’s one of those recipes that feels like a celebration but takes almost no effort. If you make it for someone you love, they’ll know exactly what I mean.
Drop a comment below if you try it — I love hearing how it goes for your family!
📌 Save this cheesy garlic bread recipe for your next pasta night — it’s golden, gooey, and ready in 25 minutes with no soggy spots.
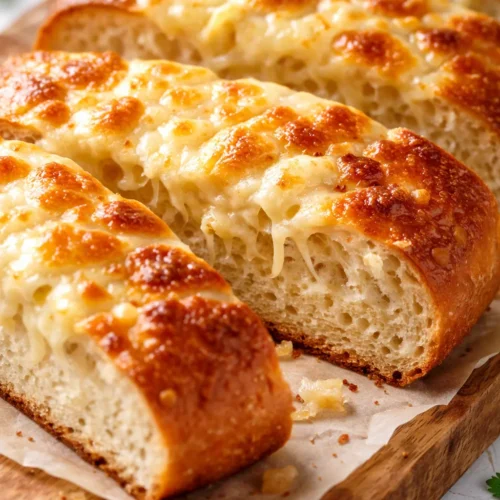
Cheesy Garlic Bread That’s Golden and Gooey in 25 Minutes (No Soggy Middle)
Equipment
- Large Rimmed Baking Sheet
- Cast-Iron Skillet (optional)
- Small bowl
- Serrated Knife
- Box Grater
Ingredients
Garlic Butter
- 4 tablespoons salted butter, softened
- 2 tablespoons olive oil
- 4 cloves garlic, minced
- 1 pinch salt
Bread
- 1 loaf (16 oz) French bread or ciabatta
Cheese
- 1 1/2 cups shredded low-moisture mozzarella
- 1/2 cup grated Parmesan
Garnish
- 2 tablespoons fresh parsley, chopped
Instructions
- Preheat and prep the pan: Place a rack in the middle of the oven and preheat to 400°F. Line a baking sheet with parchment paper.
- Make the garlic butter: In a small bowl, mash the softened butter, olive oil, minced garlic, and a pinch of salt together with a fork until it looks like a thick paste. Stir in half the parsley.
- Slice the bread: Use a serrated knife to cut the loaf in half lengthwise, then cut each half into 3-4 pieces (so you have 6-8 total). Place them cut-side up on the baking sheet.
- Spread the garlic butter: Divide the garlic butter evenly among the bread slices, spreading it all the way to the edges.
- Top with cheese: Sprinkle the mozzarella evenly over the butter, then follow with the Parmesan. Don’t pile it too high — a single layer melts more evenly.
- Bake: Bake for 10-12 minutes, until the cheese is fully melted and the edges of the bread are golden brown and crispy.
- Broil for the finish: Switch the oven to broil. Watch it closely — it needs 1-2 minutes max. Remove when the cheese is bubbling and browned in spots. Don’t walk away.
- Garnish and serve: Sprinkle with the remaining fresh parsley and let it sit for 2 minutes before serving. This brief rest lets the cheese set slightly so it doesn’t all slide off when you pick it up.
Notes
Related posts:
 Lasagna Roll-Ups That Taste Like Sunday Dinner (In 45 Minutes Flat)
 Creamy Smothered Chicken and Rice for the Weeknights You Need Real Comfort: Rich, Velvety, One Pot
 Easy Beef and Broccoli That’s Better Than Takeout in 30 Minutes
 Crunchy Cucumber Carrot Salad That Stays Crisp for Days — in 15 Minutes
 Egg Roll in a Bowl That’s Faster Than Takeout (Ready in 20 Minutes)
 Mini Quiche Recipe: The Store-Bought Crust Version That Tastes Like You Made It From Scratch