
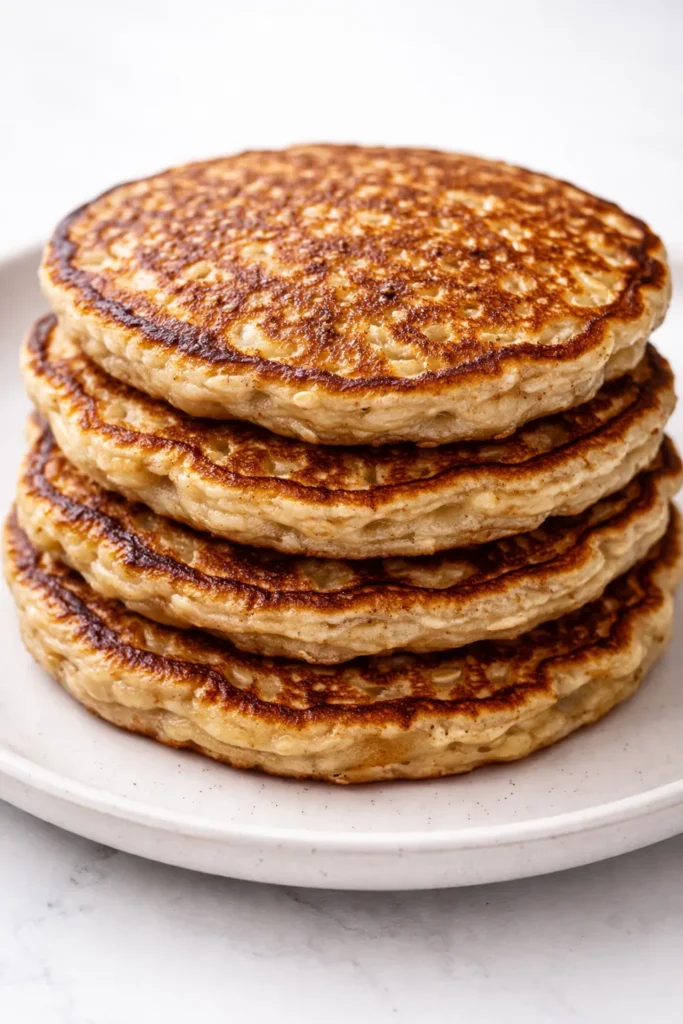
The first time I made these, I was skeptical. Three ingredients. No flour. No added sugar. How good could they really be? Then I flipped that first pancake and saw the edges — blistered and golden, exactly like the ones my grandmother Marta used to make with leftover batter. One bite and I was hooked. They’re soft in the center, almost custard-like from the ripe banana, with a crisp, buttery edge that keeps you coming back. I’ve been making them for twenty years now, and they’re still the first thing I turn to when I want something fast that doesn’t taste like a compromise.
The short version: Fluffy, naturally sweet banana oatmeal pancakes with caramelized edges — 3 ingredients, 1 bowl, 10 minutes.
I started making these on solo mornings when my daughter Nora was little and I needed something fast that didn’t taste like cardboard. Twenty years later, I still make them the same way. She calls me from college to ask for the recipe, and I tell her the same thing I’m about to tell you: the secret is in the rest.
- Serves: 1 (makes 4 small pancakes — easily doubled)
- Hands-On Time: 5 min | Total Time: 10 min
- Difficulty: Easy enough for a Tuesday before coffee
- Cost per serving: ~$0.85
- Calories: ~285 per serving
- Dietary Notes: Naturally gluten-free (use certified GF oats) and dairy-free
(Photo above: A stack of four small golden-brown pancakes on a white plate, drizzled with maple syrup, a few slices of fresh banana and a sprinkle of cinnamon on top, soft morning light from the window.)
The Secret to Fluffy (Not Dense or Rubbery) Pancakes
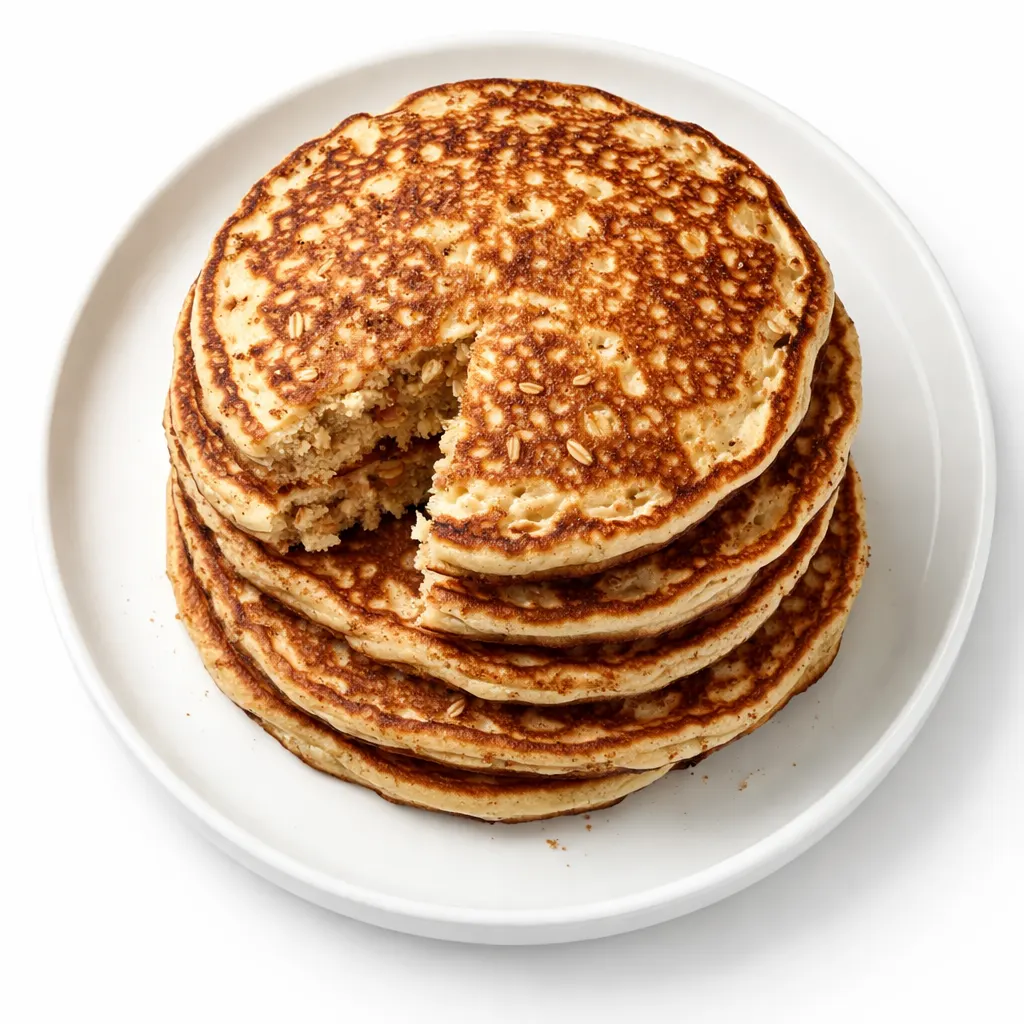
The problem with most 3-ingredient banana pancakes is texture. They come out dense and slimy because the banana isn’t broken down right or the oats are too coarse. Here’s the fix that took me a few batches to figure out: mash the banana until it’s almost liquid — no chunks — and let the oats sit in the batter for 2 full minutes before cooking. That rest is what gives the oats time to soften and absorb the moisture from the eggs and banana. The result is a pancake that’s tender in the middle and crispy at the edges, just like a regular one.
It’s such a small step, but it changes everything. I learned the hard way after too many crunchy-centered pancakes that I tried to convince myself were “rustic.” They weren’t rustic. They were under-rested. Don’t make my mistake.
Everything You Need (Plus My Honest Notes on Each)
- 1 medium very ripe banana: The spotty ones. The ones you think are too far gone. They’re exactly right here — they mash easier and taste sweeter on their own. A green banana will give you bland, dense pancakes. Trust the spots.
- 2 large eggs: Room temperature if you remember. If not, cold eggs work fine — the oats just need an extra 30 seconds to soak. My kids can’t tell the difference between room temp and cold, so I don’t stress about it.
- 1/3 cup old-fashioned rolled oats: Not quick oats. Quick oats turn to mush. Old-fashioned oats give the pancakes structure and a little chew. Use certified gluten-free oats if that’s a concern for your family.
- Butter or oil for the pan: My grandmother would’ve used butter. I usually do too, but coconut oil works beautifully if you’re avoiding dairy. The butter gives you those deeply golden, crispy edges that make these taste like a splurge.
- Optional, but I never skip: A pinch of salt, 1/4 teaspoon cinnamon, and 1/2 teaspoon vanilla. I know — this technically makes it more than 3 ingredients. But they’re pantry staples and they make the flavor sing. I add cinnamon 90% of the time.
What to Pull Out Before You Start
- A mixing bowl and a fork (or a small food processor if you want the oats super fine)
- A non-stick skillet or a well-seasoned cast iron pan
- A thin metal spatula — it makes the flip so much easier
That’s it. No blender required unless you want ultra-smooth oats, in which case pulse them in a food processor first. I usually just use a fork and a bowl.
Let’s Make Them (Step by Simple Step)
This batter comes together in one bowl. No blender required — unless you want super-smooth oats, in which case pulse the oats in a food processor first. The whole thing comes together in about 10 minutes from start to plate.
Prep the batter: In a medium bowl, mash the banana with a fork until it’s mostly liquid with just a few tiny lumps. Add the eggs and whisk until combined. Stir in the oats, salt, and cinnamon if using. Let the batter sit for 2 to 3 minutes while the pan heats. This rest is non-negotiable — it’s what makes the oats tender instead of crunchy.
- Heat the pan: Place a non-stick skillet or well-seasoned cast iron pan over medium heat. Add a small pat of butter or a drizzle of oil. Swirl to coat. (📸 Photo tip: The butter should sizzle gently when it hits the pan — if it browns immediately, the pan is too hot. Lower the heat and start over.)
- Pour the batter: Drop about 2 tablespoons of batter per pancake into the pan. Spread it slightly with the back of the spoon — they’re naturally a little thick in the center. (📸 Photo tip: You’ll see the edges start to set and turn golden after about 60 seconds. Small bubbles will form on the surface — that’s how you know the bottom is ready.)
- Flip carefully: When the edges look dry and the bottom is deep golden (about 90 seconds to 2 minutes), slide your spatula under and flip. Cook for another 60 to 90 seconds on the second side, pressing down gently with the spatula to ensure even browning.
- Serve immediately: Transfer to a plate. Repeat with the remaining batter, adding more butter to the pan as needed. Serve hot — with maple syrup, a sprinkle of cinnamon, extra banana slices, or just as they are. They’re sweet enough on their own that they don’t strictly need syrup, but I won’t stop you if you want it.
How I Make a Big Batch for the Week
I make a double batch on Sundays when Nora is home. They reheat better than any other pancake I’ve tried — the oats keep them moist. Here’s how I store them:
- Fridge: Store in an airtight container with a paper towel to absorb condensation. They’ll keep for 4 to 5 days. I wrap them in stacks of four so I can just grab what I need.
- Freezer: Freeze in a single layer on a baking sheet, then transfer to a zip-top bag. They keep for 2 months without losing texture. My secret: I wrap them individually so my husband can grab one on his way out the door.
- Reheat: Toaster on low is the best method — they get crispy on the outside and stay soft inside. The microwave works in a pinch (30 seconds) but they’ll be softer. I’ll be honest: the microwave makes them a little sad. If you have the extra 2 minutes, the toaster is worth it.
The Mistakes I Made Making These (So You Don’t Have To)
- Don’t skip the rest. I know, it’s only 2 minutes. But if you pour the batter right away, the oats will be crunchy in the middle. That 2-minute rest is what makes them taste like actual pancakes instead of a health-food compromise. My husband learned this the hard way when he tried to rush through the recipe and ended up with a plate of sad, crunchy discs.
- Medium heat is your friend. I burned the first batch I ever made. High heat browns the outside before the middle is set. Medium heat gives the center time to cook through. The pan should sizzle gently, not aggressively. Even if the first one isn’t perfect, the second one will be — the pan evens out.
- Make them small. I know big pancakes look impressive. But these are delicate — small pancakes (about 3 inches wide) are much easier to flip. Trust me on this one. I use about 2 tablespoons of batter per pancake and they come out perfectly every time.
- Add-ins change the texture. If you want to add chocolate chips or blueberries, do it gently and don’t overload. Too many mix-ins make them fall apart. 1 tablespoon per batch is the max. I learned this the hard way when I tried to make a “loaded” version and ended up with a pan full of blueberry-smeared crumbs.
Make Them Yours — Variations That Actually Work
- Fluffier version (with a 4th ingredient): Add 1/4 teaspoon of baking powder to the dry oats before mixing. It makes them noticeably fluffier, almost like regular pancakes. I do this when I’m serving them to guests who might be skeptical of a 3-ingredient pancake.
- Peanut butter banana: Add 1 tablespoon of peanut butter to the batter. It makes them richer and adds protein. I make this version when I know I’m going to need the energy to last until lunch.
- Dairy-free: Use coconut oil or avocado oil for the pan. The pancakes themselves are already dairy-free — it’s just the cooking fat you need to swap. I use coconut oil when I’m serving them to a friend who can’t do dairy and they turn out beautifully golden.
- Vegan (egg-free): I haven’t tested this myself, but readers have reported success using flax eggs (2 tablespoons flax meal + 5 tablespoons water). They’re denser but still delicious. If you try it, let me know in the comments how it turns out.
The Questions My Readers Ask Most Often
Q: Why did my pancakes turn out mushy?
A: It’s usually one of two things: either the pan wasn’t hot enough (medium heat! get it hot!) or the banana wasn’t ripe enough. A ripe banana has less moisture and more sugar, which helps the pancakes set. If your banana is still a little green, let it sit on the counter for a day or two before using it.
Q: Can I make these without eggs?
A: I get this question a lot. I’ve tested flax eggs and they work, but the texture is noticeably denser and a little more fragile. If you’re okay with that, go for it. If you want a fluffy vegan version, I’d add a little baking powder to give them some lift.
Q: Can I use quick oats or steel-cut oats?
A: Please don’t use steel-cut — they won’t soften in time and you’ll end up with crunchy pancakes. Quick oats work in a pinch but the pancakes will be softer and less structured. Old-fashioned rolled oats give the best texture every time. If all you have are quick oats, reduce the rest time to 1 minute so they don’t get too mushy.
Q: What do you serve with these?
A: I love them with a drizzle of maple syrup and a handful of fresh berries. Nora loves them with a smear of peanut butter and a drizzle of honey. For a savory twist, I’ve even topped them with Greek yogurt, a drizzle of olive oil, and a pinch of flaky salt — it sounds weird but it’s incredible. The creamy yogurt against the crispy pancake edges is something I can’t fully describe but you’ll understand when you try it.
More Recipes My Family Makes on Repeat
If you liked these pancakes, here are a few other favorites that get the same reaction at our table:
- Overnight Steel Cut Oats — Creamy, set-it-and-forget-it breakfast that makes mornings so much easier.
- Fluffy Buttermilk Pancakes — The classic version when you have a little more time on your hands.
- Easy Baked Egg Cups — My go-to for busy mornings when everyone needs something different.
I love that this recipe has been with me through so many mornings — rushed ones, slow ones, solo ones, ones with a house full of hungry kids. I hope it becomes part of your mornings too. There’s something about that first bite, when the edges are still crispy and the center is warm and soft, that makes everything feel a little more manageable.
If you try them, drop a comment below — I love hearing how it goes for you. And if you’re on Pinterest, don’t forget to save this recipe so you have it when those busy mornings roll around.
📌 3 ingredient banana oatmeal pancakes that are fluffy, golden, and ready in 10 minutes — save this recipe for your next busy weekday morning!
3 Ingredient Banana Oatmeal Pancakes
Equipment
- Mixing Bowl
- Fork
- Non-stick skillet or cast iron pan
- Thin metal spatula
Ingredients
- 1 medium very ripe banana (spotty is best)
- 2 large eggs (room temperature if possible)
- 1/3 cup old-fashioned rolled oats (not quick or steel-cut)
- 1 tablespoon butter or oil for the pan
- 1/8 teaspoon salt (optional but recommended)
- 1/4 teaspoon cinnamon (optional)
- 1/2 teaspoon vanilla extract (optional)
Instructions
- In a medium bowl, mash the banana with a fork until it’s mostly liquid with just a few tiny lumps. Add the eggs and whisk until combined. Stir in the oats, salt, and cinnamon if using. Let the batter sit for 2 to 3 minutes while the pan heats. This rest is non-negotiable – it makes the oats tender instead of crunchy.
- Place a non-stick skillet or well-seasoned cast iron pan over medium heat. Add a small pat of butter or a drizzle of oil. Swirl to coat. The butter should sizzle gently – if it browns immediately, the pan is too hot; lower the heat and start over.
- Drop about 2 tablespoons of batter per pancake into the pan. Spread it slightly with the back of a spoon. Cook until edges look dry and bottom is deep golden, about 90 seconds to 2 minutes. Small bubbles will form on the surface.
- Flip carefully with a thin metal spatula. Cook for another 60 to 90 seconds on the second side, pressing down gently to ensure even browning.
- Transfer to a plate. Repeat with remaining batter, adding more butter to the pan as needed. Serve hot with maple syrup, extra banana slices, cinnamon, or just as they are.
Notes
Related posts:
 High-Protein Overnight Oats That Actually Taste Like Breakfast (Not a Chalky Disaster)
 The Slow Cooker Cowboy Casserole That Saves Tired Weeknights (No Soggy Tots Allowed)
 Quick Lemon Ricotta Pasta for Busy Weeknights: Creamy, Bright, and on the Table in 20 Minutes
 Lemon Garlic Butter Baked Salmon in Foil That’s Ready in 25 Minutes — No Fuss, No Mess
 Lipton Onion Soup Meatloaf for Tuesday Nights: Moist, Savory, and the Only One You’ll Ever Need
 Moist Chocolate Zucchini Bread That Doesn’t Turn Out Rubbery — Finally