
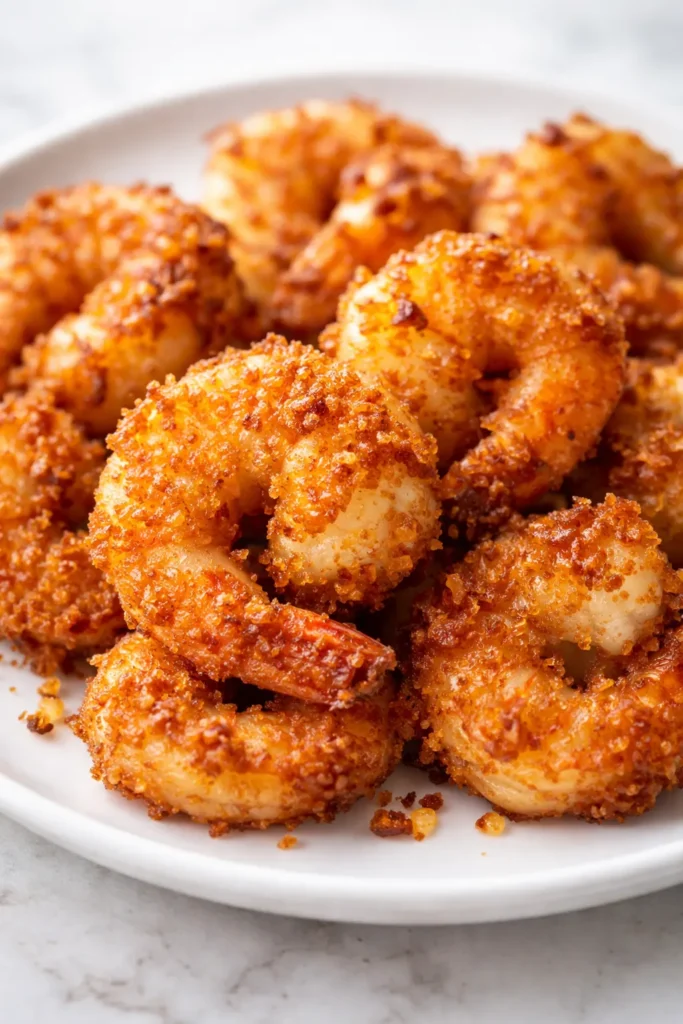
The first time I pulled a batch of air fryer shrimp out of the basket that actually cracked when I bit into it — I stood there in the kitchen eating them straight from the tray, not even bothering with a plate. My daughter Nora walked through, stole three, and said “Finally, Mom.” That was the version I’d been chasing for two years.
Crispy on the outside, tender inside, no batter required — and they stay that way even after they’ve sat on the counter for a few minutes.
This is the one I make on Monday nights when I need a win. The one that converts people who say they don’t like air fryer shrimp. The trick isn’t a fancy batter or a special appliance setting. It’s a single step that takes fifteen minutes and requires nothing but patience and a paper towel. And once you know it, you’ll never make shrimp any other way.
- Serves: 3–4 as an appetizer, 2 as a main
- Hands-On Time: 20 min | Total Time: 35 min
- Difficulty: Easy — but requires one non-negotiable step
- Cost per serving: ~$4.50
- Calories: ~290 per serving
- Dietary Notes: Naturally gluten-free and dairy-free
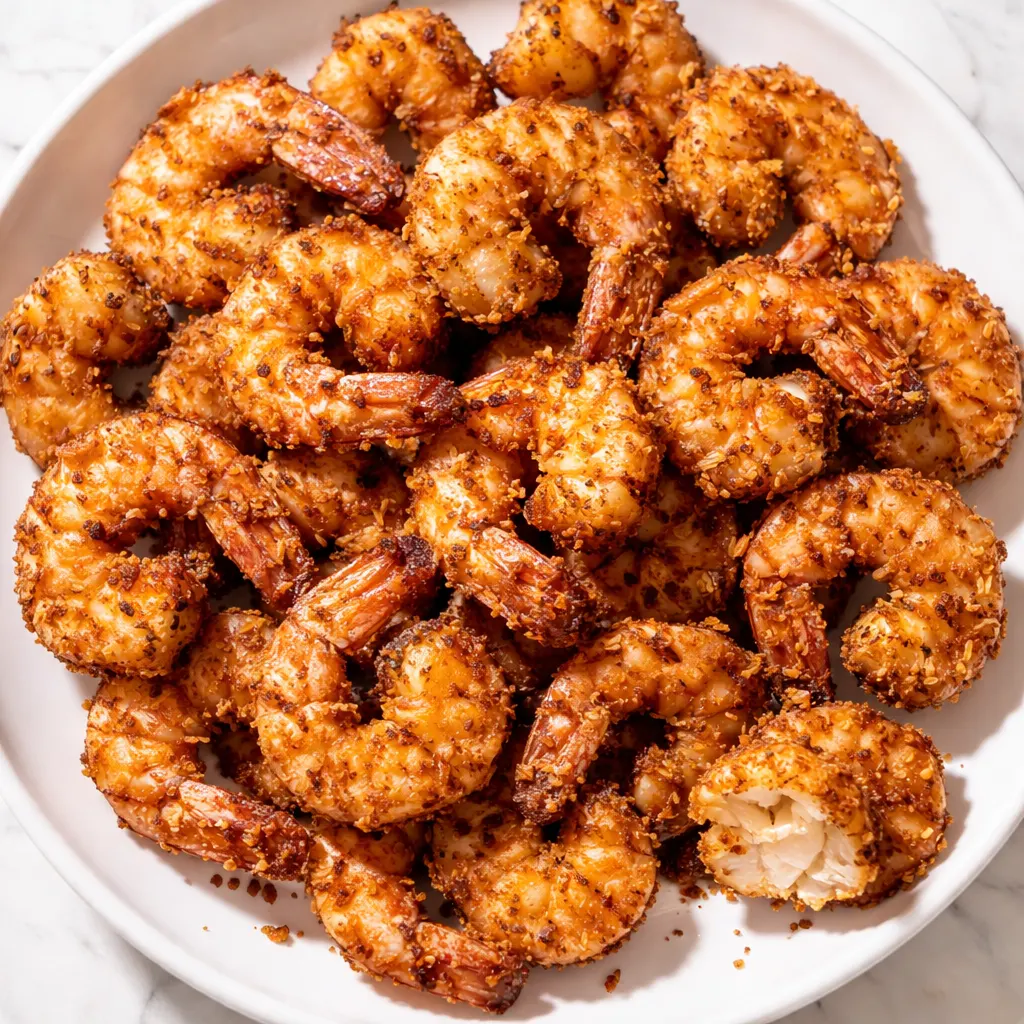
(Photo above: overhead shot of a metal air fryer basket lined with parchment, piled high with golden air-fried shrimp, a small bowl of lemony aioli in the corner, natural afternoon light from the left, the shrimp showing a speckled crust of paprika and garlic, with a few scattered lemon wedges around the edge.)
Why Air Fryer Shrimp Gets Soggy (And How I Finally Fixed It)
Most air fryer shrimp recipes miss the most important thing about moisture. The air fryer is basically a small convection oven — it circulates hot, dry air. That’s great for crispiness, but it only works if the surface of the food is dry when it goes in. If the shrimp are wet, even a little bit, the coating steams before it can crisp. Steam is the enemy. Period.
I spent years getting this wrong. I would pat the shrimp dry, toss them in seasoned cornstarch, and throw them straight into the basket. They came out fine, but not great. Not the kind of shrimp you’d text your sister about. The fix was something my grandmother Marta would have done instinctively: time. A fifteen-minute uncovered rest on a paper-towel-lined plate after seasoning pulls the excess moisture from the surface so the coating adheres immediately when it hits the hot air. The seasoning sets and penetrates the surface of the shrimp slightly during the rest. The result is a crust that shatters instead of sliding off.
The Ingredient Shortlist (And Two That Really Matter)
- 1 lb large shrimp (21–25 count), peeled, deveined, tails optional: I use raw wild-caught shrimp and peel them myself when I have time. The pre-peeled frozen ones work fine — just make sure they’re fully thawed and patted extremely dry. Like, pat them with paper towels, then pat them again, then lay them out for the rest. I’m not kidding about this step. My kids can tell the difference between wild-caught and farmed in a blind taste test — they’re not pretentious, they just notice the texture.
- 2 tbsp cornstarch (or arrowroot powder): Cornstarch is the MVP here for the classic crunch. Almond flour works but gives a denser texture. Coconut flour makes the shrimp dry. Stick with cornstarch. I keep a small jar of the seasoned cornstarch mix in my pantry so I can make this on a whim.
- 1/2 tsp garlic powder: Not granulated garlic. Powder dissolves into the coating. Granulated leaves little hard bits that burn in the air fryer.
- 1/2 tsp smoked paprika: This gives the color and a subtle warmth. Regular paprika works too, but the smoked version adds a depth that makes the shrimp taste like they spent time over a fire.
- 1/4 tsp cayenne pepper (optional): For heat. I add it when Nora is coming home for the weekend. She likes the version that makes her reach for her water glass.
- 1/2 tsp kosher salt, plus more for finishing: I use Diamond Crystal. If you’re using a finer salt, cut the amount by about a third.
- 1 tbsp neutral oil (avocado or grapeseed): Added after the cornstarch. This is important — if you toss the shrimp in oil first, then the cornstarch, the coating gets pasty and uneven. The cornstarch first gives a light, even dusting. The oil second creates that thin, crisp shell.
What to Pull Out Before You Start
- Air fryer (basket-style or tray-style — I use a 6-quart basket)
- Large mixing bowl
- Rimmed baking sheet or large plate
- Paper towels (a lot of them)
- Tongs or a spatula
If your air fryer is smaller than 6 quarts, cook the shrimp in two batches. Crowding is the second enemy of crispiness, right after moisture.
Let’s Make It (Step by Step)
This goes fast once the shrimp come out of their rest. Read through the steps once before you start — the timing of the oil addition matters more than you’d think.
Prep & Rest (15 minutes — this is the step that does the work):
- Pat dry: Lay the peeled shrimp on a plate lined with paper towels. Place another layer of paper towels on top and press gently to absorb moisture. Remove the top layer, sprinkle the shrimp with the salt, and let them sit uncovered at room temperature for 15 minutes. This draws out more moisture from the surface. (📸 Photo tip: After 15 minutes, you should see tiny beads of moisture on the surface of the shrimp — that’s the salt doing its job. Pat it off with a fresh paper towel before the next step.)
- Season: Transfer the shrimp to a large bowl. Add the cornstarch, garlic powder, smoked paprika, and cayenne (if using). Toss gently with your hands or a spatula until every shrimp is evenly coated in a thin, dusty layer.
- Add oil: Drizzle the oil over the seasoned shrimp and toss again. The cornstarch will absorb the oil slightly, creating a thin paste-like coating that clings to the shrimp and crisps beautifully. Even if you mess this part up a little — too much oil, not enough — it’ll still taste good. I’ve done both and the shrimp were still devoured.
- Preheat: Preheat your air fryer to 400°F for 3 minutes. A hot start is essential for immediate crispiness.
- Arrange: Place the shrimp in a single layer in the air fryer basket. Leave a little space between each one — if they’re touching, they’ll steam instead of crisp. Work in batches if needed. (📸 Photo tip: At this step, the shrimp should look dusty and dry — not wet or gloppy — and they should be in a single layer with small gaps between each piece.)
- Cook: Air fry at 400°F for 5–7 minutes, shaking the basket gently halfway through. At the 5-minute mark, check for doneness. The shrimp should be pink and opaque, and the coating should be golden and firm to the touch. If you press one gently, it should feel springy, not soft. (📸 Photo tip: At the halfway shake, the coating should look matte and dry, and you should see the edges starting to turn golden.)
- Rest: Remove the shrimp from the basket immediately and transfer to a wire rack set over a baking sheet (or a clean plate lined with a fresh paper towel). This keeps the bottoms from steaming. Let them rest for 1-2 minutes before serving. The texture you are making them for finishes during this brief rest — give it the time.
How to Make These Work for a Busy Week
I make a double batch of the seasoned cornstarch mixture and keep it in a jar in my pantry. On busy nights, I pat the shrimp dry, toss them in the pre-made mix, and they’re ready for the air fryer in under 10 minutes. The shrimp themselves are best fresh, but I’ve tested the leftovers and they reheat well with the right method.
- Fridge: Store leftovers in a container lined with paper towels, lid slightly ajar, for up to 2 days. The paper towels absorb the condensation that would otherwise soften the coating.
- Freezer: Not recommended for raw coated shrimp — the cornstarch gets gummy as it thaws. Cooked shrimp can be frozen, but the texture won’t be quite as crispy. Worth knowing, but not ideal.
- Reheat: The air fryer is non-negotiable here. 350°F for 2-3 minutes until hot. The microwave makes the coating rubbery instantly. I’m not being dramatic — it’s a textural tragedy.
What I Learned the Hard Way (So You Don’t Have To)
- The Paper Towel Principle: Don’t skimp on the drying step. I know it seems fussy. I promise it’s the difference between a coating that shatters and a coating that slides off the shrimp in one sad, soggy piece. I’ve tested this back-to-back. The dry batch wins every time.
- The Resting Step Is Not Optional: I tried skipping the 15-minute uncovered rest to save time. The shrimp released liquid in the air fryer, steaming the cornstarch coating. It wasn’t crispy. It was gummy. The rest is doing the work.
- Tossing Order Matters: If you toss the shrimp in oil first, then the cornstarch, the coating gets pasty and uneven. The cornstarch first gives a light, even dusting. The oil second creates that thin, crisp shell. My husband thought I was overthinking it until he tried both versions side by side. He doesn’t question the order anymore.
- The Temperature Check: Air fryers run differently. I check mine at 5 minutes. The shrimp should be curled into a loose C-shape — if they’re curled into a tight O, they’re overcooked. The coating should be pale gold with darker spots where the paprika concentrated. If it’s deeply browned at 5 minutes, reduce the temperature to 375°F next time.
Make It Yours (My Family’s Favorite Versions)
- Spicy Version: Add 1/2 tsp cayenne and a pinch of black pepper to the cornstarch. Serve with a lime wedge. This is the version Nora requests every single time she comes home from Savannah.
- Garlic Lovers Version: Add 1/2 tsp garlic powder and 1/2 tsp onion powder. Skip the cayenne. Serve with a side of warm honey for dipping. My nephew, who has a very sophisticated palate for a seven-year-old, ate ten pieces of this version without blinking.
- Coconut Shrimp Twist: Replace 1 tbsp of cornstarch with unsweetened shredded coconut. Pulse the coconut in a food processor first so it’s finely ground. Toss with the shrimp before adding the oil. Air fry at 375°F for 6-7 minutes so the coconut doesn’t burn.
- Lemon Pepper Version: Replace the smoked paprika and cayenne with 1 tsp lemon zest and 1/2 tsp black pepper. A bright, fresh version for spring. I serve this with a simple aioli and a cold glass of Sauvignon Blanc.
- Kid-Friendly Version (Mild): Just garlic powder and a tiny pinch of salt. No paprika, no cayenne. My kids ask for this one on movie nights.
The Questions I Keep Getting About This One
Q: Why did my coating turn out gummy instead of crispy?
A: Ah, I’ve been there. It’s almost always moisture. Either the shrimp weren’t dried well enough before the cornstarch, or the air fryer basket was overcrowded. Give them space and dry them well next time. You’ve got this.
Q: Can I use almond flour instead of cornstarch?
A: I’ve tested this, and yes, it works, but the texture is slightly denser and more crumbly than crispy. Coconut flour absorbs too much moisture and leaves the shrimp dry. Cornstarch really is the MVP here for the classic crunch. Arrowroot powder is the closest substitute if you need one.
Q: Can I freeze the uncooked coated shrimp?
A: I tried this so you don’t have to. The cornstarch coating gets gummy as it thaws. Your best bet is to freeze the cooked shrimp, then reheat them in the air fryer. They won’t be quite as crispy as fresh, but they’ll be close. 350°F for 3 minutes.
Q: What do you serve with this?
A: My favorite pairing is a simple lemony aioli and a cold glass of Sauvignon Blanc. For the family, we do rice or a simple salad. On game days, I pile them on a platter with ranch dressing and let everyone go to town. They also make an excellent taco filling with a little cabbage slaw and lime.
More Recipes My Family Makes on Repeat
If you liked this one, here are a few others that get the same reaction at our table:
- Crispy Baked Chicken Thighs — Golden, juicy, and made on a sheet pan with zero fuss.
- Roasted Brussels Sprouts with Balsamic — The ones that get caramelized and crispy on the outside.
- The Lemony Orzo Salad I Bring Everywhere — Fresh, bright, and perfect with the shrimp.
I keep a bag of frozen shrimp in the freezer just so I can make this on the nights when I don’t have a plan. Fifteen minutes of resting, six minutes of cooking, and I have something that feels like a treat — even on a Tuesday. That’s the kind of dinner I think we all need sometimes.
If you make it, come back and let me know — I love hearing about the version that ends up on your table.
📌 Crispy air fryer shrimp recipe that stays golden and crunchy — save it for your next busy weeknight dinner or game day spread.
Crispy Air Fryer Shrimp
Equipment
- Air Fryer (basket-style)
- Large Mixing Bowl
- Rimmed Baking Sheet or Large Plate
- Paper towels
- Tongs or Spatula
Ingredients
- 1 lb large shrimp (21-25 count) peeled and deveined
- 2 tbsp cornstarch (or arrowroot powder)
- 1/2 tsp garlic powder
- 1/2 tsp smoked paprika
- 1/4 tsp cayenne pepper (optional)
- 1/2 tsp kosher salt
- 1 tbsp neutral oil (avocado or grapeseed)
Instructions
- Pat dry: Lay the peeled shrimp on a plate lined with paper towels. Place another layer of paper towels on top and press gently to absorb moisture. Remove the top layer, sprinkle the shrimp with the salt, and let them sit uncovered at room temperature for 15 minutes. This draws out more moisture from the surface.
- Season: Transfer the shrimp to a large bowl. Add the cornstarch, garlic powder, smoked paprika, and cayenne (if using). Toss gently with your hands or a spatula until every shrimp is evenly coated in a thin, dusty layer.
- Add oil: Drizzle the oil over the seasoned shrimp and toss again. The cornstarch will absorb the oil slightly, creating a thin paste-like coating that clings to the shrimp and crisps beautifully.
- Preheat: Preheat your air fryer to 400°F for 3 minutes. A hot start is essential for immediate crispiness.
- Arrange: Place the shrimp in a single layer in the air fryer basket. Leave a little space between each one — if they’re touching, they’ll steam instead of crisp. Work in batches if needed.
- Cook: Air fry at 400°F for 5–7 minutes, shaking the basket gently halfway through. At the 5-minute mark, check for doneness. The shrimp should be pink and opaque, and the coating should be golden and firm to the touch.
- Rest: Remove the shrimp from the basket immediately and transfer to a wire rack set over a baking sheet (or a clean plate lined with a fresh paper towel). This keeps the bottoms from steaming. Let them rest for 1-2 minutes before serving.
Notes
Related posts:
 Mini Quiche Recipe: The Store-Bought Crust Version That Tastes Like You Made It From Scratch
 The Slow Cooker Cowboy Casserole That Saves Tired Weeknights (No Soggy Tots Allowed)
 Quick Lemon Ricotta Pasta for Busy Weeknights: Creamy, Bright, and on the Table in 20 Minutes
 Lemon Garlic Butter Baked Salmon in Foil That’s Ready in 25 Minutes — No Fuss, No Mess
 Lipton Onion Soup Meatloaf for Tuesday Nights: Moist, Savory, and the Only One You’ll Ever Need
 Kielbasa Sausage Cheesy Potato Casserole That Tastes Like Sunday Dinner — In Under an Hour