I spent more mornings than I care to count staring at a skillet of pale, floppy potatoes before I figured out what Marta was doing that I wasn’t. She never timed anything. She just stood there at the stove, listening for the change in the sound — from a wet hiss to a dry, crackling rustle. That sound is the whole secret. That, and a lid that does exactly half the work before you take it off.
The short version: Crispy on the outside, fluffy on the inside, ready in 25 minutes flat.
I’ve made these every Sunday for the past year as a side for our lazy breakfasts. My daughter Nora, who studies art in Savannah, called me last week just to ask if I was making them — she could hear the spatula scraping the pan through the phone. That’s how often they’re on my stove.
- Serves: 4 as a side
- Hands-On Time: 10 min | Total Time: 25 min
- Difficulty: Easy, even on a school morning
- Cost per serving: ~$0.75
- Calories: ~180 per serving
- Dietary Notes: Naturally gluten-free, vegan adaptable (use plant butter)
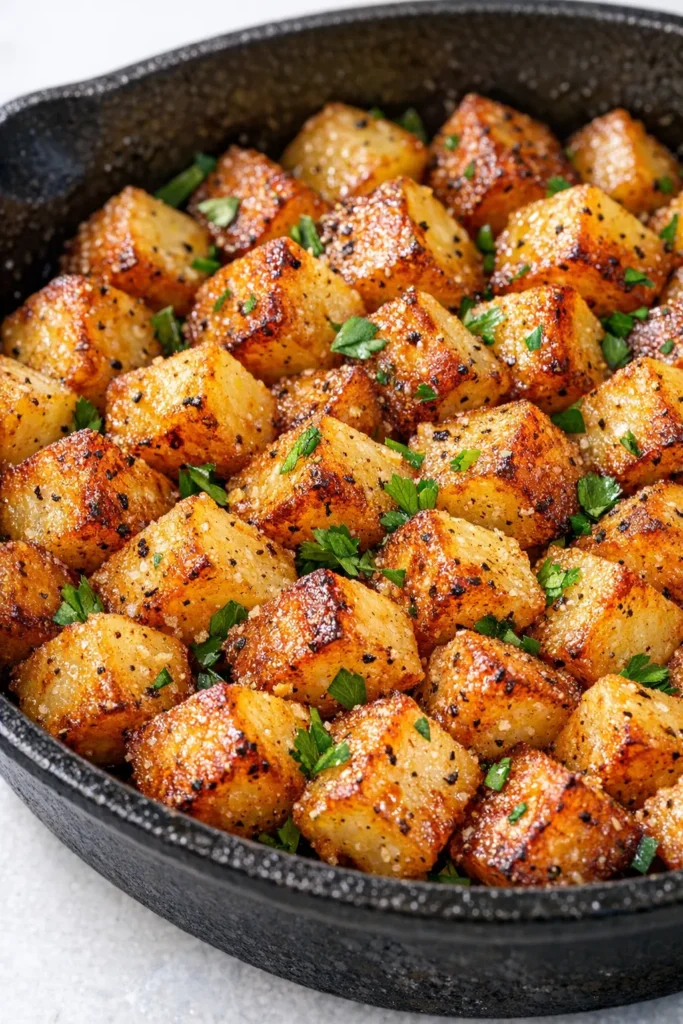
(Photo above: overhead shot of the golden-brown potato cubes in a well-seasoned cast iron skillet, scattered with fresh parsley and flaky salt, steam rising in the morning light.)
The One Step Everyone Skips (Don’t Skip It)
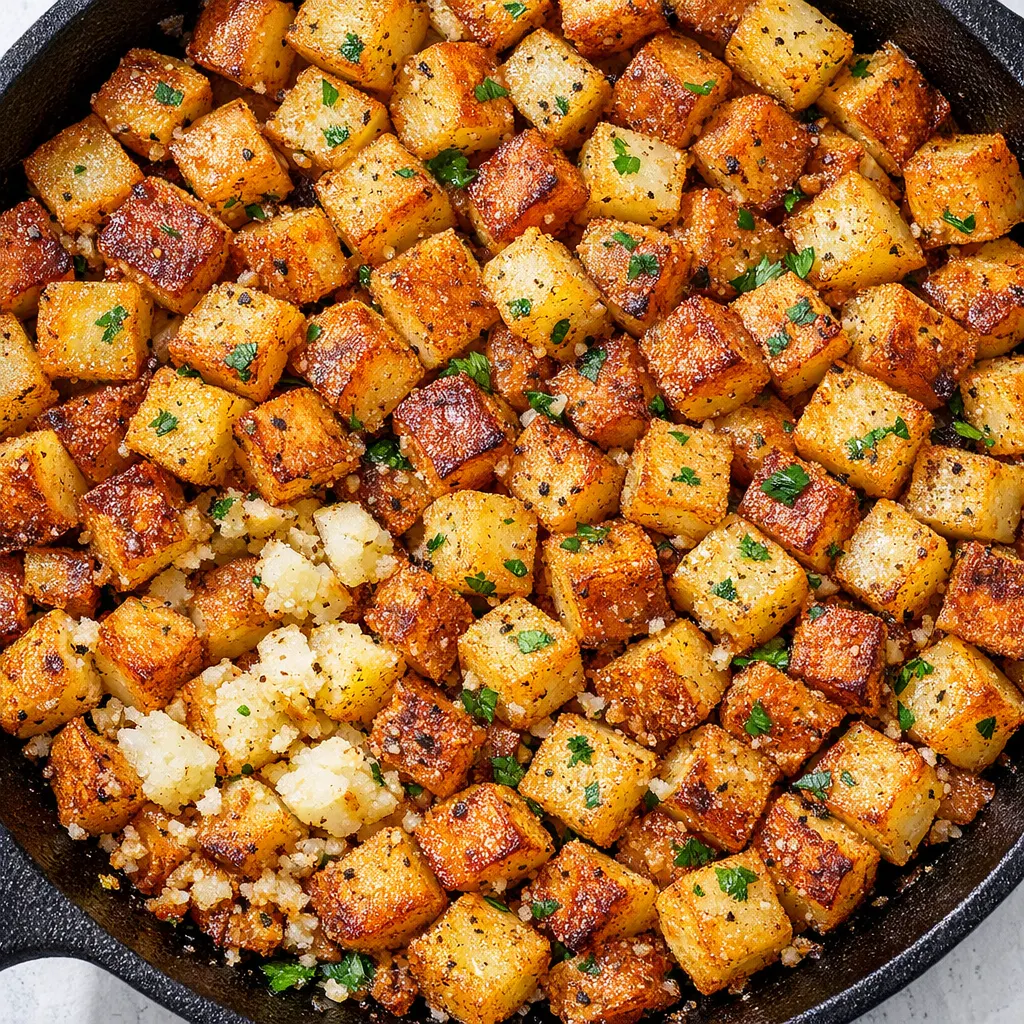
Most recipes tell you to just dump the potatoes in a hot pan and let them fry. The problem is that a raw potato cube is dense and starchy. By the time the inside is cooked through, the outside is either burnt or so dark that the flavor turns bitter. The lid fixes that. Trapping the steam for the first few minutes cooks the inside all the way through — tender, fluffy, fully done — before you ever start crisping the exterior.
When you take the lid off, the potatoes have already surrendered their interior. The remaining moisture evaporates quickly, and the butter and oil do their job building a crust that actually holds. Without the lid, you get raw centers and burnt edges. With it, you get the texture you were after in the first place.
Marta called it “giving the starch a head start.” She wasn’t wrong.
Everything You Need (And a Few Notes From Me)
- 4 medium potatoes, cut into 1/2-inch cubes: Yukon Golds hold their shape beautifully here — they’re waxy enough to keep a clean edge but starchy enough to crisp. Russets work too if that’s what you have, but watch them closely. I tried red potatoes once and they turned out gluey. Not recommended.
- 1/4 teaspoon salt: I use Diamond Crystal. If you’re using Morton’s or a fine sea salt, cut the amount by about a third or your potatoes will taste like the ocean. Taste one right when they come out of the pan and adjust from there.
- 1/4 teaspoon black pepper: Freshly ground is better, but pre-ground works just fine. My kids actually prefer the pre-ground in this recipe — it distributes more evenly through the batch.
- 1/4 teaspoon garlic powder: Not garlic salt. Big difference here. Garlic salt adds moisture and makes the potatoes taste like a seasoned blend from a box. Garlic powder is concentrated and dry — it clings to the surface and toasts in the oil.
- 1/4 teaspoon onion powder: Same deal. Dry, concentrated, no moisture. If you use fresh minced onion, add it with the potatoes under the lid so it softens, then let it brown when you uncover.
- 1 tablespoon butter: Adds flavor and helps with browning. Marta always used salted butter. I do too.
- 1 tablespoon oil: Keeps the butter from burning. Avocado or canola works well. Olive oil has too low a smoke point for this high-heat finish.
- 1 tablespoon chopped fresh parsley (or 1/2 teaspoon dried): Fresh is prettier. Dried is what I use on Tuesday mornings when I’m not trying to impress anyone. If you go dried, rub it between your palms as you sprinkle — it wakes up the flavor.
What to Pull Out Before You Start
- Skillet: Cast iron is ideal — it holds heat evenly and builds a better crust. A heavy stainless steel pan works too. Stay away from non-stick if you can; it doesn’t get hot enough for the kind of crisp we’re after.
- Chef knife and cutting board: For the potatoes and parsley.
- Measuring cups and spoons: Yes, I measure the seasonings. Marta didn’t have to, but I do, and I want you to have a consistent starting point.
- Lid: This is not optional. A sheet of foil tucked tightly over the pan works in a pinch, but a proper lid holds the steam better.
- Spatula: A metal spatula for cast iron, wood or silicone for non-stick. I use a thin metal turner — it gets under the crust without tearing it.
Let’s Make It (Step by Step)
Prep: Wash and dry your potatoes. Cut them into even 1/2-inch cubes. Uneven cubes mean uneven cooking — some will be mush, some will be raw. Take the extra minute to make them uniform.
- Heat the skillet over medium-high heat for about 2 minutes. Add the butter and oil together and swirl until the butter melts and stops foaming. (📸 Photo tip: The butter should sizzle gently when it hits the pan — if it browns immediately, the pan is too hot. Let it cool slightly before adding the potatoes.)
- Add the chopped potatoes to the hot skillet. Toss them around with the spatula to coat every cube in the butter and oil. Sprinkle the salt, pepper, garlic powder, and onion powder over the top and toss again to distribute evenly. Don’t skip this tossing — the seasoning needs to hit every surface.
- Cover the skillet with the lid. Let the potatoes steam for 3 to 4 minutes. Set a timer. (📸 Photo tip: When you lift the lid after 3 minutes, steam should billow out. The potatoes will look slightly translucent at the edges — that’s the interior cooking through.)
- Remove the lid and stir the potatoes. They will look pale and soft. That’s fine. You haven’t failed — you’ve just finished the steam phase. This is where the sound changes from a wet hiss to a dry crackle. Listen for it.
- Continue cooking uncovered, stirring every 2 to 3 minutes, turning the cubes so that every side gets a turn against the hot surface. Let them sit for a minute between stirs — constant stirring prevents the crust from forming. The edges will turn a deep golden brown before the centers do. That’s the signal to flip them.
- Test for doneness: The potatoes are done when they have a light, shattering crisp on the outside and a soft, fluffy interior. Press one with the spatula — it should give slightly but hold its shape. Taste one. If the texture is right, you’ll know immediately.
- Remove from heat and sprinkle with the fresh parsley (or dried). Toss gently and transfer to a serving dish. I serve these straight from the skillet if I’m feeding the family — one less dish to wash.
How I Meal Prep These for the Week
I make a double batch on Sundays when I have the stove going anyway. We eat half for breakfast and I pack the rest for quick reheats during the week. My secret: I spread the cooked potatoes on a baking sheet to cool completely before I put them in the container. If you pile them hot into a sealed container, they steam themselves soft overnight.
- Fridge: Store in an airtight container for up to 4 days. Spread them on a baking sheet to cool first, then transfer to the container.
- Freezer: Not recommended. The texture suffers significantly during thawing. I’ve tried it. It’s not good.
- Reheat: Cast iron skillet with a tiny splash of oil over medium-high heat. 3–4 minutes per side, no lid. The microwave makes them rubbery — please don’t.
Things I Wish I’d Known the First Time
- Don’t crowd the pan. If your skillet isn’t big enough to hold the potatoes in a single layer, cook them in batches. Overcrowding traps steam indefinitely and you’ll end up with mushy potatoes. I learned this the hard way after making a single batch in a tiny pan. They never crisped. Even if you mess this part up a little, they’ll still taste good — I’ve done it a hundred times. But if you want the crisp, give them space.
- Let them sit undisturbed after removing the lid. The first side needs at least 2 minutes of direct contact with the hot pan to develop a crust. If you stir too soon, you pull the potatoes away from the heat before the crust has formed. Trust the stillness.
- Taste for seasoning at the very end. Potatoes need more salt than you think, and the steam phase dilutes the initial seasoning. Sprinkle a pinch of flaky salt over the finished potatoes and taste again. My daughter Nora adds a pinch of smoked paprika to hers at this stage — it gives them a subtle campfire flavor.
- Use a metal spatula on cast iron. It gets under the crust without tearing it. A rubber spatula pushes the potatoes around and breaks the surface. This is one of those small equipment choices that makes a big difference.
Swaps That Actually Work
- Sweet potatoes: Adjust the cook time by about 5 minutes under the lid — sweet potatoes are denser and need more steam time. This is the version I make for Thanksgiving breakfast. It feels special without being fussy.
- Dairy-free: Use 2 tablespoons of oil and skip the butter. The flavor changes slightly but the texture stays. My sister-in-law can’t do dairy and this is her favorite version.
- Add-ins: Toss in a diced bell pepper or sliced onion during the last 5 minutes of cooking. Add minced garlic in the last 2 minutes — it burns quickly. My friend Sarah adds a diced jalapeño with the bell pepper. Her kids don’t mind it, and mine would notice immediately.
- Herb swap: Rosemary or thyme instead of parsley. Use fresh if you have it, dried if you don’t. Rosemary and potatoes are a classic combination for a reason.
Questions I Get About This Recipe All the Time
Q: Why did my potatoes turn out mushy?
A: Ugh, I’ve been there. The most common reason is that the pan wasn’t hot enough when you added the potatoes, or you piled them too high. Give them space and make sure the butter and oil are shimmering before you add the cubes. You’ve got this next time.
Q: Can I make these without oil?
A: You can, but they won’t get nearly as crispy. Use a well-seasoned non-stick pan and a splash of water or broth to steam under the lid, then cook uncovered to dry out the surfaces. I’ve tested this and it works, but the crust is different — more like a roasted edge than a fried one.
Q: How do I reheat leftovers?
A: Skillet, medium-high heat, a tiny splash of oil. 3 to 4 minutes per side. The microwave will ruin the texture completely — it turns the crisp into paste within 30 seconds. Save yourself the disappointment and use the stove.
Q: What do you serve with these?
A: Alongside eggs and bacon for a full breakfast, or under a fried egg for a quick dinner. We also do them with a side of simple sautéed greens for a lighter meal. My kids love them with ketchup, but I prefer them with a sprinkle of flaky salt and nothing else.
More Recipes My Family Makes on Repeat
If you liked this one, here are a few others that get the same reaction at our table:
- [INTERNAL LINK PLACEHOLDER: Sheet Pan Pancakes] — The lazy Sunday breakfast that serves a crowd without standing at the stove flipping.
- [INTERNAL LINK PLACEHOLDER: Sausage & Egg Casserole] — Our go-to for holiday mornings. Prep it the night before and bake it while everyone opens presents.
- [INTERNAL LINK PLACEHOLDER: Simple Sautéed Greens] — The perfect side dish to balance a heavy breakfast plate. Ready in 10 minutes.
This is the kind of breakfast that makes you sit down for a few extra minutes, even if the day is already pulling at you. The potatoes hold their heat longer than you expect, and that first bite — the shatter of the crust, the softness underneath — is worth slowing down for.
If you make these, let me know how they turned out. Drop a comment below or tag me on Instagram — I love seeing them in your kitchens.
📌 This crispy breakfast potatoes recipe stays golden even after reheating — save it for your next lazy Sunday morning.
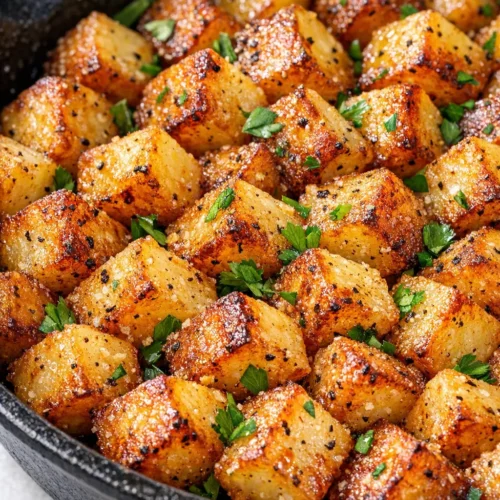
Breakfast Potatoes That Actually Get Crispy (Not Soggy) — Finally
Equipment
- Cast Iron Skillet
- Chef’s Knife
- Cutting Board
- Lid
- Metal Spatula
Ingredients
- 4 medium potatoes, Yukon Gold, cut into 1/2-inch cubes
- 1/4 teaspoon salt (Diamond Crystal preferred)
- 1/4 teaspoon black pepper, freshly ground or pre-ground
- 1/4 teaspoon garlic powder (not garlic salt)
- 1/4 teaspoon onion powder
- 1 tablespoon butter (salted)
- 1 tablespoon oil (avocado or canola)
- 1 tablespoon fresh parsley, chopped (or 1/2 tsp dried)
Instructions
- Prep: Wash and dry potatoes. Cut into even 1/2-inch cubes. Uneven cubes mean uneven cooking.
- Step 1: Heat the skillet over medium-high heat for about 2 minutes. Add butter and oil together; swirl until butter melts and stops foaming. The butter should sizzle gently — if it browns immediately, let the pan cool slightly before adding potatoes.
- Step 2: Add the chopped potatoes to the hot skillet. Toss to coat every cube in butter and oil. Sprinkle salt, pepper, garlic powder, and onion powder over the top; toss again to distribute evenly.
- Step 3: Cover the skillet with the lid. Let potatoes steam for 3 to 4 minutes. Set a timer. When you lift the lid, steam should billow out; the potatoes will look slightly translucent at the edges.
- Step 4: Remove the lid and stir the potatoes. They will look pale and soft — that’s fine. Listen for the sound to change from a wet hiss to a dry crackle.
- Step 5: Continue cooking uncovered, stirring every 2 to 3 minutes, turning cubes so every side gets a turn against the hot surface. Let them sit for a minute between stirs to allow crust to form. Edges will turn deep golden brown before centers do — that’s the signal to flip.
- Step 6: Test for doneness: The potatoes are done when they have a light, shattering crisp on the outside and a soft, fluffy interior. Press one with a spatula — it should give slightly but hold its shape. Taste one.
- Step 7: Remove from heat. Sprinkle with fresh parsley (or dried), toss gently, and transfer to a serving dish. Serve straight from the skillet if feeding the family.