
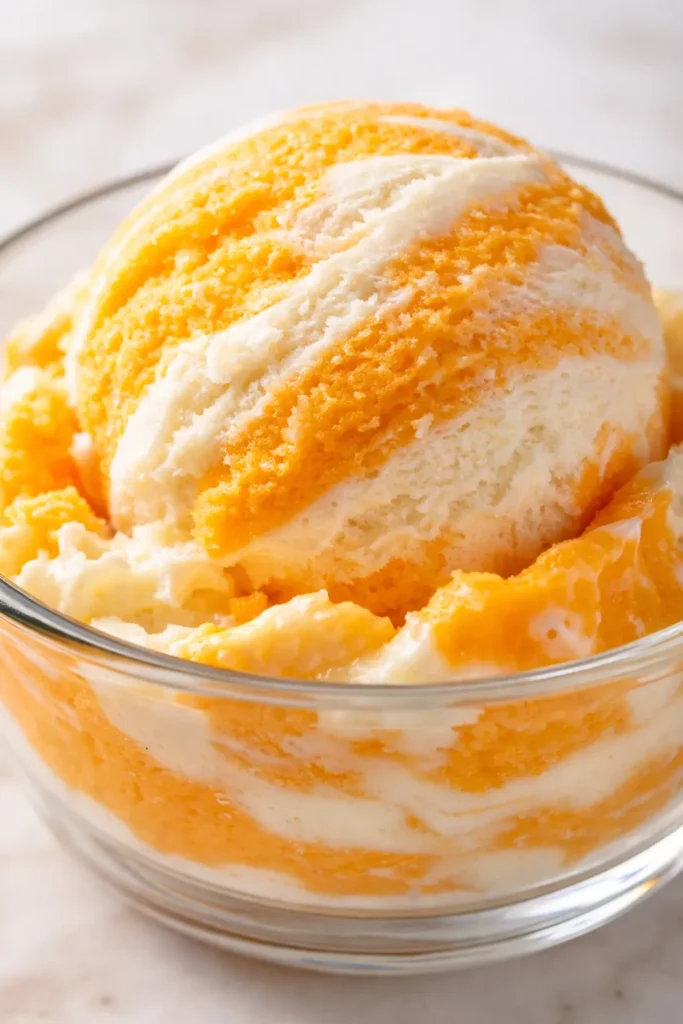
The first time I tried making orange ice cream, I skipped the cream entirely and used straight juice, telling myself it would be “fresher.” It came out of the machine tasting like a faintly sweet ice cube. My daughter Nora still brings it up. This version is the one I make now — a classic vanilla custard base, brightened with fresh zest and a ribbon of orange syrup, so it tastes exactly like the popsicle you remember from the truck but about five times creamier.
The short version: A custard-based ice cream with real orange zest and a vanilla-orange swirl that stays scoopable, bright, and never icy.
It took me nine batches to get the balance right — creamy enough to feel indulgent, bright enough to taste like fresh fruit. Marta’s vanilla custard base is the backbone. The orange oil in the zest does the work. And my secret for the smoothest texture? A tiny splash of vodka, which I’ll explain in the tips.
- Serves: 1 quart (about 8 servings)
- Hands-On Time: 25 min | Total Time: 6 hours (includes chilling, churning, and freezing)
- Difficulty: Medium — you’ll make a stovetop custard, but it’s worth every minute
- Cost per serving: ~$1.50
- Calories: ~320 per serving
- Dietary Notes: Naturally gluten-free. Adaptable for dairy-free (see variations).
(Photo above: A close-up, overhead scoop of the finished ice cream in a vintage blue ceramic bowl, showing the smooth, creamy texture and the distinct orange-vanilla swirl. A few fresh orange slices rest on the wood table next to it. Natural light from the side.)
Why This One Doesn’t Turn Into a Frosty Block of Ice
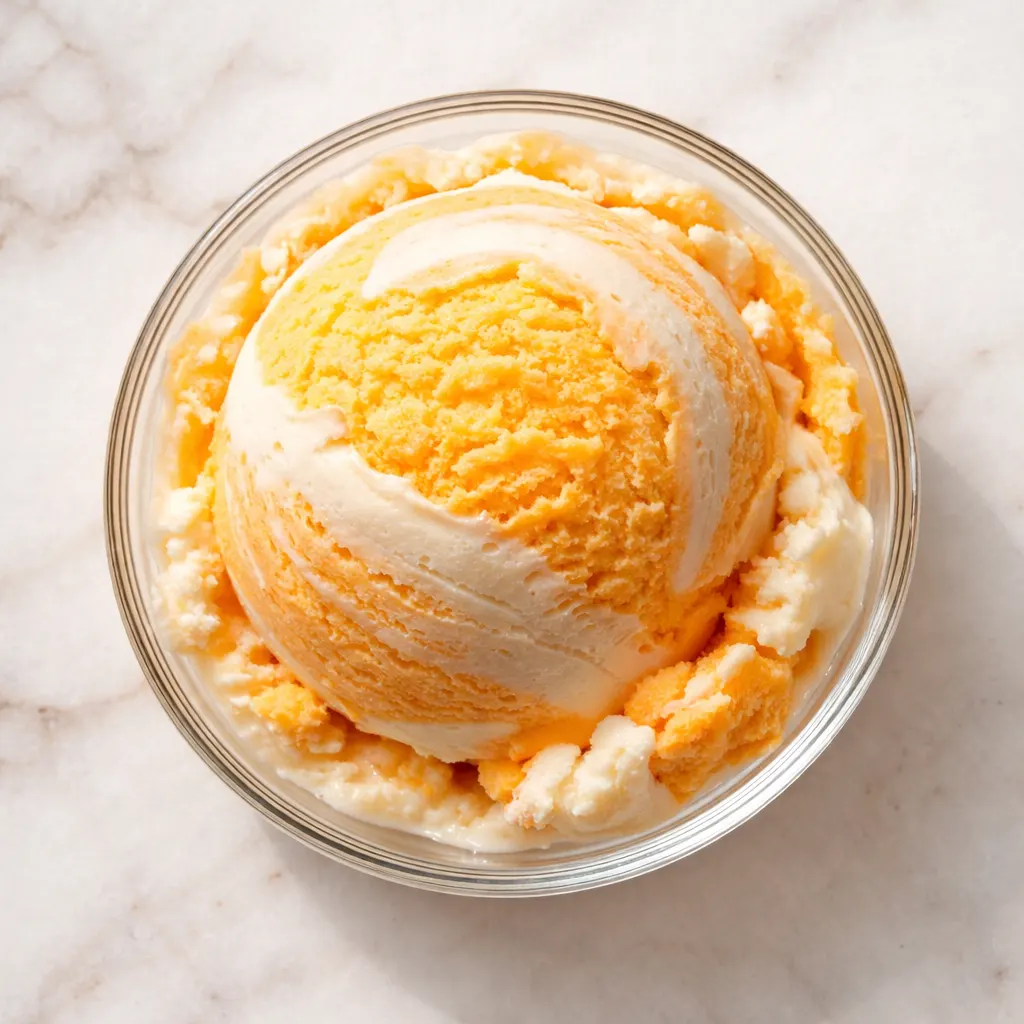
The problem with most homemade fruit ice creams is they freeze hard as a brick. The juice turns to ice crystals, and you end up with something that tastes more like a fruity icicle than a scoop of ice cream. This version uses a cooked custard base — egg yolks, cream, and whole milk — which gives it the richness it needs to stay soft and scoopable straight from the freezer. The egg yolks are the secret. They emulsify the fat and water so the mixture freezes into a creamy solid instead of separating into icy chunks. The sugar helps too, and I’ll show you how to get that balance right. My daughter Nora, who once swore she didn’t like homemade ice cream, asked for this three times last July.
What Goes Into That Creamy Scoop (And Why It Works)
- 2 cups heavy cream & 1 cup whole milk: The fat content here is non-negotiable. Lower-fat milk makes icier ice cream. I’ve tested it. Trust me.
- 4 large egg yolks: These are what give you that smooth, almost velvety texture. Save the whites for an omelet or meringue.
- 3/4 cup granulated sugar: Enough to sweeten without overwhelming the orange. Plus, you’ll use some of it to macerate the zest.
- Zest of 3 large oranges (navel or Cara Cara): This is where the real orange flavor lives. The oils in the zest are intensely aromatic. Juice alone won’t get you there.
- 1/2 cup fresh orange juice (from about 2 oranges): Use the oranges you zested. Fresh-squeezed matters here — bottled juice tastes flat by comparison.
- 1 teaspoon vanilla extract: The “creamsicle” note. It rounds out the orange and makes it taste nostalgic.
- Pinch of fine sea salt: Marta always said salt doesn’t make it salty — it makes it taste more like itself. She was right.
- 1 tablespoon vodka (optional but recommended): You can’t taste it. It lowers the freezing point so the ice cream scoops easier after a few days in the freezer.
The Tools You’ll Need
- Ice cream maker: I use a classic Cuisinart with a bowl you freeze overnight. Any model works, just make sure the bowl is fully frozen before you start.
- Medium saucepan: For the custard. A heavy-bottomed one is best — it distributes heat gently so you don’t scorch the eggs.
- Whisk: A good, sturdy one.
- Fine-mesh strainer: Absolutely necessary. It catches any bits of cooked egg and the zest solids for a silky smooth base.
- Mixing bowls: You’ll need a heat-safe bowl for the eggs and a large bowl for an ice bath (or just use your sink).
- Spatula: For scraping every last drop of custard into the strainer.
- Airtight freezer container: A loaf pan or a quart-sized deli container with a lid works well.
Making the Ice Cream (Start to Finish)
This goes fast, so read through once before you start. The most important part is tempering the eggs — go slow and you’ll be rewarded with a silky base.
- Zest and macerate: Put the sugar in a small bowl. Zest the oranges directly over the sugar, then use your fingers to rub the zest into the sugar until it smells intensely floral and the sugar turns pale orange. This releases the oils. Let it sit for 5 minutes while you get everything else ready.
- Heat the dairy: In a medium saucepan, combine the cream, milk, and the orange-sugar mixture. Warm over medium heat until it’s steaming and tiny bubbles form around the edge — do not let it boil. Stir occasionally to dissolve the sugar.
- Temper the eggs: While the cream heats, put the egg yolks in a heat-safe bowl and whisk them until they’re smooth. Slowly drizzle about 1/2 cup of the hot cream into the yolks, whisking constantly. Then, pour the yolk mixture back into the saucepan, whisking the whole time. This is the step that keeps your custard smooth instead of turning into scrambled eggs.
- Thicken the custard: Cook over medium-low heat, stirring constantly with a spatula, until the mixture thickens enough to coat the back of a spoon. When you run your finger across the spoon, the line should hold. This takes about 5–7 minutes. Don’t rush it.
- Strain and flavor: Immediately pour the custard through a fine-mesh strainer into a clean bowl. Stir in the fresh orange juice, vanilla extract, salt, and vodka (if using). The strainer will catch the zest solids and any tiny bits of cooked egg. (📸 Photo tip: Your custard should be thick enough to coat the spoon without dripping off immediately — that slight nappe texture is exactly what you’re looking for.)
- Chill completely: Place the bowl over an ice bath (or just put it in the fridge). Stir occasionally until it’s completely cold — at least 4 hours, but overnight is better. Warm custard in an ice cream maker will give you soup, not ice cream.
- Churn: Pour the cold custard into your ice cream maker and churn according to the manufacturer’s instructions. It’s ready when it looks like soft serve — thick, creamy, and holding its shape. (📸 Photo tip: The ice cream should look like soft serve straight out of the machine — smooth and billowy, not runny.)
- Swirl and freeze: While it’s churning, quickly stir together a tablespoon of honey or simple syrup with a few tablespoons of extra orange juice for a quick swirl. Layer the churned ice cream with the swirl in your freezer container, then use a knife to gently marble it. Cover and freeze for at least 4 hours to firm up.
Making It Ahead (And Keeping It Scoopable)
I make this base on Sunday afternoons and churn it Monday morning when I have a few minutes. The custard keeps beautifully in the fridge for up to three days. I’ve even doubled the batch and frozen the extra — we ate it for two weeks straight and it stayed soft enough to scoop without a fight.
- Fridge: The custard base keeps in an airtight container for up to 3 days. Give it a good whisk before you churn it.
- Freezer: Yes! The finished ice cream keeps for about 2 weeks. Press a piece of parchment paper directly onto the surface before sealing to keep ice crystals away.
- Reheat: If it gets rock hard after a few days, leave it on the counter for 10 minutes before scooping. The vodka trick in the recipe helps, too.
Things I Learned the Hard Way (So You Don’t Have To)
- The Zest Rule — Orange Part Only: The white pith is bitter. When you zest, use a light hand and only take off the colored part. I learned this the hard way with a batch that tasted vaguely like orange rind tea. Not good.
- Don’t Skip the Strainer: Even if you think you tempered perfectly, a tiny bit of egg can cook and leave a lumpy texture. The strainer is insurance — it takes 10 seconds and guarantees a silky base. I never skip it.
- Patience with the Chill: I know you’re excited. But putting a warm custard into the ice cream maker will give you a thin, icy slush. It has to be completely cold — like, fridge-cold for 4 hours minimum. I’ve made this mistake three times and I’m telling you it’s not worth it.
- The Vodka Trick Is Real: My husband thought I was making it up. I made two batches — one with the tablespoon of vodka and one without. The vodka batch scooped perfectly on day 5. The other one needed a pickaxe. You cannot taste it, I promise.
Ways to Make It Your Own
- Dairy-Free: Use full-fat coconut milk (1 can) and coconut cream (1 can) in place of the cream and milk. The coconut flavor is subtle and it works beautifully. My niece who can’t do dairy asks for this version every time she visits.
- Creamsicle Float: Put a scoop in a tall glass and pour sparkling water or cream soda over it. It’s the ultimate summer drink. I do this on weeknights when I want a treat without pulling out bowls.
- Chocolate Swirl: Instead of the orange syrup, fold in a cooled, slightly salted fudge ripple. The chocolate and orange together are incredible — think of it as a terry’s chocolate orange in ice cream form.
- Extra Creamy: Replace one of the whole milk cups with an extra half cup of cream and a half cup of half-and-half. It’s absurdly rich and I only make this version for holidays.
The Questions I Get About This Recipe
Q: Why did my ice cream turn out icy?
A: Ugh, I’ve been there. The most common culprit is too much juice and not enough fat. Stick to the custard base proportions here — the yolks and cream are what keep it smooth. Another possibility: your ice cream maker bowl wasn’t completely frozen (it needs a full 24 hours, not just overnight). Try again with a fully frozen bowl and you’ll see a big difference.
Q: Can I use store-bought orange juice?
A: You can, but it won’t taste as bright. Fresh-squeezed has a floral, zingy quality that bottled juice loses in processing. I use the oranges I zested — that way nothing goes to waste and the flavor is at its peak. If you’re in a pinch, look for a high-quality pasteurized OJ, but fresh really does matter here.
Q: How long does this keep in the freezer?
A: About 2 weeks in a sealed container with a piece of parchment pressed onto the surface. After that, it starts to pick up freezer odors and the texture gets a little less creamy. Honestly, in my house it never lasts that long — we finish it in about a week.
Q: What do you serve with it?
A: I love it with a crisp shortbread cookie or an almond biscotti. The buttery crunch is the perfect contrast to the creamy ice cream. My kids like it straight out of the bowl with nothing else — and honestly, that’s the highest compliment.
More Recipes My Family Makes on Repeat
If you liked this one, here are a few others that get the same reaction at our table:
- [INTERNAL LINK PLACEHOLDER: No-Churn Vanilla Bean Ice Cream] — For when you don’t want to pull out the ice cream machine but still want something creamy and perfect.
- [INTERNAL LINK PLACEHOLDER: Grandma Marta’s Apple Cake] — The perfect partner for a scoop of citrusy ice cream. Warm cake and cold ice cream is my favorite combination.
- [INTERNAL LINK PLACEHOLDER: Fresh Lemon Sorbet] — Bright, light, and incredibly refreshing for the hottest days when you want something fruity instead of creamy.
If you’ve ever mourned the end of ice cream truck season, this is your summer back. It’s bright enough for a scorching afternoon and creamy enough to feel like a real treat — the kind you eat slowly, on the porch, while the sun goes down. I’d love to hear how it goes for you — drop a comment below or tag me on Pinterest so I can see your scoop.
📌 Homemade Orange Creamsicle Ice Cream recipe that stays perfectly creamy — save it for your next hot summer afternoon or holiday dessert table!
Homemade Orange Creamsicle Ice Cream
Equipment
- Ice cream maker
- Medium Saucepan
- Whisk
- Fine-mesh strainer
- Mixing Bowls
- Spatula
- Airtight freezer container
Ingredients
For the Ice Cream Base
- 2 cups heavy cream
- 1 cup whole milk
- 4 large egg yolks
- 3/4 cup granulated sugar
- 3 large oranges (zest)
- 1/2 cup fresh orange juice
- 1 teaspoon vanilla extract
- 1 pinch fine sea salt
- 1 tablespoon vodka (optional)
For the Swirl (optional)
- 1 tablespoon honey or simple syrup
- 2-3 tablespoons extra orange juice
Instructions
- Zest and macerate: Put the sugar in a small bowl. Zest the oranges directly over the sugar, then use your fingers to rub the zest into the sugar until it smells intensely floral and the sugar turns pale orange. Let it sit for 5 minutes.
- Heat the dairy: In a medium saucepan, combine the cream, milk, and the orange-sugar mixture. Warm over medium heat until it’s steaming and tiny bubbles form around the edge – do not let it boil. Stir occasionally.
- Temper the eggs: While the cream heats, put the egg yolks in a heat-safe bowl and whisk until smooth. Slowly drizzle about 1/2 cup of the hot cream into the yolks, whisking constantly. Then pour the yolk mixture back into the saucepan, whisking the whole time.
- Thicken the custard: Cook over medium-low heat, stirring constantly with a spatula, until the mixture thickens enough to coat the back of a spoon – about 5–7 minutes. When you run your finger across the spoon, the line should hold.
- Strain and flavor: Immediately pour the custard through a fine-mesh strainer into a clean bowl. Stir in the fresh orange juice, vanilla extract, salt, and vodka (if using).
- Chill completely: Place the bowl over an ice bath or in the fridge. Stir occasionally until completely cold – at least 4 hours, but overnight is better.
- Churn: Pour the cold custard into your ice cream maker and churn according to the manufacturer’s instructions. It’s ready when it looks like soft serve – thick, creamy, and holding its shape.
- Swirl and freeze: While churning, quickly stir together honey (or simple syrup) with extra orange juice for a quick swirl. Layer the churned ice cream with the swirl in your freezer container, then use a knife to gently marble it. Cover and freeze for at least 4 hours to firm up.
Notes
Related posts:
 The Slow Cooker Cowboy Casserole That Saves Tired Weeknights (No Soggy Tots Allowed)
 Lemon Garlic Butter Baked Salmon in Foil That’s Ready in 25 Minutes — No Fuss, No Mess
 Moist Chocolate Zucchini Bread That Doesn’t Turn Out Rubbery — Finally
 Creamy Homemade Strawberry Dole Whip (That Tastes Just Like the Real Thing)
 Blueberry Peach Bread That Doesn’t Sink or Turn Mushy — Finally
 Quinoa Chicken Sausage Bowls That Are Ready in 30 Minutes (And Actually Keep Well)