
The first time I made vegan ice cream, I spent an hour carefully blending, pouring, and dreaming of a perfect scoop. A few hours later, I was chipping away at a solid, flavorless ice cube with a butter knife, wondering where I went so wrong. This version is the exact opposite of that moment. It scoops. It stretches. It melts on your tongue in a way that makes you forget it’s dairy-free. My non-vegan husband asks for it by name, and my kids just call it “the good vanilla ice cream.” It takes about ten minutes of actual work, no ice cream maker required, and it delivers every single time.
The short version: Creamy, scoopable vegan vanilla ice cream made without a machine — just coconut milk, a little patience, and one secret ingredient.
I’ve made this about twelve times now. I’ve tested it with different milks, different sweeteners, and different freeze times. This is the version that works. The one that doesn’t disappoint. The one I text to friends when they say they miss real ice cream.
- Serves: 6 as dessert
- Hands-On Time: 10 min | Total Time: 6 hrs 10 min
- Difficulty: Easy — honestly, the hardest part is opening the can
- Cost per serving: ~$1.50
- Calories: ~280 per serving
- Dietary Notes: Naturally Vegan, Dairy-Free, Gluten-Free, Refined Sugar-Free option
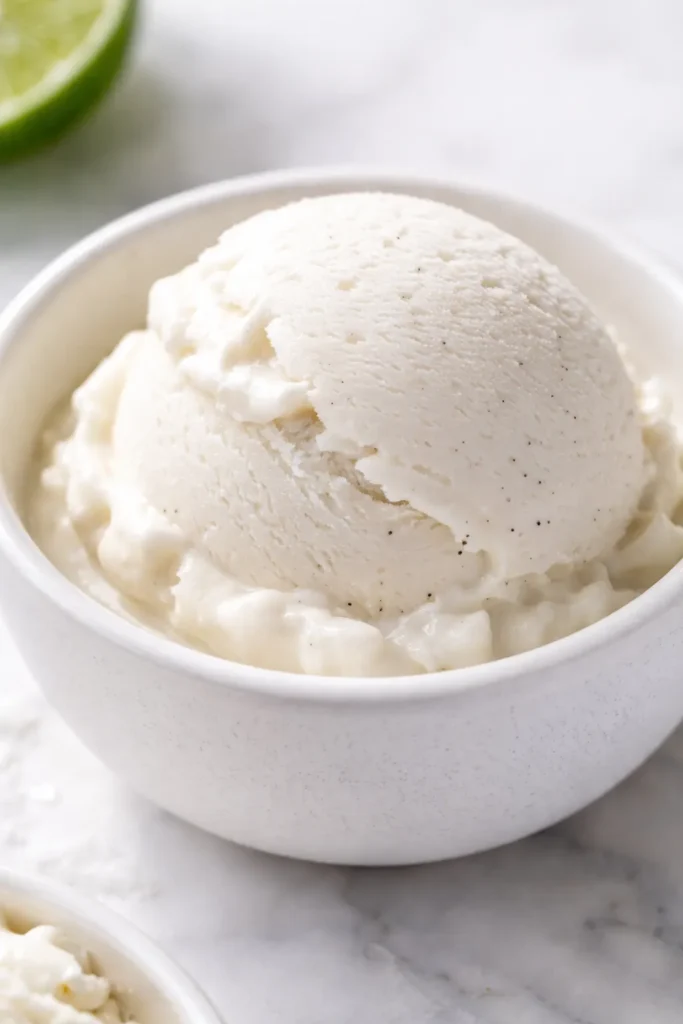
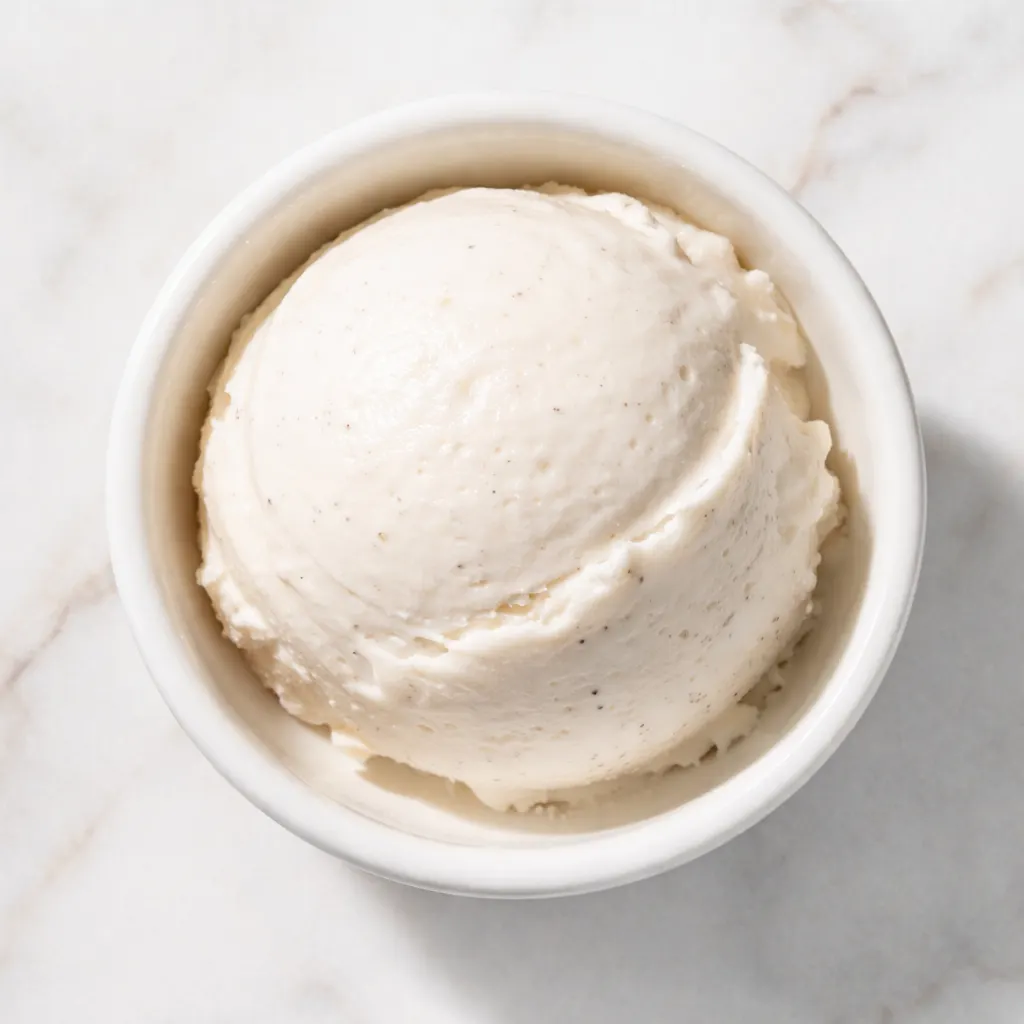
(Photo above: a close-up scoop of creamy coconut ice cream in a simple white bowl, drizzled with warm chocolate sauce and a sprinkle of toasted coconut flakes, soft golden afternoon light hitting the smooth, whipped texture.)
Why This Version Actually Stays Scoopable (Not Icy)
Most homemade vegan ice creams fail because they don’t have enough fat to stay creamy. The water separates, freezes into crystals, and you’re left with a block that tastes more like frozen coconut water than ice cream. This version solves that in two ways.
First, we use only the solid cream from full-fat coconut milk — the watery part stays in the can. The fat here is what gives it that silky, rich texture. Second, I add a little arrowroot powder. It’s not about thickening the base; it’s about keeping those ice crystals tiny. Arrowroot inhibits the crystallization process so your ice cream stays smooth instead of turning into a popsicle. I learned this the hard way after way too many gritty batches.
The result is a dessert that scoops straight from the freezer, no thawing required, and tastes like something you’d pay eight dollars for at a fancy scoop shop.
The Ingredients (And My Honest Notes)
- 2 cans full-fat coconut milk (13.5 oz each): This is the star of the show. Do not use lite coconut milk. Do not use coconut cream from a carton. It needs to be the thick, canned stuff. I chill mine for 24 hours so the cream separates perfectly — my fridge is always stocked with a couple of cans just for this.
- ¼ cup maple syrup or agave: Maple syrup gives it a warm, caramel-like sweetness. Agave is more neutral. Both work. My kids don’t notice the difference, but I prefer maple — it feels more like a treat.
- 2 tablespoons refined coconut oil: This is optional, but it makes the texture even creamier and helps the ice cream scoop more easily straight from the freezer. Refined is important — unrefined tastes strongly of coconut, which can overpower the vanilla.
- 2 teaspoons arrowroot powder: My secret weapon. Cornstarch works in a pinch, but arrowroot is silkier and more reliable. I know it sounds like a random ingredient, but it’s genuinely the difference between creamy and icy.
- 2 teaspoons vanilla bean paste or extract: Vanilla bean paste gives you those beautiful little speckles, but extract works beautifully too. I splurge on the paste because it feels special, but I’ve made this dozens of times with regular vanilla and it’s still amazing.
- ¼ teaspoon sea salt: Salt sharpens the sweetness and keeps the flavor from feeling flat. Don’t skip it — it makes everything taste more like itself.
What You’ll Need (It’s Minimal)
- Can opener
- A medium mixing bowl
- Hand mixer or stand mixer (or a strong whisk — your arm will get a workout)
- A small saucepan
- Loaf pan (8×4 or 9×5)
- Spatula for folding
That’s it. No ice cream maker. No fancy equipment. Just the basics you already have in your kitchen.
Here’s How I Make It — Start to Finish
This comes together fast. The hardest part is waiting for it to freeze. Read through the steps once so you know what’s coming — it moves quickly.
Chill the cans: Put both cans of coconut milk in the fridge for at least 12 hours, ideally 24. The cream will harden and separate from the water.
- Scoop the cream: Open the cans without shaking them. Scoop the solid white cream into your mixing bowl. You want about 1 ½ cups of solid cream total. Discard the watery liquid (or save it for smoothies). (📸 Photo tip: The cream should look like thick, white panna — if it’s runny, it wasn’t cold enough. Pop it back in the fridge for another few hours.)
- Whip the cream: Using your hand mixer or stand mixer, whip the coconut cream on medium-high speed until it’s light, fluffy, and forms soft peaks. This takes about 2 to 3 minutes. (📸 Photo tip: It should look exactly like whipped cream — billowy, soft, and holding its shape when you lift the beaters.)
- Warm the syrup mixture: In a small saucepan over low heat, combine the maple syrup, coconut oil, arrowroot powder, and salt. Stir constantly for about 30 to 45 seconds, just until the arrowroot dissolves and the mixture is smooth. Do not let it boil. Remove from heat and let it cool for one minute.
- Combine everything: With the mixer running on low, slowly drizzle the warm syrup mixture into the whipped coconut cream. Add the vanilla bean paste or extract. Mix just until combined — you don’t want to deflate all the air you just whipped in.
- Fold and freeze: Give the base a final fold with your spatula to make sure everything is evenly mixed. Pour it into your loaf pan, smooth the top, and cover tightly with plastic wrap or a lid. Freeze for at least 6 hours, or overnight.
Make-Ahead Magic (For When You Want Dessert Ready)
This is the best kind of make-ahead dessert. You do the ten minutes of work, and then it’s just sitting there in the freezer, ready whenever you need a cold, creamy treat.
- Fridge: Not recommended — it will melt. Keep it in the freezer.
- Freezer: Store tightly covered for up to 2 weeks. After that, it can start to develop ice crystals. Press a piece of plastic wrap directly onto the surface of the ice cream before sealing the lid to keep it fresh longer.
- Scoop: Let it sit at room temperature for 3 to 5 minutes before scooping. This makes it silky and easy to work with.
What I Learned After Making This 12 Times
- Chill the cans for a full 24 hours if you can. The colder the cream, the better it whips. I keep a couple of cans in the back of my fridge at all times so I’m never tempted to rush this step.
- Don’t skip the arrowroot. I know it feels like an extra step, but it’s the difference between creamy and icy. Cornstarch works in a pinch, but arrowroot is silkier. Worth finding.
- Sweeten it a little more than you think you need to. Cold temperatures dull sweetness. Taste the base before freezing — if it tastes perfectly sweet to you, add another tablespoon of maple syrup. Your frozen self will thank me.
- Cover the surface with plastic wrap. Air is the enemy of creamy ice cream. If you don’t press plastic wrap directly onto the surface, you’ll get freezer burn on top. It still tastes fine, but the texture won’t be as perfect.
Ways to Make It Your Own (My Family’s Favorites)
- Chocolate version: Add ¼ cup unsweetened cocoa powder to the warm syrup mixture. My kids go absolutely silent when they eat this one.
- Strawberry version: Swirl in ½ cup of strawberry puree (just simmer chopped strawberries with a little maple syrup until thick) right before freezing.
- Kid-friendly: Fold in a handful of dairy-free chocolate chips or colorful sprinkles before pouring into the pan. Suddenly it’s the most exciting dessert of the week.
- Nut-free: This recipe is naturally nut-free, which is a lifesaver for school lunches or playdates.
- Refined sugar-free: Just use maple syrup or agave instead of any refined sweeteners. This version is already refined sugar-free as written.
- Mix-in idea for adults: A swirl of peanut butter or a splash of bourbon in the warm syrup mixture. I won’t tell anyone if you don’t.
Questions People Always Ask Me About This Recipe
Q: Why did my ice cream turn out icy and hard?
A: Ugh, I’ve been there. It usually means you didn’t whip enough air into the cream, or you skipped the arrowroot. Air is what keeps it scoopable — don’t shortchange the whipping time. And the arrowroot really does make a difference. You’ve got this next time.
Q: Can I use a different milk? Like cashew or oat?
A: Honestly, I tested this with a few different milks so you don’t have to. Cashew milk works in a pinch, but it won’t be as rich. Oat milk is too watery — don’t do it. Full-fat coconut milk is the only one that gives you that perfect, creamy, scoopable texture.
Q: Can I make this without a mixer?
A: You can, but you’ll need a good whisk and some arm strength. The air is what makes it scoopable. If you’re whisking by hand, go for at least 5 minutes until it’s thick and voluminous. I’ve done it. It’s a workout, but it’s worth it.
Q: How long does it last in the freezer?
A: It’s best within the first two weeks. After a month, it starts to develop ice crystals. To keep it perfect, press plastic wrap directly onto the surface of the ice cream before sealing the container. That extra step makes a big difference.
More Simple Vegan Treats We Make All Summer
If you liked this one, here are a few others that get the same reaction at our table — the kind of desserts that feel special without hours of work.
- Three-Ingredient Mango Coconut Sorbet — Ripe mango, lime juice, and coconut cream. It’s like eating sunshine.
- Whipped Vegan Chocolate Mousse — Silky, rich, and made from just a few pantry staples. My husband thinks I’m a magician.
- Simple Banana Nice Cream — The original no-churn, no-fuss dessert my kids beg for on hot afternoons.
This is the kind of dessert I make when I want something sweet without turning on the oven or spending an hour in the kitchen. It feels like a cheat code — but really, it’s just a good recipe that actually works. The kind that makes you look forward to the scoop.
If you try it, will you tell me how it goes? Drop a comment below or tag me on social — I love seeing your kitchen triumphs, especially when they involve ice cream.
📌 Creamy vegan no churn coconut ice cream recipe that actually scoops beautifully — save it for your next hot afternoon when you need a cold, creamy treat without the fuss.
Creamy No-Churn Coconut Ice Cream
Equipment
- Can opener
- Medium Mixing Bowl
- Hand Mixer or Stand Mixer
- Small saucepan
- Loaf pan
- Spatula
Ingredients
- 2 cans full-fat coconut milk (13.5 oz each)
- 1/4 cup maple syrup or agave
- 2 tablespoons refined coconut oil
- 2 teaspoons arrowroot powder
- 2 teaspoons vanilla bean paste or extract
- 1/4 teaspoon sea salt
Instructions
- Chill both cans of coconut milk in the fridge for at least 12 hours, ideally 24, so the cream hardens and separates.
- Open the cans without shaking. Scoop the solid white cream into a mixing bowl (about 1 ½ cups). Discard the watery liquid.
- Whip the coconut cream on medium-high speed until light, fluffy, and forms soft peaks, about 2–3 minutes.
- In a small saucepan over low heat, combine maple syrup, coconut oil, arrowroot powder, and salt. Stir constantly for 30–45 seconds until smooth. Do not boil. Remove from heat and let cool 1 minute.
- With mixer running on low, slowly drizzle the warm syrup mixture into whipped cream. Add vanilla. Mix just until combined.
- Fold once with a spatula to ensure even mixing. Pour into a loaf pan, smooth the top, cover tightly with plastic wrap, and freeze for at least 6 hours or overnight.
Notes
Related posts:
 The Slow Cooker Cowboy Casserole That Saves Tired Weeknights (No Soggy Tots Allowed)
 Lemon Garlic Butter Baked Salmon in Foil That’s Ready in 25 Minutes — No Fuss, No Mess
 Moist Chocolate Zucchini Bread That Doesn’t Turn Out Rubbery — Finally
 Creamy Homemade Strawberry Dole Whip (That Tastes Just Like the Real Thing)
 Blueberry Peach Bread That Doesn’t Sink or Turn Mushy — Finally
 Quinoa Chicken Sausage Bowls That Are Ready in 30 Minutes (And Actually Keep Well)