
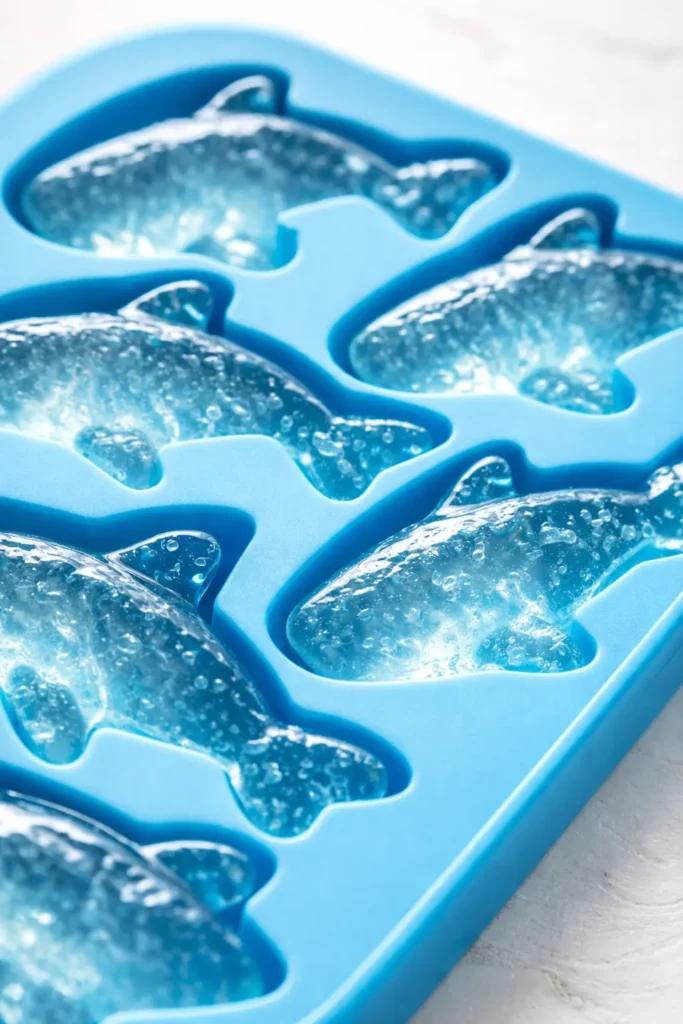
The first time I pulled these from the mold, my youngest didn’t even ask what they were. He just stared. Then he grabbed one by the stick, held it up to the kitchen light, and said, “Mom. It’s a whole ocean on a stick.” And honestly? He wasn’t wrong. The deep blue color catching the light, the ridiculous wobble when you shake it, the way the fins stick out just enough to look like a real shark gliding through the water — it’s everything a kid wants in a summer snack, and nothing a parent dreads about making it.
The short version: Blue raspberry jello sharks on a stick that take 15 minutes of hands-on work and vanish in about 60 seconds flat.
I’ve made these for three birthday parties, two Shark Week movie marathons, and one rainy Tuesday when we needed something that wasn’t screens. My niece Poppy, who is six and the reigning champion of shark pop eating, now requests them by name every time she visits. That’s the kind of recipe staying power you can’t buy — you have to earn it.
- Serves: 6–8 pops (depending on your mold size)
- Hands-On Time: 15 min | Total Time: 3 hr 15 min
- Difficulty: Easy enough for a 6-year-old to help mix
- Cost per serving: ~$0.85
- Calories: ~45 per pop
- Dietary Notes: Contains gelatin. Works with sugar-free jello too.
(Photo above: overhead shot of six finished shark pops arranged on a light blue wooden board, morning light coming from the left, each shark a deep translucent blue with visible fins and a white lollipop stick centered perfectly. One is held up slightly, showing the wobble in mid-air.)
Why These Actually Work (No Soggy Blobs Here)
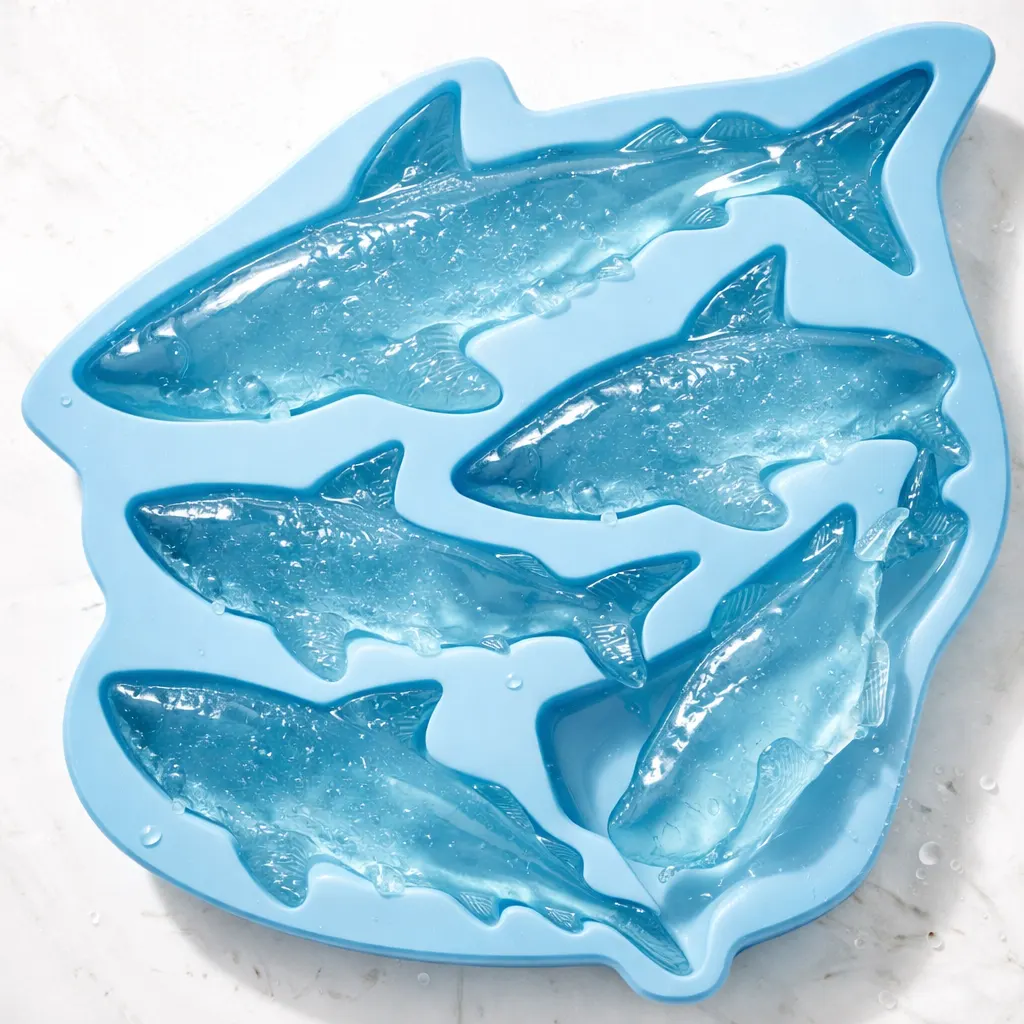
The secret isn’t a fancy technique. It’s one extra envelope of unflavored gelatin. Regular blue raspberry jello is delicious, sure, but on its own it’s too soft to hold a stick upright. It’ll flop over like a tired fish the second you try to pick it up. The unflavored gelatin gives it just enough structure to hold its shape — that perfect jiggly-but-firm texture that makes kids gasp when they grab the stick.
I learned this the hard way after my first batch turned into a tray of sad blue puddles. My daughter Nora, who was about seven at the time, looked at me and said, “Mom, they melted.” They hadn’t melted. They just didn’t have enough backbone. A quarter teaspoon of unflavored gelatin later, we had sharks that could swim.
The second thing that makes these different? The wait time before you add the sticks. If you drop them in right away, they sink to the bottom like a submarine. If you wait just five minutes, the jello thickens enough to hold the stick in place, perfectly centered, every time. It’s a tiny patience tax that pays off big.
Everything You Need (And a Few Honest Notes From Me)
- 1 box (3 oz) Blue Raspberry Jello: This is the color and the flavor. It’s the ocean in a box. Don’t use clear jello with food coloring. It tastes different — my kids noticed immediately and said it was “off.”
- 1 packet (0.25 oz) unflavored gelatin: This is the backbone. Without it, the pop won’t hold the stick. Period. My husband thought I was overthinking it until he tried a stick-less version and watched it flop onto the counter.
- 1 cup boiling water, divided: The heat is non-negotiable. It wakes up the gelatin molecules so they can do their job.
- 1/4 cup cold water: For blooming the unflavored gelatin. It’s a weird step but a quick one.
- Shark silicone mold: The better the mold, the better the pop. I found mine on Amazon for $9. Any shark mold works. I’ve also used a dinosaur mold — the kids called them “Shark-o-saurs” and it was a whole thing.
- 6-inch lollipop sticks: Paper or plastic, doesn’t matter. Just make sure they’re food-safe.
- Coconut oil spray (optional): A tiny spritz helps the sharks slide out with all their fins intact.
What to Pull Out Before You Start
- Small bowl (for blooming the gelatin)
- Medium bowl (for the jello)
- Whisk or fork
- Kettle or small pot for boiling water
- Shark silicone mold (or any fun shape!)
- Measuring cups
- Lollipop sticks
Let’s Make Them (Step by Step, No Fancy Skills Required)
This goes fast once the water boils, so read through once before you start. It’s not hard — it’s just a sequence that matters.
Prep the mold and the water: Give your shark mold a tiny spritz of coconut oil spray. Just enough to make it look dewy. Boil your water.
- Bloom the unflavored gelatin: Sprinkle the packet over 1/4 cup cold water in a small bowl. Let it sit for 5 minutes. It’ll look like a weird, wrinkled skin. That’s exactly right. Don’t panic. (📸 Photo tip: At this point you should see a solid, jiggly mass that slides around the bowl when you tilt it — like a sea creature waking up.)
- Dissolve the bloomed gelatin: Pour 1/2 cup boiling water over the bloomed gelatin. Stir gently until the liquid is completely clear. No granules. No floaters. If you see specks, keep stirring.
- Mix the jello: In a separate medium bowl, stir the Blue Raspberry Jello into 1/2 cup boiling water. Stir for two full minutes until every grain is dissolved.
- Combine them: Whisk the unflavored gelatin liquid into the blue jello liquid. It’ll turn a deep, clear ocean blue. This is your base.
- Fill the mold: Carefully pour the liquid into each shark cavity. Fill almost to the top — leave just a sliver of space so the stick has room.
- Wait 5 minutes: Set a timer. This is the patience tax I mentioned. Walk away. Let the jello start to set.
- Insert the sticks: After 5 minutes, gently place a lollipop stick into each shark, pushing it down about three-quarters of the way. It should stand upright on its own. If it leans, the jello needs another minute or two. (📸 Photo tip: The stick should be perfectly centered, straight up and down, like a tiny shark flagpole. If it’s crooked, jiggle it gently into place.)
- Set the pops: Place the mold in the refrigerator for at least 3 hours. Overnight is even better. The texture is more solid and satisfying if it sits the full time.
- Pop them out: Gently flex the silicone mold. You’ll hear a tiny suction sound — that’s the pop releasing. Peel the mold away from the fins last, because they’re the most delicate part. If one breaks, just eat it immediately. Quality control.
How I Meal Prep These for the Week (Because Kids Ask Randomly)
I make a double batch on Sunday afternoons and we’re set for the whole week. They’re the emergency treat that makes my kids forget I said “no screens.” Just keep them in a covered container in the fridge and pull one out when you need a surprise.
- Fridge: Airtight container, up to 7 days. They stay jiggly the whole time.
- Freezer: I don’t recommend it. They get icy and weird. The texture changes completely — they’re not the same pop after freezing.
- Reheat: You don’t! That’s the beauty. Cold from the fridge, right onto the stick.
Things I Wish I’d Known the First Time (So You Don’t Have To Learn the Hard Way)
- The unflavored gelatin is non-negotiable. I know it’s an extra step. I know you want to just use two boxes of jello. Don’t. The texture is entirely different. It’s the difference between a floppy fish and a shark that stands at attention. I learned this the messy way.
- Spray the mold lightly, but not too lightly. A tiny spritz of coconut oil helps the shark slide out without losing a fin. Too much oil and it leaves a greasy film on the finished pop. Just one quick spray, rubbed around with your finger, is perfect.
- Don’t skip the 5-minute wait before adding sticks. I know you’re eager. Your kids are circling. But if you drop the sticks in right away, they’ll sink to the bottom and swim out the side of your shark. Wait the five minutes. Set a timer.
- If a fin breaks, just eat it. Honestly, my kids love the “broken” ones best because they get to eat the evidence. No one is judging your shark pops except tiny humans who are grateful for the treat. Even if you mess this part up, it’ll still taste good — I’ve done it.
Swaps That Actually Work (For Different Families and Situations)
- Dairy-Free: These are naturally dairy-free already! No swap needed.
- Gluten-Free: Jello is gluten-free. Confirm your unflavored gelatin brand is too. Knox is safe.
- Sugar-Free: I tested this with sugar-free Blue Raspberry Jello and it works great. Just still add the unflavored gelatin. My sister-in-law who watches her sugar loves these.
- Other Flavors (The “Ocean Themed” Version): Use Berry Blue for ocean water, Lime for seaweed vibes, or Orange for a sunset shark. My kids prefer the “classic ocean” look of blue raspberry.
- Different Molds (The “I Can’t Find a Shark Mold” Version): Use any silicone mold! Dinosaurs become “Shark-o-saurs”, stars become “Starfish Pops”, fish shapes become “Fish Pops.” The kids will not complain.
- Adult Version (For a Party): Substitute half the boiling water with coconut rum or vodka. The gelatin still sets, and suddenly it’s a grown-up treat. Just label them clearly!
Questions I Get About This Recipe All the Time
Q: Why did my shark pop split when I tried to pull it out of the mold?
A: Ugh, I’ve been there. It usually means the jello wasn’t set long enough, or you skipped the unflavored gelatin. Let it set the full 3 hours (or overnight) and always add that extra packet. You’ve got this next time.
Q: Can I make these with sugar-free Jello?
A: Yes! I tested it and it works perfectly. Just add the unflavored gelatin packet. The texture is slightly less firm but still holds the stick. My sister-in-law loves these.
Q: How long do these last in the fridge?
A: Up to a full week in an airtight container. I’ve kept them for 7 days and they were still jiggly and delicious. Store them flat so the sticks don’t bend.
Q: What do you serve with shark pops for a party?
A: They’re perfect on their own, but we love them alongside popcorn and fruit for “Shark Week Movie Night.” I also put out little bowls of gummy sharks and fish for a full ocean spread. My kids go absolutely crazy for that combination.
More Recipes My Family Makes on Repeat
If you liked these, here are a few others that get the same reaction at our table:
- Brown Butter Peach Galette — Flaky, jammy, and somehow easier than pie. My daughter requests it for every birthday.
- Crispy Baked Chicken Thighs — Juicier than fried, on the table in 35 minutes. My pickiest eater eats these without complaint.
- [INTERNAL LINK PLACEHOLDER: No-Churn Blueberry Cheesecake Ice Cream] — Tastes like summer in a bowl. No ice cream maker required.
The first time you pull a perfectly formed shark out of that mold and hand it to a kid, you’ll see it — that little moment of pure wonder. That’s why I keep making them. Even on rainy Tuesdays. Even when I’m tired. Because a shark on a stick has a way of making everything feel a little more magical.
If you try them, drop a comment below — I love hearing how it goes for your family. My niece Poppy has a running list of new shapes she wants me to try, and I’m always looking for ideas.
📌 Jiggly Shark Pops recipe that stays firm enough to hold a stick — save this for your next Shark Week movie night or summer birthday party.
Jiggly Shark Pops: The Under-30-Minute Treat That Stole My Pickiest Eater’s Heart
Equipment
- Shark silicone mold
- Small bowl
- Medium bowl
- Whisk
- Kettle or small pot
- Measuring cups
- Lollipop sticks
Ingredients
For the Sharks
- 1 box (3 oz) Blue Raspberry Jello
- 1 packet (0.25 oz) unflavored gelatin
- 1 cup boiling water, divided
- 1/4 cup cold water
- Shark silicone mold
- 6-inch lollipop sticks
- Coconut oil spray (optional)
Instructions
- Bloom the unflavored gelatin: Sprinkle the packet over 1/4 cup cold water in a small bowl. Let it sit for 5 minutes. It will look like a weird, wrinkled skin – that is exactly right.
- Dissolve the bloomed gelatin: Pour 1/2 cup boiling water over the bloomed gelatin. Stir gently until the liquid is completely clear with no granules.
- Mix the jello: In a separate medium bowl, stir the Blue Raspberry Jello into 1/2 cup boiling water. Stir for two full minutes until every grain is dissolved.
- Combine: Whisk the unflavored gelatin liquid into the blue jello liquid. It will turn a deep, clear ocean blue.
- Fill the mold: Carefully pour the liquid into each shark cavity, filling almost to the top – leave a tiny sliver of space for the stick.
- Wait 5 minutes: Set a timer. Let the jello start to set before adding sticks. This patience step prevents sinking.
- Insert the sticks: After 5 minutes, gently place a lollipop stick into each shark, pushing it down about three-quarters of the way. It should stand upright on its own.
- Set the pops: Place the mold in the refrigerator for at least 3 hours, or overnight for best texture.
- Pop them out: Gently flex the silicone mold. You will hear a tiny suction sound – that means the pop is releasing. Peel the mold away from the fins last as they are the most delicate part.
Notes
Related posts:
 High-Protein Overnight Oats That Actually Taste Like Breakfast (Not a Chalky Disaster)
 Mini Quiche Recipe: The Store-Bought Crust Version That Tastes Like You Made It From Scratch
 The Slow Cooker Cowboy Casserole That Saves Tired Weeknights (No Soggy Tots Allowed)
 Quick Lemon Ricotta Pasta for Busy Weeknights: Creamy, Bright, and on the Table in 20 Minutes
 Lemon Garlic Butter Baked Salmon in Foil That’s Ready in 25 Minutes — No Fuss, No Mess
 Lipton Onion Soup Meatloaf for Tuesday Nights: Moist, Savory, and the Only One You’ll Ever Need