
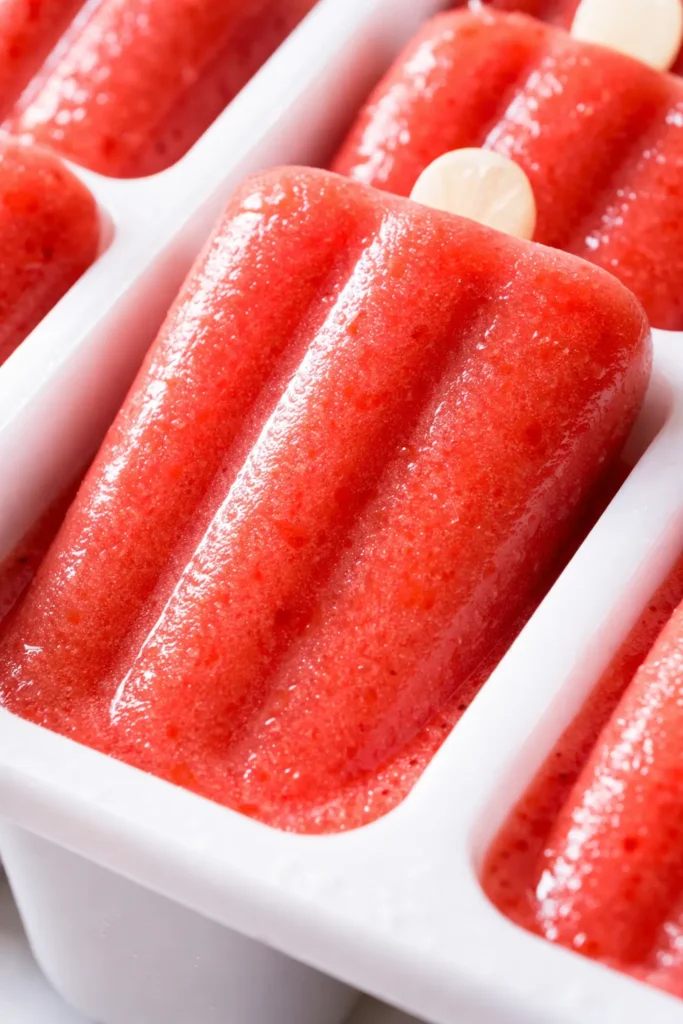
The first time I made these, my daughter Nora ate one standing over the sink and said, “These don’t taste like popsicles. They taste like summer.” That’s exactly what I was going for—deep strawberry flavor that hits first, a bright lemon finish that keeps you coming back, and a texture that stays creamy instead of turning into a solid ice cube. Fifteen minutes of prep, six hours of patience, and you’ve got the best thing in your freezer all summer.
The short version: Real strawberries macerated with sugar, fresh lemon juice and zest, and just enough simple syrup to make them freeze creamy instead of icy.
I’ve tested this with frozen strawberries, with honey instead of sugar, and even with a handful of basil from my garden. This version right here—macerated berries, fresh lemon zest, a pinch of salt—is the one my family begs for when the temperature hits ninety. Marta never made popsicles, but she’d approve of the method: treat the fruit right and don’t rush the freezing.
- Serves: 8–10 popsicles (depending on your mold size)
- Hands-On Time: 15 min | Total Time: 6 hrs 15 min (mostly hands-off freezing)
- Difficulty: So easy you’ll memorize it after one batch
- Cost per serving: ~$0.55 per popsicle
- Calories: ~85 per popsicle
- Dietary Notes: Naturally vegan, gluten-free, dairy-free, and refined sugar-free option included
(Photo above: Overhead shot of four strawberry lemonade popsicles arranged on a rustic wooden board, one resting on a linen napkin. The popsicles are a deep ruby red fading to a pale golden yellow at the bottom. A few fresh strawberry slices and a lemon half scatter the edges of the frame. Natural afternoon light from the left, slightly diffused.)
The Trick That Makes These Taste Like Real Strawberries (Not Sugar Water)
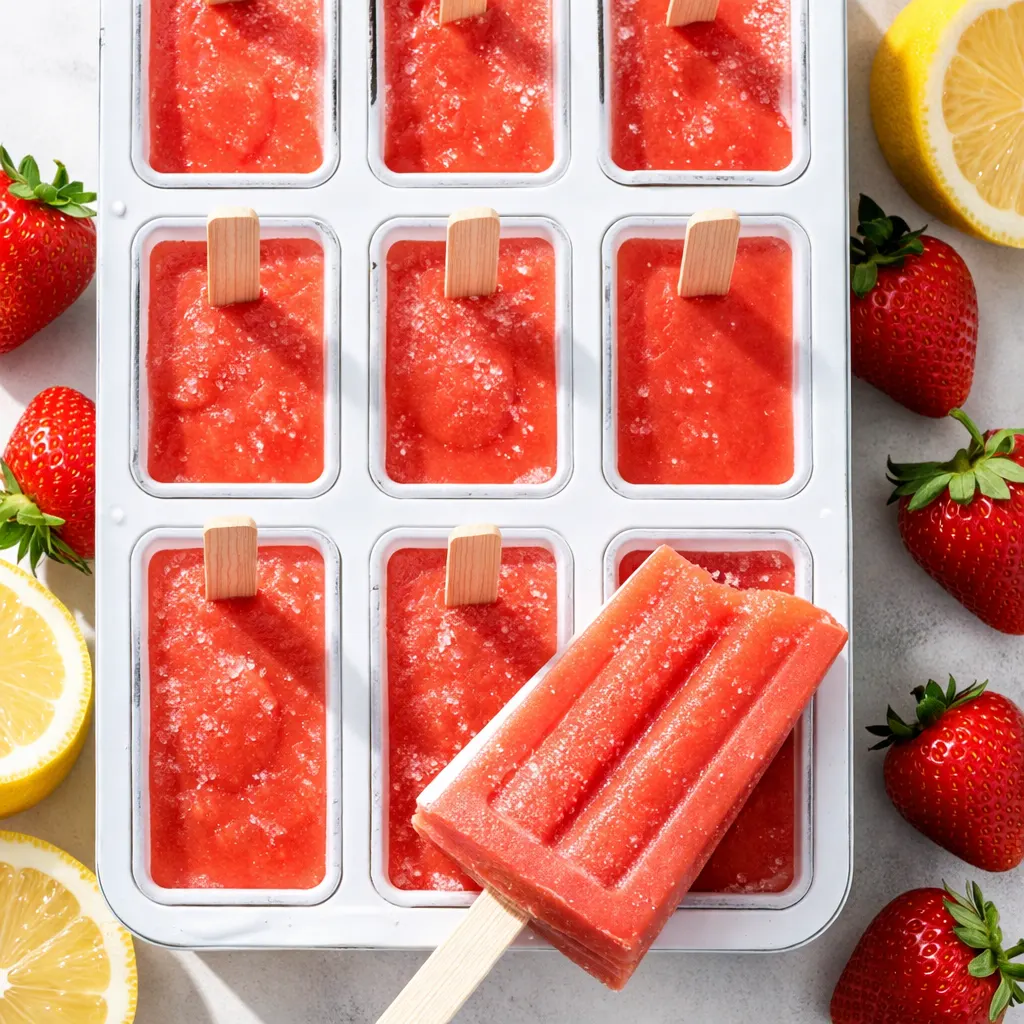
The secret is macerating the strawberries with sugar before you do anything else. This draws out their natural juices and concentrates the flavor into something intense and almost jammy. Skip this step and your popsicles will taste like watered-down strawberry milk. It’s worth the extra five minutes, I promise.
The second trick is lemon zest—not just juice. The zest holds all the aromatic oils that give you that genuine lemon scent, while the juice provides the sour backbone. I steep the zest in the warm simple syrup so it infuses throughout the whole batch. Nora calls it “the reason these smell like a lemon tree.”
Together, these two steps produce a popsicle that’s deep red, creamy textured, and perfectly balanced between sweet and tart. The kind you pull out for your friends and they immediately ask for the recipe.
Ingredients Worth Talking About
- 1 lb fresh strawberries, hulled and halved: You want ripe, sweet berries here. Out-of-season strawberries will still work, but your popsicles will taste noticeably less exciting. My trick: if they smell like strawberries when you walk past them at the store, they’re the ones.
- 1/2 cup granulated sugar, divided: Half goes with the strawberries to macerate them, half goes into the simple syrup. If you’re using honey or maple syrup, see the variations section below. My kids can taste the difference when I use the fancy organic sugar—I’m not sure I can, but they swear they can.
- 2 large lemons (zest and juice): Roll them on the counter before juicing to get every last drop out. Nora learned this trick from Marta’s old citrus reamer and now she does it without thinking.
- 1/2 cup water: Tap water is fine, but if you have filtered, use it. The popsicle is mostly water and fruit, so quality matters here.
- Pinch of fine sea salt: I know it sounds weird, but a tiny amount of salt balances the sweetness and acid and makes the whole thing taste more like itself. Trust me on this one—Marta put salt in her strawberry jam and she never explained why, but she was right.
What You’ll Actually Need
- Popsicle molds (or 8–10 small paper cups and popsicle sticks)
- A medium bowl for macerating the strawberries
- A small saucepan for the simple syrup
- A blender or immersion blender
- A fine-mesh strainer (optional—skip it if you like a little texture)
- A liquid measuring cup with a pour spout
If you don’t have molds, paper cups work perfectly. I’ve done it for about half the batches I’ve made when I couldn’t find my mold rack.
Making Strawberry Lemonade Popsicles: My Exact Process
This goes fast, so read through once before you start. The hardest part is waiting for them to freeze.
Before you begin: Wash and hull your strawberries. Roll your lemons on the counter to get the juices flowing.
- Macerate the strawberries: In a medium bowl, toss the halved strawberries with 1/4 cup of the sugar. Let them sit at room temperature for 15 minutes, stirring once halfway through. The strawberries will release a deep red liquid and start to look glossy and soft. (📸 Photo cue: After 15 minutes, the strawberries should be sitting in a pool of dark red syrup. Give one a taste—it should taste intensely strawberry-sweet with a hint of jamminess.)
- Make the lemon simple syrup: While the berries macerate, combine the remaining 1/4 cup sugar, the lemon zest, and the water in a small saucepan. Bring to a simmer over medium heat, stirring until the sugar dissolves completely. Remove from heat and let steep for 5 minutes. The syrup will be clear and smell strongly of lemon zest. (📸 Photo cue: The syrup should look clear, not cloudy. If it looks cloudy, you may have used too high heat—but don’t worry, it’ll still taste fine.)
- Blend everything together: Pour the macerated strawberries (including all that gorgeous syrup) into a blender. Add the lemon simple syrup (zest and all), the fresh lemon juice, and the pinch of salt. Blend on high until completely smooth—about 30 seconds. Taste it. It should be slightly sweeter than you want the final popsicle to be, because freezing dulls sweetness. Add more lemon juice if it’s too sweet, or a tiny bit more sugar if it’s too tart.
- Strain if you want: If you prefer a perfectly smooth popsicle (or if your kids are picky about seeds like mine used to be), pour the mixture through a fine-mesh strainer into a liquid measuring cup. Press on the solids to get as much liquid out as possible. If you don’t mind a little texture, skip this step—the seeds add a rustic charm.
- Fill the molds: Pour the mixture evenly into your popsicle molds or paper cups, leaving about 1/4 inch at the top because the liquid expands as it freezes. If you’re using paper cups, fill them 3/4 full.
- First freeze, then sticks: Freeze for 1 hour. After the hour is up, insert the popsicle sticks. The mixture should be thick enough to hold the stick upright but not fully frozen. If you put the sticks in right away, they’ll sink to the bottom or lean sideways. I learned this the hard way after making a batch of popsicles that all had sticks poking out at weird angles.
- Freeze solid: Freeze for at least 5 more hours, or overnight. A full 6-hour freeze is ideal for the creamiest texture.
How I Meal Prep These for the Week
I make a double batch on Sunday and we’re set for the entire week. The hardest part is keeping my husband from eating them all before Wednesday.
- Fridge: The blended mixture can be stored in an airtight container in the fridge for up to 2 days before freezing. Give it a good stir before pouring into molds.
- Freezer: Fully frozen popsicles last 2–3 months. For the best texture, wrap each popsicle individually in plastic wrap before storing in a freezer bag. This prevents freezer burn and keeps them tasting fresh.
- Unmolding: Run the mold under warm (not hot) water for 30 seconds and wiggle gently. If it doesn’t release immediately, let it sit in the water for another 15 seconds. Hot water will melt the edges and ruin that perfect creamy texture.
Things I Wish I’d Known the First Time
- Taste the mixture before freezing: This is the most important rule. If it tastes exactly right to you before freezing, it will taste slightly too mild after freezing. Make it a little sweeter and a little more tart than you think it should be—the flavor will settle into perfect balance once it’s frozen.
- Don’t skip the salt: I know it sounds strange, but a tiny pinch of salt is the difference between “this is good” and “what did you put in this?” It balances the sugar and acid and makes the strawberry and lemon flavors sing. Even if you mess up the proportions, the salt will save you.
- Patience with the sticks: Waiting that full hour before inserting the sticks feels ridiculous, but it’s the difference between perfect-looking popsicles and a chaos of leaning sticks. Set a timer so you don’t forget about them.
- It’s okay if you mess it up: If your popsicles come out too icy, it usually means there wasn’t enough sugar or the fruit wasn’t ripe enough. Next time, add a tablespoon more sugar or use riper berries. The best part about popsicles is that they’re cheap to remake. I’ve done it plenty of times.
Swaps That Actually Work
- Honey or maple syrup version: Substitute the 1/2 cup sugar with 1/3 cup honey or maple syrup. The texture will be slightly softer and the flavor will change in a lovely way—honey adds floral notes, maple adds a deep sweetness. My friend Sarah makes hers with local honey and it’s a whole different experience.
- Creamy version (like a creamsicle): Add 1/2 cup plain yogurt or full-fat coconut milk to the blender. This makes them richer and smoother. Nora loves this version—she says it’s “adult version of the ones I ate as a kid.”
- Minty or basil version: Add 5–6 fresh basil leaves or 8–10 mint leaves to the blender with everything else. I do this when the basil plant in the garden is trying to take over the world.
- Spicy version: Add a pinch of cayenne pepper to the blender. My husband’s idea, and it’s actually brilliant—the heat shows up at the very end and keeps you guessing.
- Mixed berry version: Replace half the strawberries with raspberries or blackberries. The flavor gets more complex and the color turns a deeper magenta.
Questions I Get About This Recipe All the Time
Q: Why did my popsicles turn out icy and hard instead of creamy?
A: Ugh, I’ve been there. The most common reason is not enough sugar or using under-ripe fruit. Sugar lowers the freezing point, which means the popsicle stays softer and more scoopable. Next time, taste the mixture before freezing—if it doesn’t taste intensely sweet and fruity, add another tablespoon of sugar or honey. You’ve got this next time!
Q: Can I use frozen strawberries instead of fresh?
A: Yes! Thaw them first in a bowl and use all the juices that come out. In fact, frozen strawberries are often sweeter because they’re picked at peak ripeness and frozen immediately. Just skip the maceration step—they’re already broken down. I tested this specifically for this post, and honestly, it works perfectly.
Q: How long do these last in the freezer? How do I store them?
A: They’ll last 2–3 months in the freezer if stored properly. The trick is wrapping each popsicle individually in plastic wrap before putting them in a freezer bag. This prevents freezer burn and keeps the flavor fresh. The microwave works in a pinch for unmolding, but running the mold under warm water is gentler and keeps the texture intact.
Q: What do you serve with these for a summer party?
A: I love making a big batch for July Fourth or lazy Sunday afternoons. They pair wonderfully with grilled chicken or burgers because the acid cuts through the richness. For a dessert spread, I set them out alongside fresh berries and a bowl of whipped cream so people can make their own little sundae situation. My kids love them with a side of fresh watermelon—it’s basically a sugar bomb, but summer only comes once a year.
More Recipes My Family Makes on Repeat
If you liked these popsicles, here are a few others that get the same reaction at our table:
- Brown Butter Peach Galette — Flaky, jammy, and the perfect way to use up summer peaches
- Creamy Lemon Basil Pasta — The kind of dinner that tastes like you spent hours but takes 20 minutes
- Strawberry Rhubarb Crisp — Tart and sweet with a buttery oat topping that gets perfectly golden
If you try these, come back and let me know how they turned out in the comments. I love hearing about your kitchen stories—whether they went perfectly or you ended up with leaning sticks and icy chunks. It all counts, and it’s all how we learn.
📌 Save this easy homemade strawberry lemonade popsicle recipe for summer afternoons when you need a real fruit treat that takes just 15 minutes to prep.
Homemade Strawberry Lemonade Popsicles
Equipment
- Popsicle molds (or 8-10 small paper cups and sticks)
- Medium bowl
- Small saucepan
- Blender or immersion blender
- Fine-mesh strainer (optional)
- Liquid measuring cup with pour spout
Ingredients
- 1 lb fresh strawberries, hulled and halved
- 1/2 cup granulated sugar, divided
- 2 large lemons, zested and juiced
- 1/2 cup water
- 1 pinch fine sea salt
Instructions
- Macerate the strawberries: In a medium bowl, toss halved strawberries with 1/4 cup of the sugar. Let sit at room temperature for 15 minutes, stirring once halfway. They will release a deep red liquid and become glossy and soft.
- Make the lemon simple syrup: While the berries macerate, combine remaining 1/4 cup sugar, lemon zest, and water in a small saucepan. Bring to a simmer over medium heat, stirring until sugar dissolves. Remove from heat and let steep for 5 minutes.
- Blend everything: Add macerated strawberries (with syrup), lemon simple syrup (zest and all), fresh lemon juice, and pinch of salt to a blender. Blend on high until completely smooth, about 30 seconds. Taste and adjust sweetness or tartness if needed.
- Strain if desired: For a seedless texture, pour mixture through a fine-mesh strainer into a liquid measuring cup, pressing on solids. Skip for a more rustic texture.
- Fill the molds: Pour mixture evenly into popsicle molds or paper cups, leaving 1/4 inch at top for expansion. Fill paper cups 3/4 full.
- First freeze, then sticks: Freeze for 1 hour until thick enough to hold sticks upright. Insert popsicle sticks, then freeze at least 5 more hours (6 hours total) for creamiest texture.
Notes
Related posts:
 High-Protein Overnight Oats That Actually Taste Like Breakfast (Not a Chalky Disaster)
 Mini Quiche Recipe: The Store-Bought Crust Version That Tastes Like You Made It From Scratch
 The Slow Cooker Cowboy Casserole That Saves Tired Weeknights (No Soggy Tots Allowed)
 Quick Lemon Ricotta Pasta for Busy Weeknights: Creamy, Bright, and on the Table in 20 Minutes
 Lemon Garlic Butter Baked Salmon in Foil That’s Ready in 25 Minutes — No Fuss, No Mess
 Lipton Onion Soup Meatloaf for Tuesday Nights: Moist, Savory, and the Only One You’ll Ever Need