
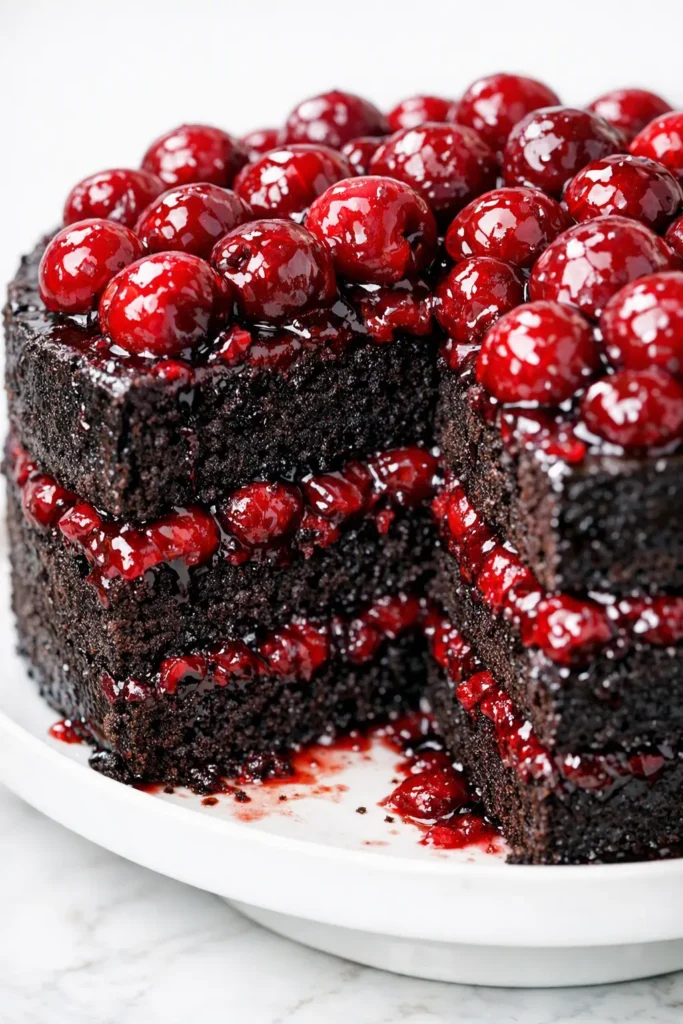
The summer I finally cracked my grandmother Marta’s Black Forest Cake recipe, I called my mother in tears — the happy kind. After years of attempts, the first bite pulled thirty years of birthday dinners back into one kitchen: dark chocolate sponge, sour cherries, and that faint warmth of kirsch that made everyone at the table pause and ask what was in it.
This is the recipe exactly as Marta made it, written out now so you don’t have to guess the way I did. It’s a project — but the hands-on time is about an hour, and the rest is just waiting for good things to get better.
The short version: Dark chocolate sponge layers brushed with cherry-kirsch syrup, stacked with tart cherries and clouds of whipped cream, finished with chocolate shavings and fresh cherries. It serves twelve, and yes, it’s worth every minute.
I’ve made this cake thirty-one times since Marta handed me the card. Thirty-one is not a typo. The first five came out dry, the next three lopsided, and somewhere around attempt twelve I stopped measuring against my memory and started measuring with my own hands.
- Serves: 12 as a celebration dessert
- Hands-On Time: 60 min | Total Time: 4 hours (mostly cooling and chilling)
- Difficulty: A weekend project, but every step is doable — no pastry school required
- Cost per serving: ~$2.75
- Calories: ~485 per slice
- Dietary Notes: Contains gluten, eggs, and dairy — with swaps for alcohol-free, dairy-free, and gluten-free below
(Photo above: three tall layers of dark chocolate sponge visible through a cloud of whipped cream, chocolate shavings pressed against the sides, fresh cherries with stems piled on top, seated on a blue ceramic cake stand with morning light from the left.)
The One Step Everyone Skips (Please Don’t Skip It)
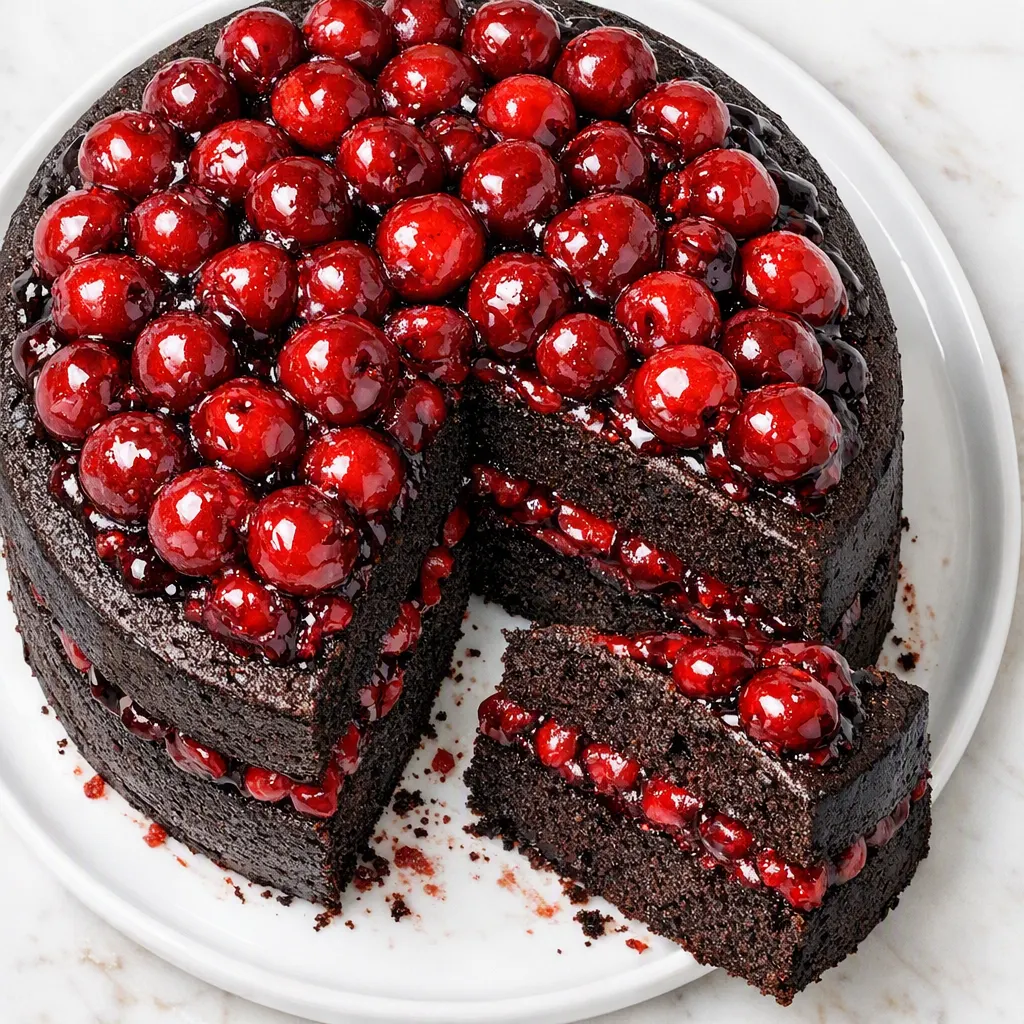
The step that separates a real Black Forest Cake from plain chocolate cake with whipped cream is the syrup soak. After they cool, every sponge layer gets brushed with a mix of cherry juice and kirsch. That little brush of liquid is what keeps the cake moist for days and gives it that deep, cherry-forward flavor. Skip it, and you get a dry chocolate cake that’s fine but forgettable.
I learned this the hard way. The first time I attempted this cake on my own, I was 22, out of kirsch, and sure I could skip the soak. My mother called the next day — gently, the way mothers do — and asked if I’d forgotten a step. You won’t make that mistake once you taste the difference.
Real Black Forest Cake also carries the faint, almost-almond aroma of kirsch — a clear cherry brandy, dry rather than sweet. Marta kept a bottle in the back of the pantry and used it for this cake alone. You can absolutely make this without alcohol; there’s a swap in the variations below. But if you’ve never had it with, you’re missing the thing that made this cake famous in the first place.
Everything You Need (Plus What Actually Matters)
- 6 large eggs, separated: Room-temperature eggs whip higher than cold ones, so set them out an hour before you start. The yolks go into the batter; the whites become the air that lifts the sponge.
- 1 cup (200 g) granulated sugar, divided: Three quarters go in with the yolks, the rest gets beaten into the whites.
- 3/4 cup (95 g) all-purpose flour: Standard flour, nothing fancy. There’s no butter in this sponge, so the flour keeps it light instead of dense.
- 1/2 cup (45 g) Dutch-process cocoa powder: This is the one ingredient I’m picky about. Dutch-process cocoa is darker and less acidic, which gives the sponge that deep, almost-black color that makes this cake look the part. Natural cocoa works in a pinch, but the color won’t be as dramatic.
- 1 1/2 teaspoons baking powder + 1/4 teaspoon salt: Sift these with the flour and cocoa so they spread evenly through the batter.
- 1/4 cup (60 ml) vegetable oil: A little fat keeps the crumb tender. Any neutral oil works.
- 2 cups (450 g) pitted sour cherries, fresh or frozen: Sour cherries are the classic because their tartness stands up to all that sweet cream. If you can only find sweet Bing cherries, cut the sugar in the filling down by half. My kids actually prefer the sweet-cherry version — don’t tell Marta.
- 1/4 cup (50 g) sugar + 1 tablespoon lemon juice + 1 tablespoon cornstarch: The sugar sweetens the cherries, the lemon brightens them, and the cornstarch thickens everything into a glossy, jammy filling.
- 1/3 cup (80 ml) cherry juice + 2 tablespoons kirsch + 1 tablespoon sugar: This is the syrup that soaks into every layer. If you’re using canned cherries, save the juice from the can. For the alcohol-free swap, use 1/2 teaspoon almond extract mixed with a tablespoon of water.
- 3 cups (720 ml) heavy whipping cream, cold + 1/2 cup (60 g) powdered sugar + 2 teaspoons vanilla extract: Cold cream straight from the fridge. I put my bowl and beaters in the freezer for ten minutes before whipping — that’s the difference between stable peaks and a soupy mess. My kids know the sound of that mixer as the official start of cake day at our house.
- 2 oz (55 g) dark chocolate + 12–16 fresh cherries for garnish: Use a vegetable peeler to make the shavings, and save the prettiest cherries with stems for the top.
What to Pull Out Before You Start
- Two 9-inch round cake pans — I bake two layers and slice each in half horizontally, which gives you the classic four thin layers.
- Stand mixer or hand mixer — you’re whipping cream and egg whites, so save your arm.
- Two mixing bowls — one for the yolks, one for the whites.
- Fine-mesh strainer — for sifting the flour and cocoa together. Lumps are the enemy of a light sponge.
- Pastry brush — for the syrup soak. This tool makes the syrup go on evenly instead of pooling in one spot.
- Offset spatula or a flat butter knife — for spreading the cream layers.
- Long serrated knife — for slicing the cooled layers in half.
- A cake stand or serving plate that fits in your fridge.
If you only have one pan, bake in batches and keep the remaining batter covered while the first pan is in the oven.
Let’s Make It — Layer by Layer
This cake takes about four hours from start to finish, but most of that is cooling and chilling. The actual hands-on time is about an hour. Read through once before you start, put on something you like, and enjoy the process.
- Preheat: Heat the oven to 350°F. Butter two 9-inch round cake pans, line the bottoms with parchment paper, and butter the paper too. (📸 Photo tip: You should see a thin, even coat of butter and a parchment circle lying flat in the bottom of each pan.)
- Beat the yolks: In a large bowl, beat the 6 egg yolks with 3/4 cup of the sugar until pale and thick — about 3 minutes. Beat in the vanilla and the oil.
- Whip the whites: In a clean bowl, beat the egg whites with the remaining 1/4 cup sugar until they hold soft peaks — the tip of the peak flops over gently when you lift the beater. This is the air that makes the sponge tall, so give it the time it needs.
- Fold in the dry: Sift the flour, cocoa, baking powder, and salt over the yolk mixture, then fold gently with a rubber spatula until just combined. A few streaks of flour are fine here — you’re not done yet.
- Fold in the whites: Fold in a third of the whipped whites to loosen the batter, then fold in the rest with big, gentle strokes — down the middle, across the bottom, up the side, over the top. You’re folding, not stirring; every quick stir deflates the air you just spent minutes building. Stop the moment no white streaks remain.
- Bake: Divide the batter between the pans and bake for 25–30 minutes. By the 20-minute mark, the kitchen smells like dark chocolate toasting — that smell is information. The cake is done when the center springs back completely under your fingers and the edges pull slightly away from the pan. (📸 Photo tip: You want a puffed, dark dome that’s set in the center — not sunken, not jiggly.)
- Cool: Cool in the pans for 10 minutes, then turn the layers onto a wire rack and cool completely. Don’t rush this — a warm sponge absorbs syrup unevenly and squishes under the cream. Once fully cool, use the serrated knife to slice each layer in half horizontally, making four thin layers.
- Make the cherry filling: In a small saucepan, bring the cherries, 1/4 cup sugar, and lemon juice to a simmer. Whisk the cornstarch with 2 tablespoons of cold water, stir it into the pot, and cook for 3–4 minutes until glossy and thick — like a loose jam, not a runny sauce. Stir in the kirsch if you’re using it, then cool completely.
- Make the syrup: Stir the cherry juice, 2 tablespoons of kirsch (or the almond extract swap), and 1 tablespoon of sugar together until the sugar dissolves.
- Whip the cream: In a cold bowl with cold beaters, whip the heavy cream, powdered sugar, and vanilla until firm peaks form. The peaks should stand up straight, not flop over. Soft cream slides right off the cake, so beat it a little longer than you think you need.
- Assemble: Place the first layer, cut-side up, on your serving plate. Brush generously with syrup, then spread about 3/4 cup of cream over it and a third of the cherry filling. Repeat with the remaining layers, brushing syrup between each and on top of the final layer. Four layers of cake, three layers of filling.
- Frost and chill: Spread the remaining cream smoothly over the sides and top. Refrigerate for at least 2 hours — overnight is even better. The syrup needs time to travel through the sponge, and the cream needs time to set so you get clean slices instead of a mess.
- Garnish: Press the chocolate shavings onto the sides, pile the fresh cherries on top, and serve cold. The finished cake should feel cool and firm to the touch, with every layer visible when you cut.
Make-Ahead Notes (Because a Cake Like This Needs a Plan)
This is my go-to “bake on Saturday, assemble on Sunday” cake. I make the sponge layers and the cherry filling the day before, wrap them well, and put it all together the next afternoon. The cake actually tastes better the second day — the syrup settles into every crumb and the cream sets into something sliceable.
- Fridge: The fully assembled cake keeps for 3 days, covered with a cake dome or an overturned large bowl. After day two the cream softens a little, but the syrup keeps the sponge moist and delicious.
- Freezer: Yes — freeze the unfrosted sponge layers and the cherry filling separately for up to a month. Wrap each layer tightly in plastic wrap, then foil. Thaw overnight in the fridge before assembling. Don’t freeze the finished, frosted cake; whipped cream turns grainy when it thaws.
- Reheat: Don’t! This is a cold cake. Pull it from the fridge 20 minutes before you slice so the cream softens slightly — that’s all the warming it needs.
Things I’ve Learned the Hard Way
- The syrup soak is non-negotiable: Even if you’re tired, even if the cake looks moist, brush the syrup on every layer. When I skipped it at 22, my mother called to ask — gently, the way mothers do — if I’d forgotten a step. You won’t make the same mistake.
- Chill the stacked layers before the final frosting: If your cream is sliding off the sides, the cake is too warm. After the first pass of cream, refrigerate for 30 minutes, then apply the smooth outer coat. This is also the trick for crumb-free, bakery-smooth sides.
- Freeze the bowl and beaters for the cream: Ten minutes in the freezer makes a genuine difference. Cold cream, cold bowl, cold beaters — that’s the formula for whipped cream that holds its shape for two days.
- Use a long, sharp knife for clean slices: Run it under hot water, dry it, and slice with one smooth motion, wiping the blade clean between cuts. Even if your slices come out a little lopsided, it tastes exactly the same. I’ve served plenty of imperfect slices with my whole heart.
- This recipe forgives mistakes: The cream can be a little soft, the cherry filling a little runny, the sponge a little domed — all fixable or easily hidden under cream and chocolate. The only true failure is skipping the syrup. Everything else you can work around.
Swaps That Actually Work (Plus a Kid-Friendly Version)
- No-alcohol version: Replace the kirsch in the syrup with 1/2 teaspoon almond extract mixed with a tablespoon of water. The almond extract mimics that cherry-pit note kirsch brings. It’s what I make when my sister-in-law is expecting, and nobody misses the alcohol.
- Dairy-free: Use full-fat coconut cream, chilled overnight and whipped with the powdered sugar, in place of the heavy cream. The sponge itself is naturally dairy-free — it has eggs but no butter. Just double-check your cocoa powder is dairy-free. I tested this for a friend with a dairy allergy and it held up beautifully.
- Gluten-free: Swap the all-purpose flour for a 1:1 gluten-free baking blend. The sponge is a little more delicate, so handle the layers gently, but the flavor is spot-on. Add 1/4 teaspoon xanthan gum if your blend doesn’t already include it.
- The birthday-cake version: Skip the kirsch, use sweet cherries instead of sour, and add a layer of chocolate ganache with the cream. My kids request this every year for their birthdays. Marta would raise an eyebrow, but she’d also eat two slices.
Questions I Get About This Cake All the Time
Q: Why did my cake layers come out dense and flat? They barely rose.
A: Ugh, I’ve been there. Three usual culprits: your egg whites weren’t whipped enough (they need to hold soft peaks that flop over gently, not just get foamy), your cocoa wasn’t sifted (lumps weigh down the batter), or you over-folded. The moment you can’t see streaks of flour, stop folding. Any one of those fixes will give you a taller cake next time. You’ve got this.
Q: Can I use canned cherry pie filling instead of fresh or frozen cherries?
A: You can, but drain it well first. Pie filling is already sweet and thick, so skip the extra sugar and cornstarch entirely — just spoon the cherries out, pat them dry, and layer them as-is. I’ve tested this with a reader who was in a pinch, and it works. The cake just comes out sweeter and less tart than the classic.
Q: How long will this cake keep, and can I freeze it?
A: The assembled cake keeps in the fridge, covered, for 3 days. Freeze the unfrosted sponge layers and the cherry filling separately for up to a month, but don’t freeze the finished, frosted cake — the whipped cream gets grainy when it thaws. For the best flavor, let the cake sit at room temperature for 20 minutes before you serve it.
Q: What should I serve with this cake?
A: Strong coffee — a dark roast with a bit of cream. The cake is rich enough that it doesn’t need company. If you’re feeling extra, a small glass of kirsch on the side for the adults, or vanilla ice cream for the kids. We do strong coffee and cold milk at our house, and it’s perfect.
More Recipes My Family Makes on Repeat
If this cake is headed to your table, here are a few others that get the same reaction at ours:
- [INTERNAL LINK PLACEHOLDER: German Apple Cake] — The cake Marta made with whatever apples were in the bowl, and the crumb that made it famous in our kitchen.
- [INTERNAL LINK PLACEHOLDER: Chocolate Cherry Skillet Cake] — My 45-minute weeknight shortcut when I want those same chocolate-cherry flavors without the full production.
- [INTERNAL LINK PLACEHOLDER: Sunday Stollen] — The two-day German bread that tastes like every holiday we ever had, and the one my daughter asks for when she’s homesick at college.
The first time my daughter Nora tasted this cake, she put down her fork, looked at me, and said, “This is the cake I want at my wedding.” That’s what this cake does — it doesn’t just taste good. It makes you want to build a memory around it. I hope it becomes that cake for your family too.
If you make it, come back and leave a comment — I love hearing which layer disappeared first. And if you’re on Pinterest, tag me so I can see your cake!
📌 Black Forest Cake recipe that tastes like a German bakery — save it for your next birthday celebration or Sunday dessert project.
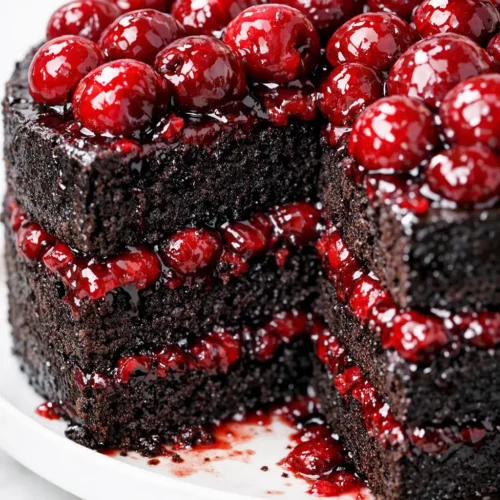
My Grandmother’s Black Forest Cake Recipe: Dark Chocolate Sponge, Sour Cherries, and Real Kirsch
Equipment
- Two 9-inch round cake pans
- Stand mixer or hand mixer
- Two mixing bowls
- Rubber spatula
- Fine-mesh strainer
- Pastry Brush
- Offset spatula or flat butter knife
- Long serrated knife
- Cake stand or serving plate
- Small saucepan
- Wire Rack
- Vegetable peeler
Ingredients
For the chocolate sponge
- 6 large eggs, separated
- 1 cup granulated sugar, divided
- 3/4 cup all-purpose flour (95 g)
- 1/2 cup Dutch-process cocoa powder (45 g)
- 1 1/2 teaspoons baking powder
- 1/4 teaspoon salt
- 1/4 cup vegetable oil (60 ml)
- 1 teaspoon vanilla extract
For the sour cherry filling
- 2 cups pitted sour cherries, fresh or frozen (450 g)
- 1/4 cup sugar (50 g)
- 1 tablespoon lemon juice
- 1 tablespoon cornstarch
- 2 tablespoons cold water
- 2 tablespoons kirsch (optional)
For the kirsch syrup
- 1/3 cup cherry juice (80 ml)
- 2 tablespoons kirsch
- 1 tablespoon sugar
For the cream and garnish
- 3 cups cold heavy whipping cream (720 ml)
- 1/2 cup powdered sugar (60 g)
- 2 teaspoons vanilla extract
- 2 oz dark chocolate for shavings (55 g)
- 12 fresh cherries with stems, for garnish
Instructions
- Preheat: Heat the oven to 350°F. Butter two 9-inch round cake pans, line the bottoms with parchment paper, and butter the paper too.
- Beat the yolks: In a large bowl, beat the 6 egg yolks with 3/4 cup of the sugar until pale and thick — about 3 minutes. Beat in the vanilla and the oil.
- Whip the whites: In a clean bowl, beat the egg whites with the remaining 1/4 cup sugar until soft peaks form — the tip of the peak flops over gently when you lift the beater.
- Fold in the dry ingredients: Sift the flour, cocoa, baking powder, and salt over the yolk mixture, then fold gently with a rubber spatula until just combined. A few streaks of flour are fine here.
- Fold in the whites: Fold in a third of the whipped whites to loosen the batter, then fold in the rest with big, gentle strokes — down the middle, across the bottom, up the side, over the top. Stop the moment no white streaks remain.
- Bake: Divide the batter between the pans and bake for 25 to 30 minutes. The cake is done when the center springs back completely under your fingers and the edges pull slightly away from the pan.
- Cool and slice: Cool in the pans for 10 minutes, then turn the layers onto a wire rack and cool completely. Once fully cool, slice each layer in half horizontally with a serrated knife to make four thin layers.
- Make the cherry filling: In a small saucepan, bring the cherries, 1/4 cup sugar, and lemon juice to a simmer. Whisk the cornstarch with 2 tablespoons of cold water, stir it into the pot, and cook for 3 to 4 minutes until glossy and thick — like a loose jam. Stir in the kirsch if using, then cool completely.
- Make the syrup: Stir the cherry juice, 2 tablespoons of kirsch (or the almond extract swap), and 1 tablespoon of sugar together until the sugar dissolves.
- Whip the cream: In a cold bowl with cold beaters, whip the heavy cream, powdered sugar, and vanilla until firm peaks form. The peaks should stand up straight, not flop over.
- Assemble: Place the first layer cut-side up on your serving plate. Brush generously with syrup, spread about 3/4 cup of cream over it, and add a third of the cherry filling. Repeat with the remaining layers, brushing syrup between each and on top of the final layer.
- Frost and chill: Spread the remaining cream smoothly over the sides and top. Refrigerate for at least 2 hours — overnight is even better — so the syrup travels through the sponge and the cream sets for clean slices.
- Garnish and serve: Press chocolate shavings onto the sides, pile fresh cherries on top, and serve cold. The finished cake should feel cool and firm, with every layer visible when you cut.
Notes
Related posts:
 The Slow Cooker Cowboy Casserole That Saves Tired Weeknights (No Soggy Tots Allowed)
 Lemon Garlic Butter Baked Salmon in Foil That’s Ready in 25 Minutes — No Fuss, No Mess
 Moist Chocolate Zucchini Bread That Doesn’t Turn Out Rubbery — Finally
 Creamy Homemade Strawberry Dole Whip (That Tastes Just Like the Real Thing)
 Blueberry Peach Bread That Doesn’t Sink or Turn Mushy — Finally
 Quinoa Chicken Sausage Bowls That Are Ready in 30 Minutes (And Actually Keep Well)