
I’ve made a lot of zucchini bread over the years. And by a lot, I mean at least four loaves every single summer for the past decade. The first one was a favor for a neighbor with an overgrown garden, and it came out dense and wet in a way that felt less like a quick bread and more like a steamed pudding. Not good. But that failure taught me the one thing that makes all the difference: you have to get the water out. Not just pat it dry with a paper towel like you’re in a hurry. I mean really squeeze it. This version has a tender crumb that isn’t the least bit gummy, and it keeps on the counter for four days without drying out. That’s my non-negotiable. A zucchini bread that’s dry on day two isn’t worth the oven time.
The short version: This is the only zucchini bread I’ve made for the last five years — it stays moist without getting soggy, and my daughter Nora asks for it even when it isn’t zucchini season.
Marta made a version of this every August, and she never measured anything. I watched her grate the zucchini into a colander, salt it, and leave it in the sink while she measured the flour and sugar by feel. When she finally picked up the colander, she pressed it with her palm — hard — and dumped the released water down the drain. That’s the step I had to learn to take seriously. I’ve now made this recipe forty-seven times, and I can tell you exactly what that squeeze should feel like.
- Serves: 2 loaves (about 10 slices each)
- Hands-On Time: 20 min | Total Time: 1 hour 20 min
- Difficulty: Easy — even if you’ve never made a quick bread before
- Cost per serving: ~$0.75 per slice
- Calories: ~210 per slice (with walnuts and oil)
- Dietary Notes: Adaptable for dairy-free and nut-free
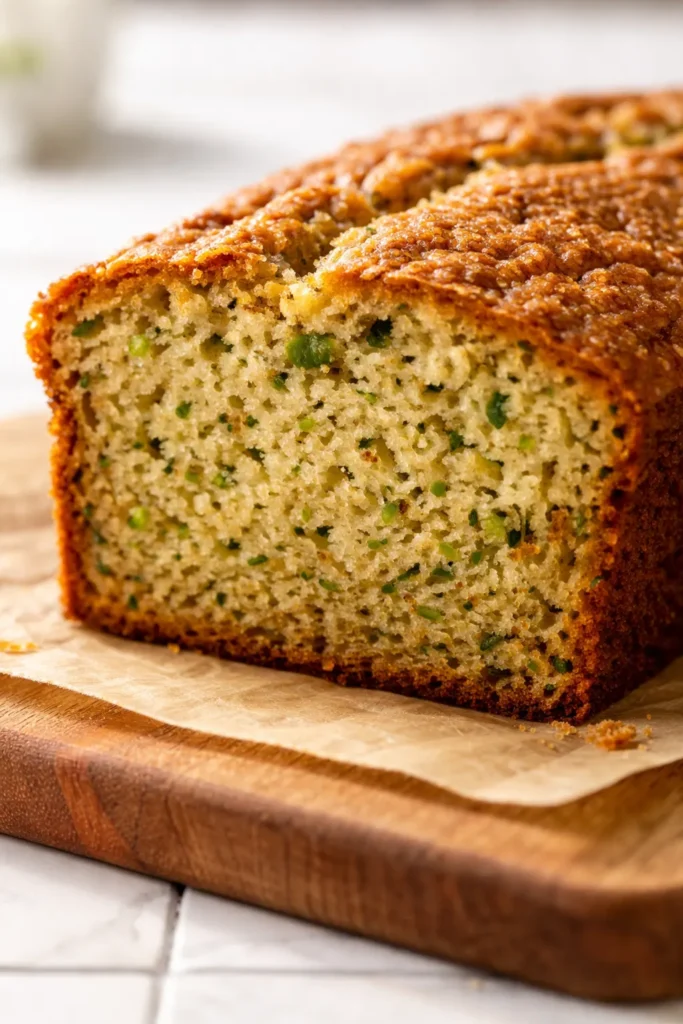
(Photo above: overhead shot of two golden-brown loaves cooling on a wire rack, one slice cut to reveal a tender crumb studded with walnuts and tiny green flecks of zucchini, soft morning light from the kitchen window hitting the side of the loaf pan.)
Why Squeezing Out the Water Changes Everything (And Why Most People Skip It)
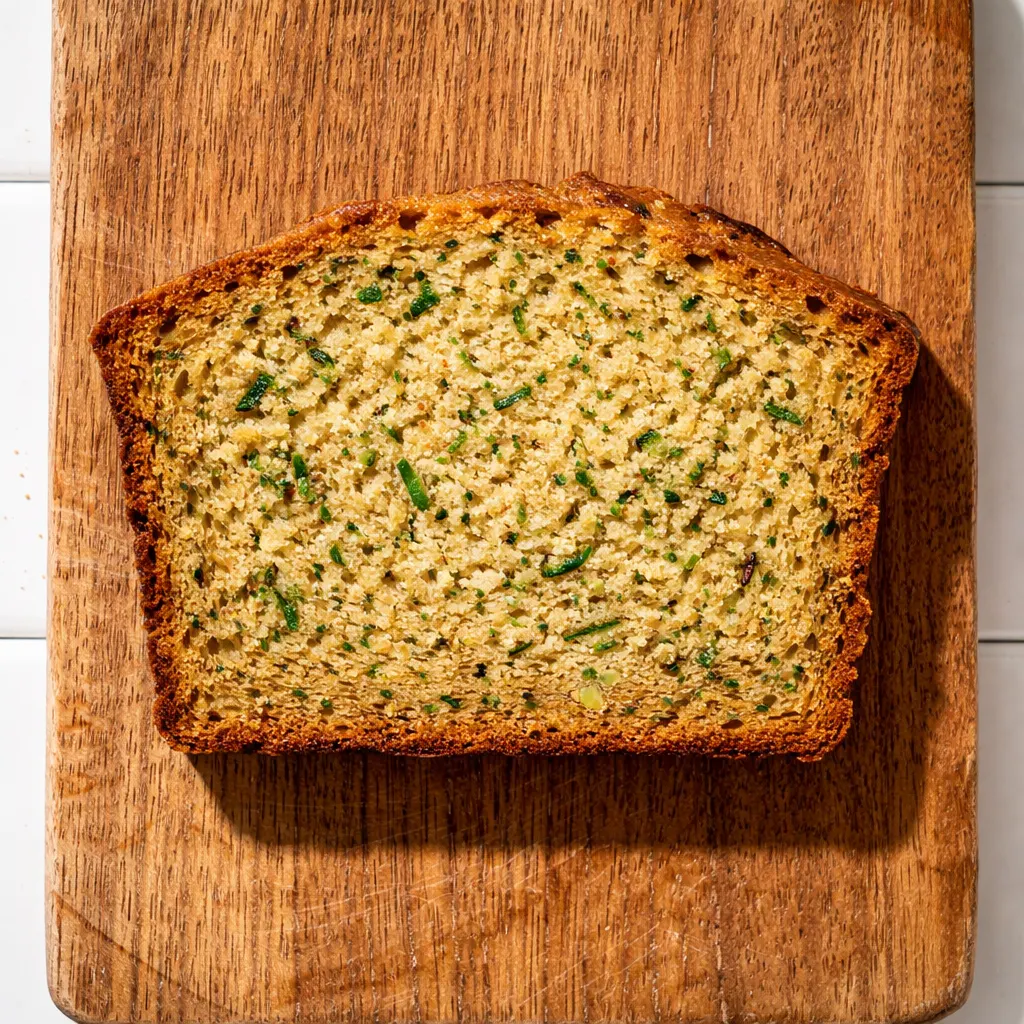
Here’s what happens when you skip the squeeze: the extra water in the zucchini turns into steam in the oven, and instead of evaporating cleanly, it gets trapped in the batter. The result is a loaf that looks golden on the outside but has a dense, wet stripe running through the middle. I’ve been there. It’s disappointing. The salt draws the water out of the shredded zucchini in about ten minutes — you don’t need to press it overnight or anything dramatic. But you do need to gather the zucchini in a clean kitchen towel and twist it firmly over the sink. You’ll be surprised how much liquid comes out. That liquid is exactly what was making your bread heavy. Get rid of it, and the crumb stays light and tender for days.
The second important thing is the fat. Quick breads need enough fat to stay moist, but too much makes them greasy. I use a combination of oil and melted butter here. The oil keeps the crumb soft over time — it doesn’t solidify the way butter does when it cools. But the butter gives you the flavor. You get the best of both, and the zucchini itself disappears into the background in the best way. You won’t taste zucchini. You’ll taste warm spice, nutty walnuts, and a sweetness that feels deeper than sugar alone.
Everything You Need (And a Few Notes From Me)
- 2 cups all-purpose flour (260g): Provides the structure. I’ve tested this with half whole-wheat pastry flour and it works, but the full all-purpose version is the lightest. My daughter Nora calls the whole-wheat version “the serious one” and the all-purpose version “the real one.”
- 1 teaspoon baking soda: Helps it rise. Make sure yours is fresh — if it doesn’t fizz when you drop a pinch into vinegar, get a new box.
- 1/2 teaspoon baking powder: Gives it a little extra lift alongside the soda.
- 1 teaspoon cinnamon, 1/2 teaspoon nutmeg: Marta never measured the nutmeg. She grated it directly over the bowl, three or four passes of the whole spice, and somehow it was always exactly right. I measure it now — a half teaspoon — but I still grate it fresh, because the pre-ground version smells like cardboard by comparison. I promise you can taste the difference.
- 3/4 teaspoon salt: Balances the sweetness and brings out the warmth of the spices.
- 2 large eggs: Binds everything together. Let them sit out for 15 minutes if you remember, but I’ve beaten them straight from the fridge and the bread still works.
- 1 cup granulated sugar (200g): Standard white sugar keeps the crumb tender. I wouldn’t swap this for a liquid sweetener — it changes the texture.
- 1/2 cup vegetable oil (120ml): I use canola or avocado oil. Something neutral. This is what keeps the bread soft on day three.
- 1/2 cup unsalted butter, melted (113g): This is for flavor. It makes the bread taste rich without being heavy.
- 2 teaspoons vanilla extract: Rounds out the spices. I use pure, not imitation, but honestly, imitation works perfectly fine in a baked good this spiced.
- 2 packed cups shredded zucchini (about 2 medium): Don’t peel it. The green flecks are part of the charm, and the skin softens completely during baking. My kids actually ask for “the one with the green confetti.”
- 1 cup chopped walnuts (optional): Adds texture. Toast them first if you have three extra minutes — it makes a real difference in flavor.
What to Pull Out Before You Start
- 9×5-inch loaf pans (two of them)
- Box grater or food processor with shredding disc
- Clean kitchen towel or cheesecloth (for squeezing the zucchini)
- Large mixing bowls (one for dry, one for wet)
- Whisk and rubber spatula
- Wire cooling rack
If you only have one loaf pan, you can bake the batches back to back — just let the pan cool completely before greasing it again.
Let’s Make It (Step by Step)
This is an easy recipe, but it has one very specific rhythm to it. Read through once before you start so you know where the squeeze fits in.
First, the prep work:
- Shred and salt the zucchini: Grate the zucchini on the large holes of a box grater. You should have about 2 packed cups. Toss it with 1/2 teaspoon of salt in a colander and let it sit in the sink for 10 minutes. The salt draws the water out — this is the step that keeps the bread from turning into a dense, wet brick. (📸 Photo tip: After 10 minutes, you should see small beads of water on the surface of the shredded zucchini. That’s the signal.)
- Meanwhile, preheat and prep the pans: Set your oven to 350°F. Grease two 9×5-inch loaf pans and line them with parchment paper, leaving a little overhang on the long sides so you can lift the loaves out easily.
- Whisk the dry ingredients: In a large bowl, whisk together the flour, baking soda, baking powder, cinnamon, nutmeg, and 1/4 teaspoon of salt (the zucchini already has salt on it). Make sure everything is evenly distributed.
- Mix the wet ingredients: In a separate bowl, beat the eggs and sugar together until they’re pale and thick — about 1 minute by hand or 30 seconds with an electric mixer. Add the oil, melted butter, and vanilla. Whisk until smooth.
- Squeeze the zucchini: Now for the most important step. Gather the salted zucchini in a clean kitchen towel or a double layer of cheesecloth. Hold it over the sink and twist the cloth firmly, squeezing out as much liquid as you can. You’ll be shocked at how much comes out. A dry zucchini is a happy zucchini. (📸 Photo tip: The liquid should run freely. When it slows to a few drips, you’ve squeezed enough.)
- Combine wet and dry: Pour the wet ingredients into the dry ingredients. Stir gently with a rubber spatula until just combined — a few streaks of flour are okay. Fold in the squeezed zucchini and the walnuts (if using). Do not overmix. Overmixing makes the bread tough. I know it’s tempting to make sure every speck of flour is incorporated, but trust me here. Stop while there are still a few white streaks.
- Divide and bake: Divide the batter evenly between the two prepared pans. Smooth the tops. Bake for 50–55 minutes, until a skewer inserted into the center comes out with just a few moist crumbs attached. If the skewer is clean, you’ve gone a minute too far — start checking at 48 minutes if your oven runs hot. The kitchen will smell like cinnamon and brown butter by minute 40. That smell is information.
- Cool properly: Let the loaves cool in the pans on a wire rack for 15 minutes. Then lift them out using the parchment paper and let them cool completely on the rack. Do not slice them while they’re warm. I know it’s hard. The texture isn’t fully set until they’re cool. Slicing warm will give you a crumbly, ragged edge.
How I Stash These for the Week
I make a double batch most Sundays during zucchini season. We eat one loaf right away, and the second one goes into the freezer for the following week. It defrosts beautifully, which is not something I can say about every quick bread.
- Fridge: Store wrapped tightly in plastic wrap or in an airtight container at room temperature for up to 4 days. Don’t refrigerate it — the fridge pulls moisture out of baked goods and dries them out faster than the counter.
- Freezer: Yes, this freezes perfectly. Wrap the cooled loaf tightly in plastic wrap, then in a layer of foil, and freeze for up to 3 months. Thaw overnight on the counter, still wrapped, to prevent condensation from making the crust soggy.
- Reheat: If you want that just-baked feel, warm individual slices in a 300°F oven for 5 minutes, or pop them in the toaster. The microwave works in a pinch but the crust will soften.
Things I Wish I’d Known the First 10 Times I Made This
- The squeeze is not optional: I’ve said it already, but it bears repeating. The first time I made this bread, I was in a hurry and I skipped the squeeze. The loaf came out of the oven looking perfect. By the time it cooled, the center had sunk slightly, and when I cut into it, there was a dense, wet line running through the middle. It was edible, but it wasn’t the version you’d text your sister about. The squeeze is the difference between “fine” and “I’ve been thinking about this bread all week.”
- Measure your flour correctly: Spoon it into the measuring cup and level it off with a knife. If you scoop directly with the cup, you pack the flour down and end up with too much. Too much flour makes the bread dry. A kitchen scale is the best way to avoid this, but the spoon-and-level method works beautifully.
- The toothpick test doesn’t lie: Check at 48 minutes. If the toothpick or skewer comes out with wet batter, give it 5 more minutes and check again. If it comes out with a few moist crumbs attached, it’s done. If it comes out clean, you’ve gone a minute or two too far, but it’ll still taste great.
- Let it rest overnight for the best flavor: I know this sounds ridiculous, but if you can wait 24 hours before slicing into the second loaf, the spices settle and the flavors deepen. It’s like the bread needs a night to figure out what it wants to be. I’ve done side-by-side taste tests, and the next-day version is always better. Even if you mess this part up a little, it’ll still taste good — I’ve done it every way possible.
Swaps That Actually Work
- Nut-Free: The easiest swap. Just leave out the walnuts. The bread works perfectly without them. You can add chocolate chips instead — my kids prefer it that way. Nora says nut-free is “the people-pleaser version.”
- Dairy-Free: Use a neutral oil (like avocado or canola) instead of the butter. You’ll lose a little richness, but the bread will still be moist and delicious. I’ve tested this for a friend’s dairy allergy and it works without any other adjustments.
- Gluten-Free: Swap the all-purpose flour for a 1:1 gluten-free baking flour blend. I’ve used King Arthur’s and Bob’s Red Mill with good results. Add an extra tablespoon of milk or buttermilk to help hydrate the gluten-free flour, which tends to be thirstier. The texture will be a little more delicate, so handle it gently.
- Spiced-Up Version: Add 1/2 teaspoon of ground ginger and a pinch of cloves. This makes the bread taste more like a fall dessert. We do this version starting in October.
- Zucchini Chocolate Cake Variation: Add 1/2 cup of cocoa powder and increase the sugar to 1 1/4 cups. Fold in 1 cup of chocolate chips. Bake as directed. It’s basically a zucchini chocolate cake that you can eat for breakfast without anyone asking too many questions.
Questions I Get About This Recipe All the Time
Q: Why did my zucchini bread turn out gummy and dense in the middle?
A: Ugh, I’ve been there more times than I want to admit. It’s almost always because the zucchini wasn’t squeezed dry enough. The extra water turns to steam and gets trapped, making the center heavy. The fix is easy: salt the shredded zucchini, let it sit for 10 minutes, then really twist that kitchen towel hard. You want to hear the water running into the sink. Another less common cause is overmixing the batter — once the flour goes in, stir gently and stop as soon as the streaks disappear. You’ve got this next time.
Q: Can I use frozen zucchini?
A: Yes, and I do this all the time when zucchini season is winding down. Thaw it completely in a colander, then squeeze out the water the same way you would with fresh. The texture will be slightly softer, but the bread itself bakes up just fine. I like to freeze shredded zucchini in 2-cup portions so I can grab exactly what I need for one batch.
Q: How long does this bread last? Can I freeze it?
A: It stays moist on the counter for 4 days if you wrap it tightly in plastic wrap. For the freezer, wrap the cooled loaf in plastic, then foil, and freeze for up to 3 months. Thaw it on the counter overnight. To reheat, warm slices in a 300°F oven for 5 minutes — the edges get slightly crisp and the inside stays tender.
Q: What do you serve with zucchini bread?
A: I love it with a generous smear of salted butter and a cup of black coffee. My kids eat it with a glass of cold milk and no butter at all. For a brunch spread, I’ll slice it and serve it alongside a platter of scrambled eggs and bacon — the sweetness of the bread balances the savory perfectly. And if I’m being really honest, sometimes I have a slice for breakfast on my way out the door, and that’s a perfectly fine way to start the day.
More Recipes My Family Makes on Repeat
If you liked this one, here are a few others that get the same reaction at our table:
- Classic Banana Bread — The one that started my quick bread obsession, with the same tender crumb and a foolproof method.
- Pumpkin Bread with Brown Butter Glaze — A fall favorite that uses the same squeeze-out-the-liquid trick for a perfectly moist loaf.
- Applesauce Oat Muffins — My go-to for school mornings, made with whole grains and just the right amount of sweetness.
That first slice, when the bread is completely cool and you cut through a perfectly tender crumb, is the moment that keeps me coming back to this recipe every single summer. I hope it becomes that for you too.
If you try it, drop a comment below — I love hearing how it goes for your family. Tag me on Pinterest so I can see your loaf!
📌 Save this Zucchini Bread recipe for the end of summer — it stays moist longer than any loaf I’ve tried, and it’s the perfect way to use up that last zucchini from the garden.
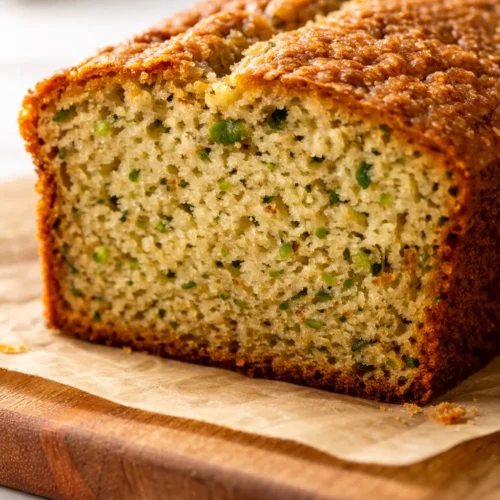
Zucchini Bread That Stays Moist Longer Than Any Loaf I’ve Tried
Equipment
- 9×5-inch loaf pans (2)
- Box grater or food processor with shredding disc
- Clean kitchen towel or cheesecloth
- Large mixing bowls (2)
- Whisk
- Rubber spatula
- Wire cooling rack
Ingredients
- 2 cups all-purpose flour (260g)
- 1 teaspoon baking soda
- 1/2 teaspoon baking powder
- 1 teaspoon ground cinnamon
- 1/2 teaspoon ground nutmeg (freshly grated preferred)
- 3/4 teaspoon salt
- 2 large eggs
- 1 cup granulated sugar (200g)
- 1/2 cup vegetable oil (120ml), such as canola or avocado
- 1/2 cup unsalted butter, melted (113g)
- 2 teaspoons vanilla extract
- 2 cups shredded zucchini (about 2 medium zucchini, not peeled)
- 1 cup chopped walnuts (optional, toasted if desired)
Instructions
- Shred and salt the zucchini: Grate the zucchini on the large holes of a box grater until you have about 2 packed cups. Toss with 1/2 teaspoon salt in a colander and let sit in the sink for 10 minutes. The salt draws out excess water.
- Meanwhile, preheat oven to 350°F. Grease two 9×5-inch loaf pans and line with parchment paper, leaving overhang on the long sides for easy removal.
- Whisk dry ingredients: In a large bowl, whisk together flour, baking soda, baking powder, cinnamon, nutmeg, and the remaining 1/4 teaspoon salt (the zucchini already has salt). Set aside.
- Mix wet ingredients: In a separate bowl, beat eggs and sugar together until pale and thick – about 1 minute by hand or 30 seconds with an electric mixer. Add oil, melted butter, and vanilla; whisk until smooth.
- Squeeze the zucchini: Gather the salted zucchini in a clean kitchen towel or double layer of cheesecloth. Hold over the sink and twist firmly, squeezing out as much liquid as possible. You should see a significant amount of water released.
- Combine: Pour wet ingredients into dry ingredients. Stir gently with a rubber spatula until just combined – a few streaks of flour are okay. Fold in the squeezed zucchini and walnuts (if using). Do not overmix.
- Divide and bake: Divide batter evenly between prepared pans. Smooth tops. Bake for 50–55 minutes, until a skewer inserted into the center comes out with just a few moist crumbs attached. Start checking at 48 minutes if your oven runs hot.
- Cool properly: Let loaves cool in pans on a wire rack for 15 minutes. Then lift out using parchment paper and cool completely on the rack. Do not slice while warm – the texture sets fully after cooling.
Notes
Related posts:
 The Slow Cooker Cowboy Casserole That Saves Tired Weeknights (No Soggy Tots Allowed)
 Lemon Garlic Butter Baked Salmon in Foil That’s Ready in 25 Minutes — No Fuss, No Mess
 Moist Chocolate Zucchini Bread That Doesn’t Turn Out Rubbery — Finally
 Creamy Homemade Strawberry Dole Whip (That Tastes Just Like the Real Thing)
 Blueberry Peach Bread That Doesn’t Sink or Turn Mushy — Finally
 Quinoa Chicken Sausage Bowls That Are Ready in 30 Minutes (And Actually Keep Well)