
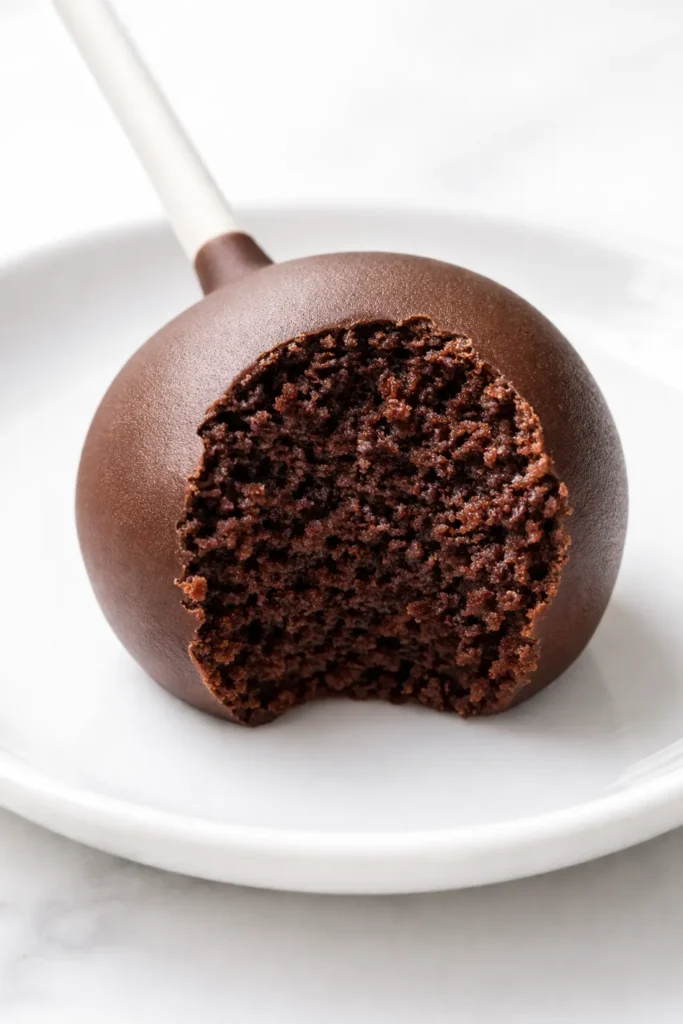
My daughter Nora called me from her dorm kitchen last week, desperate for that specific, dense, melt-in-your-mouth texture of a Starbucks birthday cake pop. She’d been buying them three at a time during finals week and her dining hall budget was officially shot. This is the Starbucks cake pop recipe we landed on after a few test batches — and honestly, I think these are even better than the ones in the pink bag.
The short version: 45 minutes of hands-on work, store-bought shortcuts that taste totally homemade, and a texture that’s spot-on dense and fudgy.
I’ve made this about seven times now to get that exact ratio of cake to frosting that doesn’t crumble when you roll it. Nora’s approved it for her roommates, my husband’s eaten four in one sitting, and I’m finally confident enough to share it here.
- Serves: 20–24 cake pops
- Hands-On Time: 45 min | Total Time: 2 hrs (includes 1 hr freezing)
- Difficulty: Easy enough for a rainy Saturday with the kids
- Cost per serving: ~$0.50 per pop (vs. $3 at the store)
- Calories: ~180 per pop
- Dietary Notes: Contains gluten, dairy, eggs. Nut-free if using safe chocolate.
(Photo above: An overhead shot of a white platter piled high with cake pops coated in pink and white candy melts, rainbow sprinkles scattered across the marble countertop, afternoon light catching the glossy shells.)
The Secret to That Signature Dense, Moist Texture
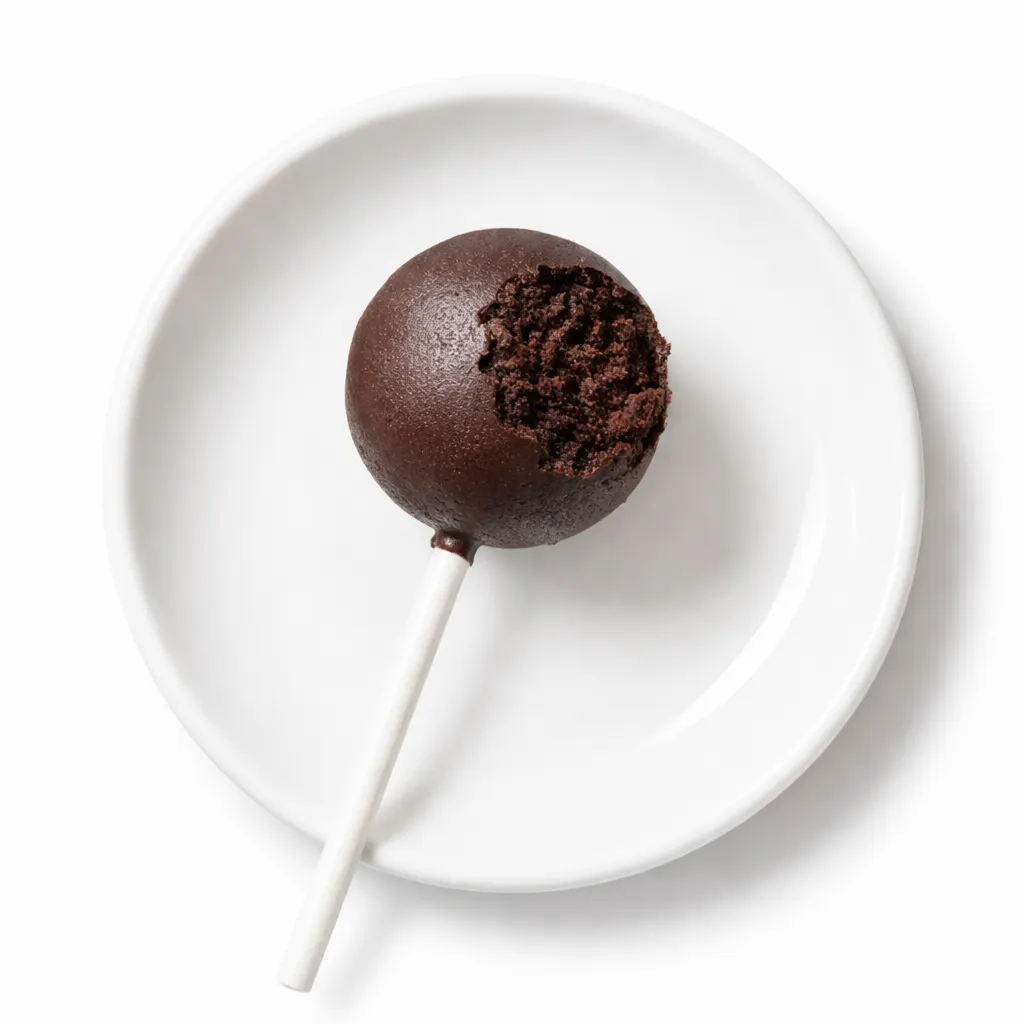
The trick to a cake pop that doesn’t fall apart isn’t just the cake — it’s the frosting ratio. Too little and you get a dry crumbly mess that won’t hold together. Too much and it’s a sticky, heavy ball that slides right off the stick. The exact 3:2 ratio of cake to frosting (by volume, not weight) is what gives you that dense, fudgy, melt-on-your-tongue texture that makes the Starbucks version so addictive.
The second trick? A full hour in the freezer before you dip. I know it’s tempting to rush. I’ve done it. Cake pops everywhere. The freezer is your best friend here — it sets the surface so the warm candy coating hardens instantly into a thin, snappy shell.
Everything You Need — Plus My Honest Notes
- 1 box vanilla cake mix (15.25 oz): I use Betty Crocker Super Moist. It’s the closest to the soft, fine-crumb texture of the Starbucks cake. Duncan Hines works too, but avoid the “premium” versions with pudding — they’re too moist for rolling.
My kids can taste the difference if I use a different brand, so I stick with this one. - Ingredients to make the cake (eggs, oil, water): Follow the box directions. Yes, really. This isn’t the time for a from-scratch cake. The box mix is what makes it taste like the real thing.
- 1/2 cup (120g) vanilla frosting (store-bought): Use a standard can of cream cheese or vanilla frosting. Not whipped frosting. You need the dense, emulsified kind. I use a heaping half cup — Nora loves helping mix this in with her hands.
- Candy Melts (white, pink, or colored): I get mine at Michaels or order online. Wilton bright white is my go-to. You’ll need about 24 oz total for dipping.
- 1 tbsp coconut oil or shortening: This is the key to a super thin, glossy shell that cracks perfectly when you bite into it. Don’t skip it.
- Sprinkles: The little rainbow ones or the star-shaped jimmies. My daughter vetoes the round sprinkles — she says they don’t stick as well and she’s right.
What to Pull Out Before You Start
- A 9×13 baking pan (or two 8-inch rounds)
- Large mixing bowl + hand mixer (or a sturdy spatula and some arm muscle)
- Cookie scoop (1-inch / #60 scoop is perfect for even sizing)
- Parchment-lined baking sheets (you’ll want two of them)
- 20–24 lollipop sticks
- A tall, narrow glass or cup (for dipping — trust me on this)
- A styrofoam block or a cardboard box with holes poked in it (for drying the finished pops)
Let’s Make Them — Start to Finish
This goes fast once the cake is cool, so read through it once before you get started.
Prep and bake: Preheat your oven to 350°F. Bake the cake according to the box directions. Let it cool completely.
- Crumble: Once the cake is completely cool, crumble it into a large bowl. Get in there with your hands. You want fine, even crumbs — no big chunks bigger than a pea.
(📸 Photo tip: The texture should look like wet sand, not gravel. If you see chunks, keep crumbling.) - Mix in frosting: Add the 1/2 cup of frosting to the crumbled cake. Mix with your hands or a sturdy spatula until it comes together. Squeeze a bit in your fist — if it holds together without crumbling, you’re there. If it’s still dry, add another tablespoon of frosting.
- Roll and freeze: Scoop and roll the mixture into 1-inch balls. Place them on a parchment-lined baking sheet. Freeze for at least 1 hour. This is non-negotiable — warm cake pops slide right off the stick into the candy coating.
(📸 Photo tip: Perfectly evenly rolled balls, about the size of a walnut, sitting neatly on the tray.) - Dip the sticks: When the hour is almost up, melt about 1/2 cup of candy melts. Dip the tip of each lollipop stick into the melted coating, then insert it about halfway into a frozen cake ball. This is the “glue” that keeps the stick secure. Pop the tray back in the freezer for 10 minutes to set the sticks.
- Melt the coating: Melt the remaining candy melts with the coconut oil in a tall, narrow glass. Microwave in 30-second bursts, stirring between each. A wide bowl is a nightmare for dipping — a tall glass lets you submerge the whole pop in one smooth dunk.
- Dip the pops: Take the pops out of the freezer. Dip each one into the melted coating until it’s fully covered. Gently hold the pop over the glass and tap your wrist (not the stick) to let the excess drip off. Give it a little twist as you pull it out — it helps smooth out the top.
- Decorate and set: Stick the pop into your styrofoam block. Add sprinkles immediately before the coating sets. Let them dry completely — about 20-30 minutes. The shell will be hard and shiny.
How I Make These Ahead for Parties
I almost never make these in one day. I’ll bake the cake and roll the balls on a Saturday, then freeze them uncovered on the tray. Once they’re solid, I transfer them to a zip-top bag. They’ll stay perfectly in the freezer for up to 3 weeks. Then on party day, all I have to do is dip them while my kids handle the sprinkles.
- Fridge: Store finished pops in an airtight container in the fridge for up to 1 week.
- Freezer: Yes! Freeze the undipped cake balls for up to 3 months. You can also freeze the finished pops for up to 2 months.
- Reheat: There’s no reheating with cake pops — serve them cold or at room temp. If frozen, let them thaw in the fridge for about 30 minutes before serving.
Things I Wish I’d Known the First Time I Made These
- Don’t skip the freezer time. I know I keep saying it, but I’ve ruined two batches by getting impatient. The frozen cake ball is what makes the coating set instantly. If the cake ball is even slightly warm, the coating cracks and slides right off.
- Thin your coating. Straight-up candy melts are too thick for dipping. Adding that tablespoon of coconut oil makes the coating thin, glossy, and gives it that “snap” when you bite into it. My husband thought I was being extra until he tried it both ways.
- Use a glass for dipping. A wide bowl means you have to tilt it to get the pop fully submerged, and it always results in a thick, uneven coating. A tall glass lets you dunk straight down. Game changer.
- Tap off the excess gently. Hold the pop over the glass and tap the wrist of the hand holding the stick — not the stick itself. Tapping the stick makes the pop fall off into the coating. Tapping your wrist sends the excess coating down evenly. Even if you mess this part up a little, it’ll still taste good — I’ve done it.
Swaps That Actually Work — What My Family Loves
- Chocolate Cake Pops: Use a chocolate cake mix and chocolate frosting. Dip in dark or milk chocolate candy melts. This is my husband’s favorite version — he says they taste like the chocolate cake pop from Starbucks that they discontinued.
- Strawberry / Birthday Cake: Use a strawberry cake mix (or add 3 tbsp of strawberry jam to the vanilla cake crumb mixture). Use pink candy melts and rainbow sprinkles. This is the version my daughter Nora brings to her friends at college.
- Gluten-Free: Use your favorite 1:1 gluten-free vanilla cake mix. Cup4Cup or King Arthur are my go-tos. Everything else stays the same and they come out just as good.
- Kid-Friendly Decorating Station: Set up bowls of sprinkles, crushed cookies, and drizzles. Let the kids dip their own and go wild. Honestly, the mess is worth it — they’re so proud of their creations.
Questions I Get About This Recipe All the Time
Q: Why did my cake pops crack?
A: Ugh, I hate when that happens. It almost always means the cake balls weren’t cold enough, or the coating was too hot. Make sure your cake balls are frozen solid (at least an hour, preferably longer). Let your melted coating cool for a minute or two before you start dipping. The drastic temperature change is what causes the cracking. You’ve got this next time.
Q: Can I make these with a homemade cake instead of a box mix?
A: You absolutely can! I’ve done it with my favorite vanilla layer cake recipe. Just make sure the cake is fully cooled and has a fine, even crumb. The box mix is what gives it that specific “Starbucks” flavor and texture that my kids have officially deemed “the best,” so I usually stick with it when I’m craving the real thing.
Q: How long do these last? Can I freeze them?
A: Yes on both! Stored in an airtight container in the fridge, they’ll stay perfect for about a week. They actually taste better the next day, in my opinion. For freezing, freeze the undipped cake balls for up to 3 months. Or freeze the finished pops for up to 2 months — just thaw them in the fridge before serving.
Q: What do you serve with cake pops?
A: Honestly, they’re a party all by themselves. But if I’m putting together a dessert table, I’ll pair them with a hot cocoa bar for the kids or a tray of my brown butter chocolate chip cookies for the adults. My coffee-loving friends love these alongside a strong iced latte — it’s the perfect little bite of sweetness.
More Recipes My Family Makes on Repeat
If you loved making these cake pops, here are a few other treats we’re always whipping up in our kitchen:
- [INTERNAL LINK PLACEHOLDER: My Go-To Brown Butter Rice Krispies Treats] — Chewy, salty-sweet, and way more grown-up than the box version.
- [INTERNAL LINK PLACEHOLDER: Easy Homemade Fudge That Doesn’t Crystallize] — Three ingredients, five minutes of stirring, and it’s perfect every single time.
- [INTERNAL LINK PLACEHOLDER: The Best Chocolate Chip Cookies (No Stand Mixer Required)] — The one recipe my daughter texts me for from college.
These cake pops have become our go-to for birthdays, bake sales, and “just because” weekends when we want to make something fun together. They’re way more than a copycat recipe — they’re the ones we’re making memories around now.
If you make a batch, I’d love to see them. Drop a comment below and let me know how they turned out for your family — or tag me on Pinterest so I can cheer you on.
📌 Save this Starbucks cake pop recipe for your next birthday party or rainy day baking project — it’s the copycat recipe that actually tastes like the real thing, and it’s way more fun to make with your kids.
Starbucks Cake Pop Recipe That Tastes Exactly Like the Real Thing — Made in Your Own Kitchen
Equipment
- 9×13 Baking Pan
- Large Mixing Bowl
- Hand mixer (or sturdy spatula)
- Cookie scoop (1-inch / #60)
- Parchment-lined baking sheets
- Lollipop sticks (20-24)
- Tall narrow glass or cup
- Styrofoam block or cardboard box with holes
Ingredients
For the Cake
- 1 box (15.25 oz) vanilla cake mix (Betty Crocker Super Moist recommended)
- 3 large eggs (or as per box directions)
- 1/3 cup vegetable oil (or as per box directions)
- 1 cup water (or as per box directions)
For the Frosting Mixture
- 1/2 cup vanilla frosting (not whipped; cream cheese or standard works)
For the Coating
- 24 oz candy melts (white, pink, or colored; Wilton bright white recommended)
- 1 tbsp coconut oil or shortening
- Sprinkles for decorating (rainbow jimmies or star-shaped)
Instructions
- Preheat your oven to 350°F. Bake the cake according to the box directions in a 9×13 pan. Let it cool completely. This is important – if the cake is even slightly warm when you crumble it, the texture won’t be right.
- Once the cake is completely cool, crumble it into a large bowl. Use your hands to get fine, even crumbs – no chunks bigger than a pea. The texture should look like wet sand, not gravel.
- Add the 1/2 cup of frosting to the crumbled cake. Mix with your hands or a sturdy spatula until it comes together. Squeeze a bit in your fist – if it holds together without crumbling, you’re there. If it’s still dry, add another tablespoon of frosting.
- Scoop and roll the mixture into 1-inch balls (about the size of a walnut). Place them on a parchment-lined baking sheet. Freeze for at least 1 hour. This is non-negotiable – warm cake pops slide right off the stick into the candy coating.
- When the hour is almost up, melt about 1/2 cup of the candy melts (save the rest for dipping). Dip the tip of each lollipop stick into the melted coating, then insert it about halfway into a frozen cake ball. This is the ‘glue’ that keeps the stick secure. Pop the tray back in the freezer for 10 minutes to set the sticks.
- Melt the remaining candy melts with the coconut oil in a tall, narrow glass. Microwave in 30-second bursts, stirring between each. A wide bowl is a nightmare for dipping – a tall glass lets you submerge the whole pop in one smooth dunk.
- Take the pops out of the freezer. Dip each one into the melted coating until fully covered. Gently hold the pop over the glass and tap your wrist (not the stick) to let the excess drip off. Give it a little twist as you pull it out – it helps smooth out the top.
- Stick the pop into your styrofoam block. Add sprinkles immediately before the coating sets. Let them dry completely – about 20-30 minutes. The shell will be hard and shiny. Serve cold or at room temperature.
Notes
Swaps: Use chocolate cake mix + chocolate frosting for chocolate cake pops. For strawberry/birthday cake, use strawberry cake mix or add 3 tbsp strawberry jam to the vanilla crumb mixture. For gluten-free, use a 1:1 gluten-free vanilla cake mix (Cup4Cup or King Arthur work well).
Tips: Don’t skip the freezer time – it’s what prevents cracking. Thin your coating with coconut oil for a glossy, snappy shell. Use a tall glass for dipping to get an even coat. Tap your wrist, not the stick, to avoid losing the pop in the coating.
Related posts:
 The Super Simple Chocolate Cake for Dad That Disappears in Minutes
 My Grandmother’s Peach Cobbler with the Biscuit Topping That Stays Crispy Every Time
 My Grandmother’s Chocolate Wafers for the Ultimate Homemade Oreo Ice Cream Sandwiches
 Strawberry Cupcakes: The Reduced Puree Method That Actually Tastes Like Real Berries
 My Grandmother’s Strawberry Shortcake, Turned Into the Creamiest Ice Cream (No Machine Required)
 The DIY Caramel Crunch Frappe That Beats the Drive-Thru (In 5 Minutes)