
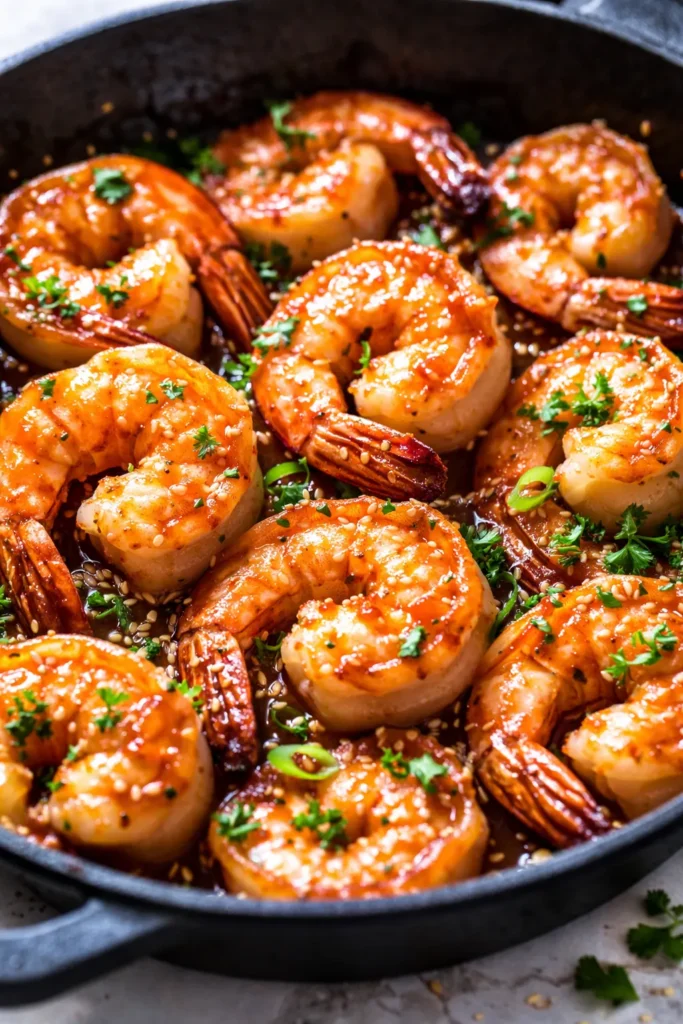
The first time I made this, my nine-year-old looked up from her bowl and said, “Mom, can we have this every single Tuesday?” That was six months ago. We’ve had it every single Tuesday since. The honey caramelizes in the butter, the garlic gets soft and sweet, and the shrimp — if you don’t overcook them — stay so tender they practically melt. The whole thing comes together in one skillet, in about the time it takes to boil water for rice. This is the weeknight dinner that actually delivers on the promise of quick and good.
The short version: Honey garlic shrimp in one pan, 15 minutes, and you’ll lick the spoon when nobody’s looking.
I’ve been making this version for about two years now — through three different brands of soy sauce, two different honey sources (the farmer’s market honey makes a difference, but the grocery store stuff works fine too), and countless Tuesday nights where we needed dinner on the table before homework meltdowns started. This is the one that stuck.
- Serves: 4 as a main (over rice or noodles)
- Hands-On Time: 10 min | Total Time: 15 min
- Difficulty: Easy — even on a school night when you haven’t had coffee since noon
- Cost per serving: ~$3.50 (shrimp prices vary — frozen in the bag is your friend)
- Calories: ~320 per serving
- Dietary Notes: Naturally gluten-free if you use tamari or coconut aminos instead of soy sauce
(Photo above: overhead shot of the finished shrimp in a well-seasoned cast iron skillet, glossy honey-garlic sauce coating each piece, scattered with thin-sliced green onions and white sesame seeds, a small bowl of jasmine rice in the corner catching the late afternoon light from the kitchen window.)
The Trick That Keeps These Shrimp from Turning Rubbery
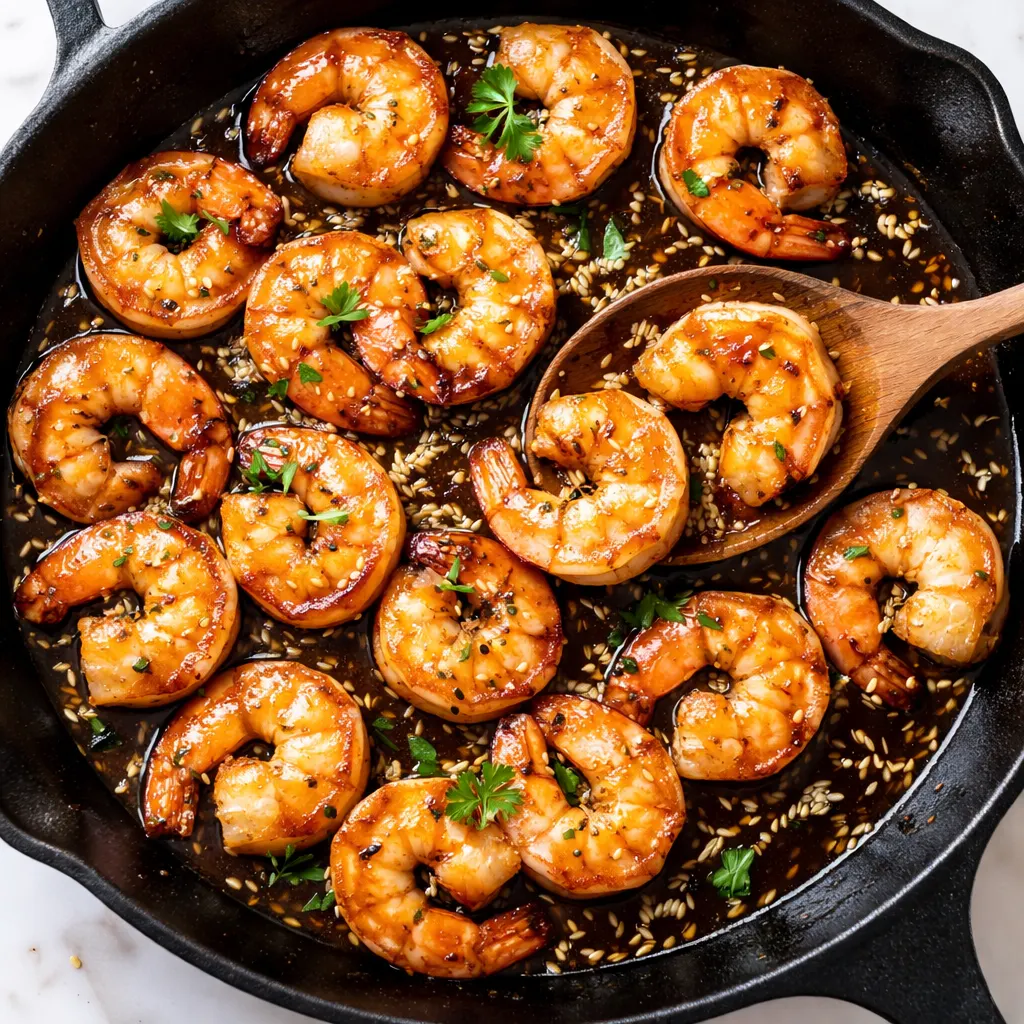
Here’s the thing nobody tells you about cooking shrimp: they’re not like chicken. You can’t throw them in a pan and walk away to chop the green onions. They cook in two to three minutes per side — seriously, that fast — and the second they go from translucent to opaque, you need to pull them out of the pan. If you wait until they look fully cooked through the thickest part, you’ve already gone too far. They’ll keep cooking in the residual heat while you finish the sauce. I learned this the hard way after my first three batches came out with the texture of pencil erasers.
The other thing that changed everything for me was patting the shrimp dry before they hit the pan. Shrimp hold a lot of moisture, and if you skip this step, they steam instead of sear. You want that golden brown edge where the honey and garlic meet the hot skillet — that’s where the flavor lives. A paper towel, thirty seconds of attention, and you’re set.
One last thing: don’t crowd the pan. If you have to cook the shrimp in two batches, do it. When they’re packed too tightly, the temperature drops and they release their water, and suddenly you’ve got boiled shrimp in honey water. Not what we’re after.
What Goes In — Plus My Honest Notes
- 1 lb raw shrimp, peeled and deveined: I use 21-25 count (extra-large) because they’re big enough to feel substantial but not so big they take forever to cook. Frozen bags from Costco or the grocery store work perfectly — just thaw them in a colander under cold running water, about five minutes, then pat them dry. My kids won’t touch the tails-on version, so I buy them already peeled. If you’re serving adults who don’t mind tails, leave them on for presentation — they look fancy.
- 3 cloves garlic, minced: Fresh only, please. The jarred stuff has a weird metallic taste that doesn’t play well with honey. I use my microplane for this and it takes about eight seconds. One clove per person plus one for the pan is my rule.
- 3 tablespoons honey: Local honey has a more complex flavor — slightly floral — but any honey works. If your honey is crystallized, microwave it for ten seconds to thin it out. The first time I made this with buckwheat honey it was almost too dark and earthy. Stick with something mild and golden.
- 2 tablespoons low-sodium soy sauce: Regular soy sauce will make this too salty. Low-sodium gives you room to play. If you’re gluten-free, swap in tamari or coconut aminos — both work great.
- 1 tablespoon unsalted butter: This is the secret to the glossy, velvety sauce. Don’t skip it. Salted butter works in a pinch but back off the pinch of salt at the end.
- 2 teaspoons olive oil: For searing the shrimp. You need a neutral oil with a higher smoke point — butter alone will burn with the honey. Avocado oil works too.
- ½ teaspoon red pepper flakes (optional): My kids prefer it without. I add a pinch to mine after I’ve served theirs. If you like heat, go up to a full teaspoon — it’s not overwhelming, just a warm finish.
- Salt and black pepper: To taste.
- For garnish: sliced green onions and/toasted sesame seeds: These aren’t decorative — the green onions add a fresh sharpness and the sesame seeds give a tiny crunch. I forgot the sesame seeds once and my husband asked, “Did you forget something?” So. They matter.
What to Pull Out Before You Start
- A large skillet or frying pan — 12-inch if you have it, nonstick or stainless steel. Cast iron works beautifully too.
- A small bowl for mixing the sauce ingredients together before you start cooking.
- A slotted spoon or tongs for removing the shrimp from the pan.
- Paper towels (for drying the shrimp — don’t skip this!).
That’s it. If you own a pan and a spoon, you have everything you need.
Let’s Make It (Step by Step)
This goes fast — like, really fast — so read through once before you turn on the stove. Have your ingredients measured and your shrimp patted dry. Trust me on this.
Prep and preheat: Pat the shrimp dry with paper towels on both sides. Season lightly with salt and a few cracks of black pepper. In a small bowl, whisk together the honey, soy sauce, and minced garlic. Set it near the stove.
- Heat the oil and butter: Add the olive oil to your skillet over medium-high heat. Swirl to coat the bottom, then add the butter. When the butter is melted and starting to foam — about 30 seconds — you’re ready. (📸 Photo tip: The butter should be foamy but not brown — you want it at the stage where it smells nutty but hasn’t started turning amber. This takes about 20-30 seconds over medium-high heat.)
- Sear the shrimp in a single layer: Add the shrimp to the pan. Don’t stir them for a full 2 minutes. Let them sit and develop that golden crust. You should hear a steady, happy sizzle — if it’s silent, your pan wasn’t hot enough. (📸 Photo tip: After 2 minutes, the bottom of each shrimp should be pink and lightly browned at the edges. The top will still look slightly translucent — that’s perfect.)
- Flip and cook the other side: Flip each shrimp with tongs. Cook for 1½ to 2 minutes more, until the second side is pink and the shrimp are just barely opaque throughout. They should curl into a loose C shape — if they curl into a tight O, they’re overcooked. Remove the shrimp to a plate with a slotted spoon, leaving the juices in the pan.
- Make the sauce: Reduce the heat to medium-low. Pour the honey-soy-garlic mixture into the same skillet. Let it bubble gently, stirring constantly, for 1 to 2 minutes. The sauce will thicken slightly and darken to a deep amber. When it coats the back of a spoon, you’re there.
- Return the shrimp to the pan: Add the shrimp back in, along with any juices that collected on the plate. Toss to coat every single piece in that glossy sauce. If you’re using red pepper flakes, add them now. Cook for 30 seconds, just to warm the shrimp through — do not overcook here.
- Serve immediately: Transfer to a serving dish or spoon directly over rice or noodles. Scatter green onions and sesame seeds over the top. Serve right away while the sauce is still glossy and the shrimp are tender.
How I Meal Prep These for the Week
Honestly? This dish is so fast that I usually just make it fresh on nights we need it. But if you want to be extra organized, here’s what I do: I thaw the shrimp in the fridge overnight (or under cold water for five minutes), pat them dry, and toss them in a zip-top bag with a drizzle of olive oil and a pinch of salt and pepper. That stays in the fridge for up to two days. The honey-garlic sauce I mix in a small jar and leave on the counter. When I walk in the door at 6pm, dinner takes ten minutes from pan to plate.
- Fridge: Cooked shrimp keep in an airtight container for up to 3 days. The sauce will separate a little — just stir it back together when you reheat.
- Freezer: I don’t recommend freezing the finished dish. Shrimp get rubbery when frozen and reheated. Make it fresh — it’s 15 minutes!
- Reheat: The microwave works in a pinch (30-second bursts, stirring in between), but the best way is a hot skillet over medium heat for about 90 seconds, with a splash of water to refresh the sauce.
Mistakes I Made So You Don’t Have To
- Overcooking the shrimp by even 30 seconds: This is the number-one mistake. Shrimp go from perfect to rubbery in about the time it takes to answer a text. The instant they turn opaque and curl into a C shape, get them out of the pan. A tight O shape means they’re done-zo. Even if you mess this up a little, the honey-garlic sauce is forgiving enough that it’ll still taste great — I’ve done it and nobody complained.
- Skipping the paper towel step: I know, I know — it feels wasteful. But wet shrimp don’t sear. They steam. And steamed shrimp don’t have that golden crust that makes this dish feel special. Take the extra 20 seconds. Your taste buds will thank you.
- Using a pan that’s too small: If your shrimp are piled on top of each other instead of sitting in a single layer, they’ll release water and you’ll end up with grey, soggy shrimp in a thin sauce. Use a 12-inch pan, or cook in two batches. The second batch takes two extra minutes.
- Not tasting the sauce before adding the shrimp back in: Soy sauces vary in saltiness. Taste your sauce after it thickens — if it’s too salty, add a tiny splash of water or an extra drizzle of honey. If it’s too sweet, a few drops of rice vinegar or lime juice will balance it out. Your palate is the best kitchen tool you own.
Swaps That Actually Work
- Gluten-free version: Use tamari or coconut aminos instead of soy sauce. The flavor profile is slightly different — coconut aminos are a touch sweeter — but it works beautifully. My sister-in-law has celiac and this is her favorite version.
- Spicy version (the adult post-bedtime version): Add a full teaspoon of red pepper flakes with the garlic, or stir in ½ teaspoon of sriracha or gochujang at the end. I do this when the kids are in bed and I want something with a kick.
- Kid-friendly version without the burn: Skip the red pepper flakes entirely. My daughter actually asks for “no spicy honey shrimp” — and I make hers first, then add heat to mine. Everyone wins.
- Protein swap: This same sauce works beautifully with bite-sized pieces of chicken thigh (cook them 5-6 minutes per side) or with firm tofu that’s been pressed and cubed (pan-fry until golden, then toss in the sauce at the end).
- Vegetable boost: Toss in a handful of snap peas or broccoli florets after you remove the shrimp. Let them cook in the sauce for 2-3 minutes until tender-crisp, then return the shrimp to warm through.
Questions I Get About This Recipe All the Time
Q: Why did my shrimp turn out rubbery?
A: Ugh, I’ve been there. It’s almost always one of two things: you cooked them too long (remember, 2 minutes per side max, and pull them out the second they turn opaque) or you didn’t pat them dry, so they steamed instead of seared. The good news is the sauce is so flavorful that even slightly overdone shrimp still taste pretty great. You’ve got this next time!
Q: Can I use frozen shrimp?
A: Yep — and I do, often. The key is thawing them properly. Don’t run them under hot water (that starts cooking them unevenly). Put them in a colander and run cold water over them for about 5 minutes, stirring occasionally. Then — and this is crucial — pat them dry with paper towels until they feel dry to the touch. Frozen shrimp hold a lot of water, so dry them well. I’ve tested this a dozen times and it works perfectly.
Q: How long does this last in the fridge?
A: Up to 3 days in an airtight container. The sauce will separate a little when it sits — just give it a good stir when you reheat. I reheat leftovers in a skillet over medium heat with a splash of water to loosen the sauce. The microwave works too, but the skillet keeps the texture closer to the original. I don’t recommend freezing the finished dish — shrimp get tough when frozen and thawed.
Q: What do you serve with honey garlic shrimp?
A: Jasmine rice is my go-to — the sauce soaks into it and my kids fight over the last spoonful. Steamed broccoli or sautéed bok choy on the side cuts through the sweetness beautifully. For a low-carb option, serve it over cauliflower rice or zucchini noodles. And honestly? On nights when I’m completely out of energy, I just eat it straight from the pan with a fork and call it dinner.
More Recipes My Family Makes on Repeat
If you liked this one, here are a few others that get the same reaction at our table:
- Garlic Butter Chicken Thighs — Juicy, golden, done in 25 minutes, and the pan sauce is dangerous over rice.
- One-Pan Lemon Herb Salmon — Sheet pan dinner that comes out perfectly every single time, even on busy nights.
- Easy Beef and Broccoli — The sauce tastes like takeout but it’s made in one skillet in under 20 minutes.
This is the kind of recipe that becomes a regular in your rotation without you even deciding it — you just find yourself pulling shrimp out of the freezer on Tuesday night because you already know how good it’s going to be. That’s my favorite kind of cooking. The kind that doesn’t require a decision, just a habit.
If you try it, drop a comment below — I love hearing how it goes for you. And if you make it for your own Tuesday night crew, tag me on Pinterest so I can see yours!
📌 This honey garlic shrimp recipe comes together in 15 minutes with one pan — save it for your busiest weeknights when you still want something that feels special.
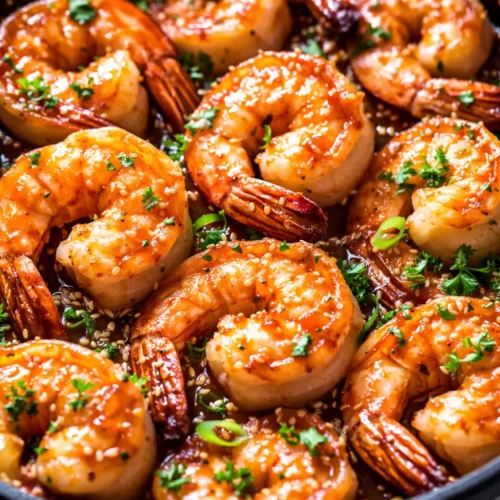
Honey Garlic Shrimp That’s Ready in 15 Minutes (and Actually Stays Juicy)
Equipment
- Large Skillet (12-inch)
- Small bowl
- Slotted Spoon
- Paper towels
Ingredients
- 1 lb raw shrimp (21-25 count), peeled and deveined
- 3 cloves garlic, minced
- 3 tablespoons honey
- 2 tablespoons low-sodium soy sauce
- 1 tablespoon unsalted butter
- 2 teaspoons olive oil
- 0.5 teaspoon red pepper flakes (optional)
- Salt and black pepper to taste
For garnish
- 2 tablespoons sliced green onions
- 1 teaspoon toasted sesame seeds
Instructions
- Heat olive oil and butter in a large skillet over medium-high heat until the butter is foamy but not brown, about 30 seconds. Add shrimp in a single layer – do not crowd the pan. Let them sear without stirring for 2 minutes. You should hear a steady sizzle.
- Flip each shrimp with tongs. Cook for 1½ to 2 minutes more, until the second side is pink and the shrimp are just barely opaque. They should curl into a loose C shape. Remove shrimp to a plate with a slotted spoon, leaving the juices in the pan.
- Reduce heat to medium-low. Pour the honey, soy sauce, and garlic mixture into the same skillet. Let it bubble gently, stirring constantly, for 1 to 2 minutes until the sauce thickens and darkens to deep amber. It should coat the back of a spoon.
- Return shrimp to the pan, along with any accumulated juices. If using red pepper flakes, add now. Toss to coat every piece. Cook just 30 seconds to warm through – do not overcook.
- Serve immediately over rice or noodles. Scatter sliced green onions and toasted sesame seeds over the top. The sauce is best when glossy and warm.
Notes
Related posts:
 Mini Quiche Recipe: The Store-Bought Crust Version That Tastes Like You Made It From Scratch
 The Slow Cooker Cowboy Casserole That Saves Tired Weeknights (No Soggy Tots Allowed)
 Quick Lemon Ricotta Pasta for Busy Weeknights: Creamy, Bright, and on the Table in 20 Minutes
 Lemon Garlic Butter Baked Salmon in Foil That’s Ready in 25 Minutes — No Fuss, No Mess
 Lipton Onion Soup Meatloaf for Tuesday Nights: Moist, Savory, and the Only One You’ll Ever Need
 Kielbasa Sausage Cheesy Potato Casserole That Tastes Like Sunday Dinner — In Under an Hour