
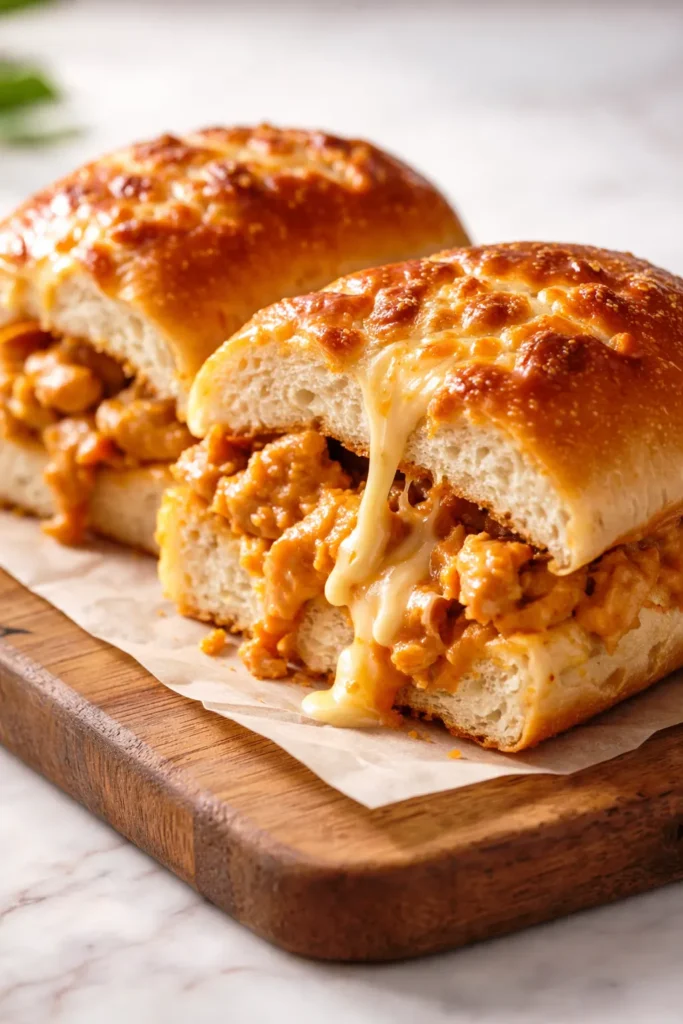
The first time I made these Cheesy Dynamite Chicken Buns, my husband walked into the kitchen mid-bite and just pointed at the pan, demanding to know what *that* was. I mean, I get it. You’ve got fluffy, golden brown buns brushed with garlic butter, and the second you pull one off, a ribbon of molten mozzarella stretches a full foot. The inside is packed with this crazy creamy, spicy chicken filling that has just the right kick. They’re basically the best thing that’s ever happened to a sheet pan.
The short version: Gooey, spicy, cheesy chicken buns made with store-bought dough in just 35 minutes.
I’ve tested this with homemade dough, canned biscuits, and pizza dough. This version — the store-bought pizza dough shortcut — is the one I make on busy school nights and it gets the exact same reaction every single time: absolute silence while everyone inhales them.
- Serves: 8 buns
- Hands-On Time: 15 min | Total Time: 35 min
- Difficulty: Easy — my 14-year-old makes these by herself
- Cost per serving: ~$2.50 per bun
- Calories: ~430 per bun
- Dietary Notes: Contains dairy & gluten (gluten-free option below)
(Photo above: An overhead shot of pull-apart buns baked to golden perfection in a cast-iron skillet. The tops are glistening with butter and scattered with white sesame seeds. One bun is slightly pulled away, revealing a glossy, cheesy center and specks of green onion. A small ramekin of extra dynamite sauce sits to the side.)
Why These Buns Disappear in 5 Minutes
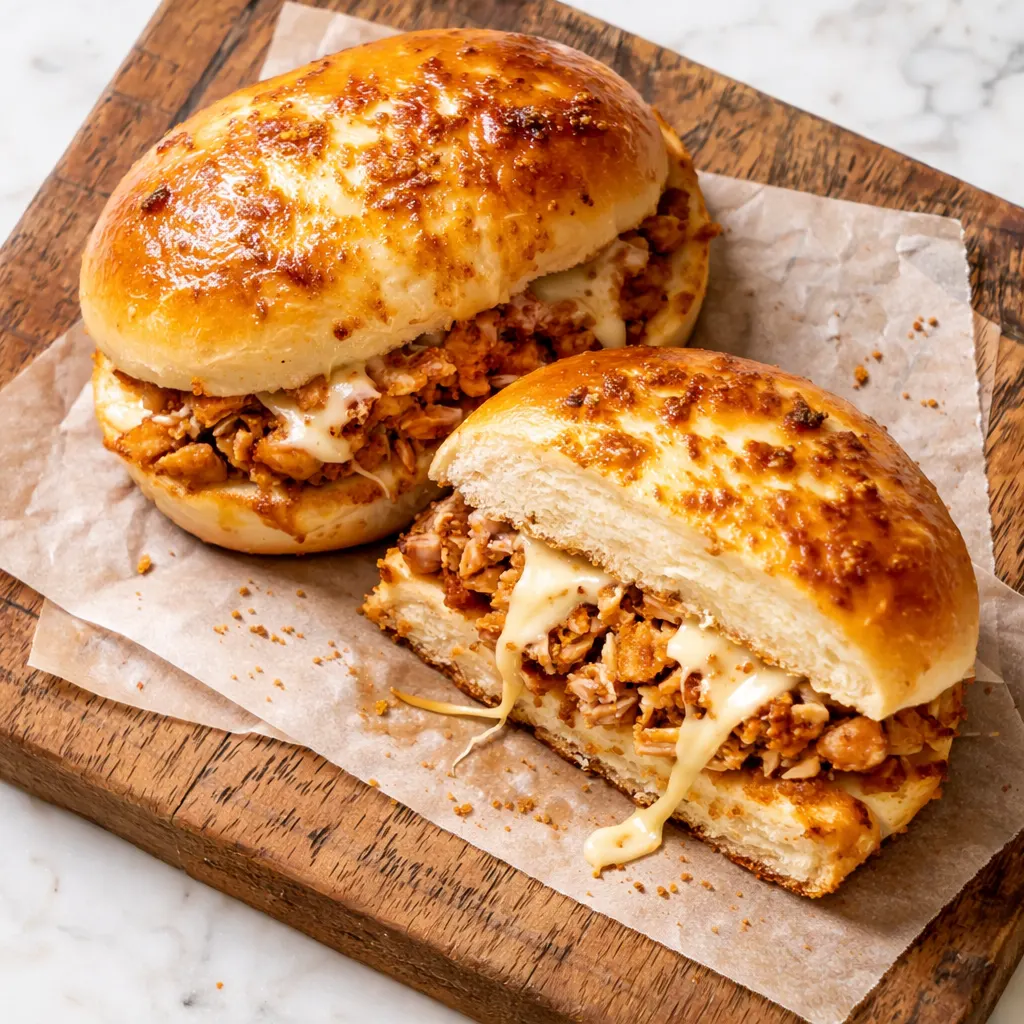
The “dynamite” part is a creamy, spicy sauce that coats every shred of chicken. It’s not just heat — it’s a balance of tangy cream cheese, rich mayo, and the deep fermented kick of sriracha or gochujang. That sauce is what keeps the filling from drying out when it bakes.
The real magic is the texture contrast. You get the soft, slightly sweet dough on the outside, the crunchy toasted sesame seeds on top, and then this luscious, almost decadent filling inside. Plus, melty cheese. Lots of it.
And because we’re using store-bought pizza dough, you skip the entire yeast-rising waiting game. Fifteen minutes of hands-on work, twenty minutes in the oven, and you’re sitting down to something that tastes like you spent all day on it.
What You’ll Need (And Why They Work)
- 2 cups rotisserie chicken, shredded: Store-bought chicken is the ultimate shortcut. It’s already seasoned and perfectly cooked. If I have leftover grilled chicken, I use that too — just make sure it’s finely shredded so it mixes into the sauce evenly.
- 4 oz cream cheese, softened: This is the backbone of the dynamite sauce. It makes everything luxuriously creamy. Don’t skip softening it — cold cream cheese leaves lumpy pockets and nobody wants that.
- 1/4 cup mayo: Adds richness and helps the buns stay moist inside. My kids have no idea there’s mayo in here and they never will.
- 2 tbsp sriracha or gochujang: This is the “dynamite.” Sriracha gives it that classic spicy-sweet kick, but gochujang adds a deeper, fermented umami that I honestly prefer. My 9-year-old does fine with this amount — it’s spicy but not punishing.
- 1 cup shredded mozzarella & 1/2 cup shredded cheddar: Mozzarella for the stretch, cheddar for the sharp flavor. I reserve a handful of each to press into the tops of the buns right before baking — it creates that beautiful, bubbly cheese crust.
- 1 lb store-bought pizza dough, room temperature: The hero of this recipe. Room temp dough is key — cold dough is springy and impossible to stretch without snapping back. If you’re using homemade dough, let it rise fully and roll it out thin.
- 2 tbsp melted butter & sesame seeds: The butter wash gives you that deep golden brown color and the sesame seeds add a nutty crunch. I use salted butter and I’m not sorry.
Tools for the Job
- A 9-inch cast iron skillet or round baking dish (a standard baking sheet works too)
- Mixing bowls
- A bench scraper or sharp knife for dividing the dough
- A pastry brush for that butter wash
Assembling the Dynamite Buns
Alright, this goes fast. Read through once so you know where you’re headed.
- Preheat: Preheat your oven to 400°F. Grease your skillet or baking dish with a little butter or nonstick spray.
- Make the dynamite sauce: In a large bowl, mix together the softened cream cheese, mayo, sriracha (or gochujang), and garlic powder until completely smooth. It should look like a thick, creamy pink sauce — if it’s stiff, your cream cheese was too cold.
(📸 Photo tip: The sauce should be smooth enough to coat the back of a spoon — no lumps!) - Mix the filling: Fold in the shredded chicken, green onions, 3/4 cup of the mozzarella, and 1/4 cup of the cheddar. Save the rest of the cheese for the tops. Taste it — if you want more heat, add another squirt of sriracha.
- Stretch the dough: On a lightly floured surface, divide the pizza dough into 8 equal pieces (a bench scraper makes this neat). Stretch each piece into a 4-inch round. If the dough keeps shrinking, let it rest for 5 minutes — that relaxes the gluten and makes it cooperative.
- Fill and seal: Place a heaping 1/4 cup of the filling in the center of each round. Top with a pinch of the reserved mozzarella and cheddar. Gather the edges of the dough up and pinch tightly to seal — like you’re making a little purse. This is the most important step. A loose seal means a leaky bun.
(📸 Photo tip: The sealed bun should look like a smooth ball. No cracks, no filling peeking through.) - Arrange and top: Place the buns seam-side down in your prepared skillet, spacing them evenly — they should be touching slightly. Brush the tops generously with the melted butter. Sprinkle with sesame seeds and the remaining shredded cheese.
- Bake: Bake for 18-22 minutes, until the tops are deep golden brown and the cheese is bubbly and browned in spots. The buns will puff up and bake into each other — that’s exactly what you want for the pull-apart effect.
- Rest and serve: Let them cool in the pan for 5 minutes. This lets the filling set so it doesn’t slide out when you pull them apart. Then dig in while they’re still hot and stretchy.
Making These Ahead of Time
This is my favorite thing to prep on a Sunday. I make a double batch, put half in the fridge, and we’re eating like kings on Tuesday.
- Fridge: Assemble the buns completely and place them in the skillet. Cover tightly with plastic wrap and refrigerate for up to 24 hours. Bake straight from the fridge, adding 5-7 minutes to the bake time.
- Freezer: Assemble the buns and place them on a parchment-lined baking sheet (not touching). Freeze until solid, then transfer to a freezer bag. To bake, place frozen buns in a greased skillet and bake at 400°F for 25-30 minutes.
- Reheat: The microwave works in a pinch, but the air fryer at 350°F for 4 minutes brings back the crispy exterior and keeps the inside gooey.
My Best Advice for Perfect Buns
- Don’t overfill them. I know it’s tempting, but a heaping 1/4 cup is the sweet spot. Too much filling and they’ll burst open in the oven, and you’ll lose all that beautiful cheese to the pan.
- Seal them like you mean it. Pinch the edges together firmly, then roll the bun slightly to smooth out the seam. I’m serious — a tight seal is the difference between a perfect bun and a sad, leaky mess.
- Use room temp dough. If your dough is straight from the fridge, it will fight you. Let it sit on the counter for 30 minutes. The dough relaxes, stretches easily, and won’t shrink back when you try to wrap it around the filling.
- Trust the visual cues. Every oven runs differently. When the buns are done, they should be a deep golden brown, the cheese on top should be bubbling, and the edges of the buns should be pulling away from the sides of the pan slightly. Don’t just set a timer — look at them.
Ways to Switch It Up
- Mild & Kid-Friendly: Skip the sriracha entirely and add a teaspoon of onion powder and an extra tablespoon of cream cheese. My kids call these “cheese bombs” and they demolish them.
- Spicy Adult Version: Use gochujang instead of sriracha, add a teaspoon of chili crisp to the filling, and use pepper jack cheese instead of cheddar. The fermented heat is next-level.
- Vegetarian: Substitute the chicken with two cans of jackfruit, drained, shredded, and sautéed with a little soy sauce for 5 minutes. The texture is shockingly similar to pulled chicken.
- Gluten-Free: Use a high-quality gluten-free pizza dough mix (like Caputo Fioreglut or King Arthur Measure for Measure). The assembly is exactly the same.
Your Dynamite Chicken Bun Questions, Answered
Q: Why did my buns burst open in the oven?
A: Ugh, I’ve been there. Two reasons: 1) You overfilled them — stick to a heaping 1/4 cup. 2) The seam wasn’t sealed tightly enough. Pinch, pinch, pinch! If it’s really stubborn, dab a little water on the edge of the dough before sealing — it acts like glue.
Q: Can I make these with homemade dough?
A: Absolutely. Any soft, enriched dough works beautifully here. I’ve used my standard dinner roll recipe and it’s incredible. Just note that homemade dough will need about 30 minutes of second rise time after shaping, so factor that into your total time.
Q: How long do leftovers last? Can I freeze them?
A: Leftovers keep in an airtight container in the fridge for up to 3 days. To freeze, flash-freeze the baked, cooled buns on a tray, then transfer to a bag. Reheat straight from frozen in a 350°F oven for 10 minutes, or in the air fryer for 5 minutes. They come back surprisingly crispy.
Q: What should I serve with these?
A: These are substantial enough to be a meal on their own, but I love serving them with a side of extra dynamite sauce for dipping, a crunchy Asian slaw with sesame dressing, or a simple bowl of steamed edamame sprinkled with sea salt. We do all three when we’re really celebrating.
More Recipes My Family Makes on Repeat
If you loved these Cheesy Dynamite Chicken Buns, here are a few other quick, crowd-pleasing dinners that get the exact same reaction at our table:
- [INTERNAL LINK PLACEHOLDER: Spicy Korean BBQ Chicken Tacos] — Same sweet-heat energy, ready in 20 minutes.
- [INTERNAL LINK PLACEHOLDER: Creamy Garlic Butter Chicken Buns] — The milder, buttery cousin to these dynamite buns.
- [INTERNAL LINK PLACEHOLDER: Gochujang Glazed Meatballs] — Baked, sticky, and perfect for game day.
This is the recipe I turn to when I need a guaranteed win. It’s the one that gets texted to friends mid-bite, pinned for the next party, and requested on birthdays. Make them for a weeknight dinner, a game-day spread, or just a Tuesday that needs a little excitement. If you make them, come back and leave a comment — I truly love hearing how they turn out in your kitchen!
📌 Pin this Cheesy Dynamite Chicken Buns recipe for your next game day gathering or quick weeknight dinner — 35 minutes to gooey, spicy perfection!
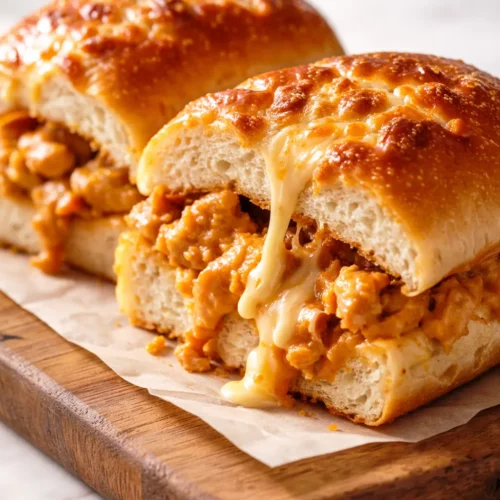
Cheesy Dynamite Chicken Buns
Equipment
- 9-inch cast iron skillet or round baking dish
- Mixing Bowls
- Bench scraper or sharp knife
- Pastry Brush
Ingredients
For the Filling
- 2 cups rotisserie chicken, shredded
- 4 oz cream cheese, softened
- 1/4 cup mayonnaise
- 2 tbsp sriracha or gochujang
- 1 cup shredded mozzarella (divided)
- 1/2 cup shredded cheddar (divided)
- 2 green onions, sliced
For the Dough & Topping
- 1 lb store-bought pizza dough, room temperature
- 2 tbsp butter, melted
- 1 tbsp sesame seeds
Instructions
- Preheat oven to 400°F. Grease a 9-inch cast iron skillet or baking dish with butter or nonstick spray.
- In a large bowl, mix together softened cream cheese, mayonnaise, sriracha (or gochujang), and garlic powder until completely smooth. The sauce should be thick and creamy with no lumps.
- Fold in shredded chicken, green onions, 3/4 cup mozzarella, and 1/4 cup cheddar. Reserve the remaining cheese for topping. Taste and adjust heat if desired.
- On a lightly floured surface, divide pizza dough into 8 equal pieces. Stretch each piece into a 4-inch round. If dough springs back, let it rest 5 minutes.
- Place a heaping 1/4 cup filling in the center of each round. Top with a pinch of reserved mozzarella and cheddar. Gather edges and pinch tightly to seal, forming a smooth ball. Ensure no cracks or filling is exposed.
- Place buns seam-side down in prepared skillet, spacing them evenly so they touch slightly. Brush tops with melted butter, then sprinkle with sesame seeds and remaining shredded cheese.
- Bake for 18-22 minutes until deep golden brown and cheese is bubbly. Buns should pull away slightly from pan edges. Let cool in pan 5 minutes before serving.
- Serve warm, pulling apart to reveal the stretchy cheese. Enjoy!
Notes
Related posts:
 Mini Quiche Recipe: The Store-Bought Crust Version That Tastes Like You Made It From Scratch
 Easy Shrimp Lo Mein That’s Faster Than Delivery (Ready in 30 Minutes)
 The Slow Cooker Cowboy Casserole That Saves Tired Weeknights (No Soggy Tots Allowed)
 Creamy Beef and Shells for Tuesday Nights: The One-Pot Dinner My Kids Actually Ask For
 Quick Lemon Ricotta Pasta for Busy Weeknights: Creamy, Bright, and on the Table in 20 Minutes
 Juicy Oven Baked Chicken Thighs That Stay Golden and Tender — in 40 Minutes