
The first time I made these, I threw away the boxed ones for good. Not because I’m a snob — because the snap of a warm, buttery vanilla wafer fresh from the oven is something no plastic sleeve can ever reproduce. It’s the crackle when you break it in half. The way the edges brown just a shade darker than the center. The smell that settles into your kitchen curtains and stays there for a full day. I’ve made these for every holiday cookie swap, every banana pudding, and every “I just need a cookie” Tuesday for the past decade. My grandmother’s stained recipe card is tucked into my copy of “The Joy of Cooking” and it’s covered in butter smudges. That’s how you can tell a recipe is truly good — the card itself looks like a kitchen accident.
The short version: Buttery, crisp, and completely addictive — made in 25 minutes of active work with 9 pantry ingredients.
I’ve made this recipe over forty times now. My daughter Nora packs them in her bag when she heads back to art school in Savannah. My neighbor Peg asks for a jar every Christmas. And my husband Dan? He eats them over the sink at 10pm, trying to hide the evidence. They’re that good and that easy.
- Makes: About 4 dozen wafers
- Hands-On Time: 25 min | Total Time: 45 min
- Difficulty: Surprisingly simple — easier than sugar cookies
- Cost per serving: ~$0.15 per wafer
- Calories: ~45 per wafer
- Dietary Notes: Can be made gluten-free or vegan (see variations)
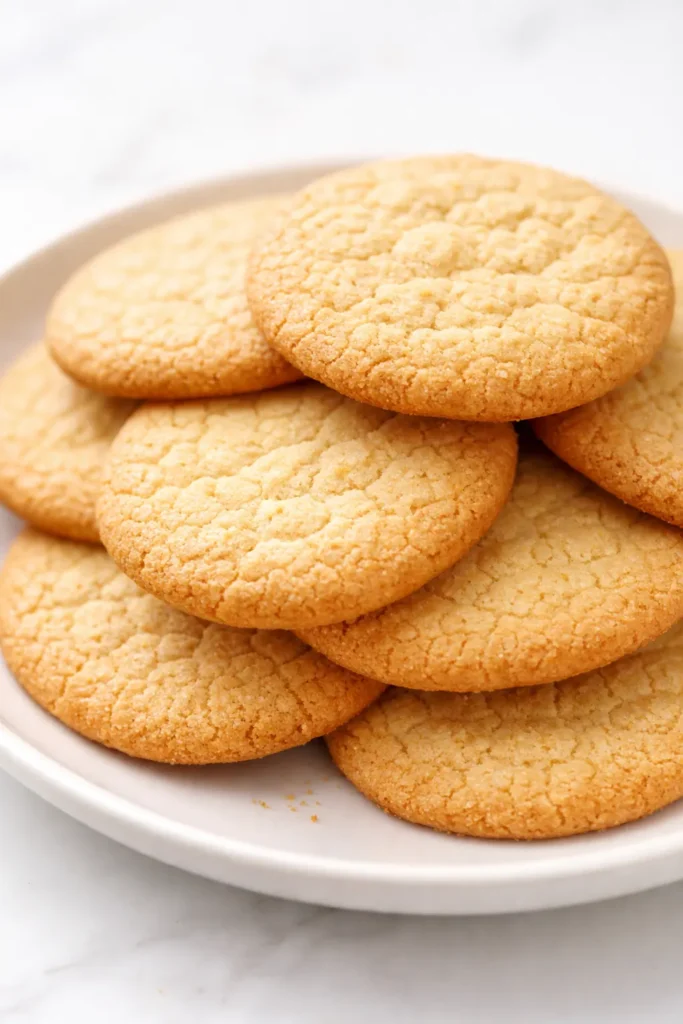
(Photo above: A rustic ceramic bowl filled with golden vanilla wafers on a linen napkin, morning light catching the tiny sugar crystals on their surface, a few broken ones scattered nearby to show the perfect clean snap. The edges are slightly darker than the centers — exactly what you’re looking for.)
The Trick That Keeps Them Crackly for Weeks
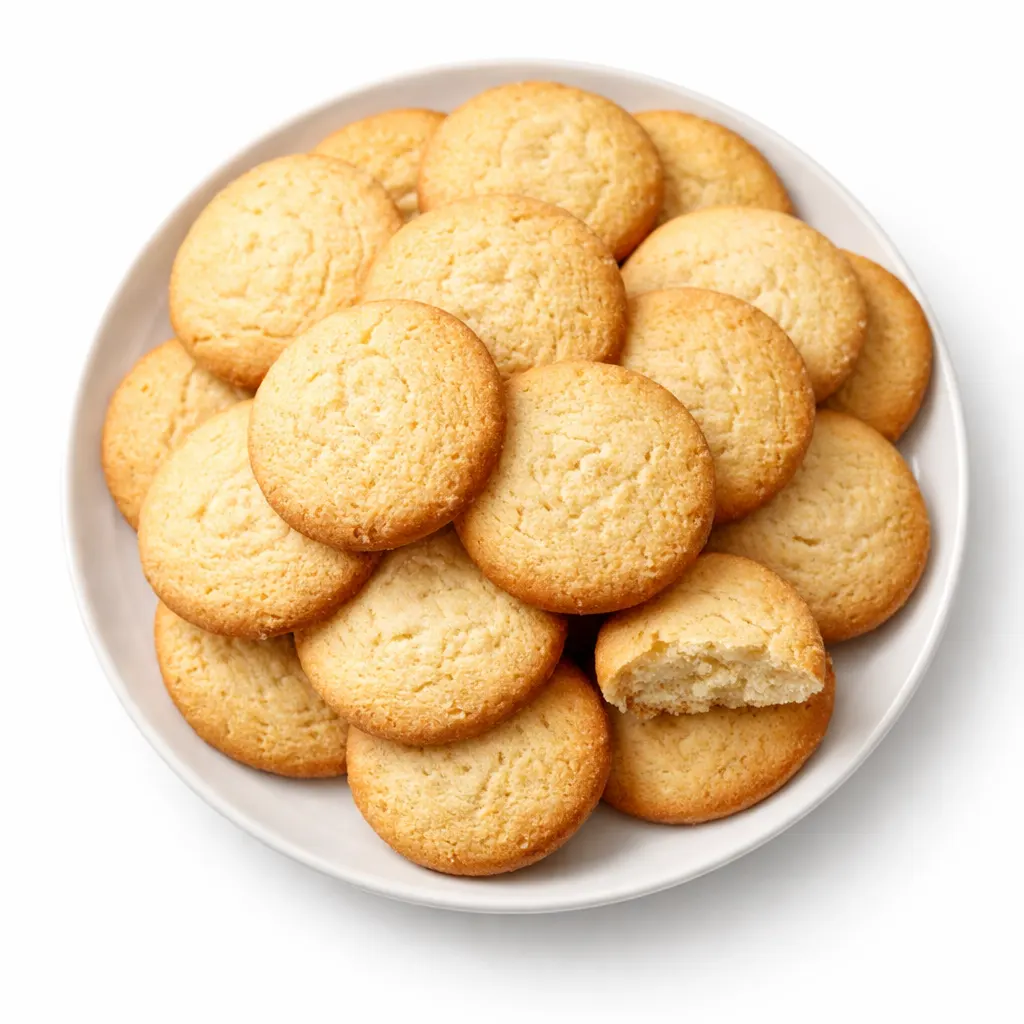
Most homemade wafers turn soft within a day. You know the disappointment — you spend the time, you bake them with love, and by the next morning they’re floppy and sad. The secret my grandmother Marta used is something I reverse-engineered over several failed batches. It’s not a complicated trick. It’s in the sugar.
Using a combination of granulated and powdered sugar creates a structure that stays snappy. The powdered sugar dissolves into the butter more completely, giving you that fine, tight crumb that doesn’t absorb moisture from the air as quickly. The granulated sugar gives you the spread and the slight caramelization at the edges. Together, they’re a team. I tried using all granulated once and the wafers were crunchy in an unpleasant way — like little ice cream cones. Not what you want when you’re trying to channel a tender, buttery cookie.
The second trick? Don’t overwork the dough. Once the flour goes in, you’re barely bringing it together. A light hand keeps them tender-crisp instead of tough. And the third? A slightly higher oven temperature than you’d expect. 350°F sets the edges fast so they spread just enough without collapsing. My grandmother baked in a wood-fired oven that ran hot and fast. When I moved to North Carolina and started using a modern electric oven, my first three batches were disappointingly flat. I had to learn to trust the heat and the timing. This recipe is the result of that happy accident.
What Goes Into My Grandmother’s Recipe (and Why)
- 1 cup unsalted butter, softened: This is the flavor backbone. I use European-style butter when I’m feeling fancy — it has a higher fat content which means even more crispness. But regular supermarket butter works beautifully. Just don’t use margarine. I tried that once during a baking emergency and the wafers spread into translucent, greasy coins. Never again.
- ½ cup granulated sugar + ⅓ cup powdered sugar: The duo I mentioned above. Granulated gives the spread, powdered gives the melt-in-your-mouth texture. My kids can smell the difference when I skip the powdered sugar — they’ll take one bite and say “Mom, these aren’t right.” Kids know.
- 1 large egg, room temperature: Room temp is best, but if you forget (I do every single time), place it in a bowl of warm water for five minutes. It brings it right up to speed.
- 2 tsp vanilla extract: Real vanilla only. My grandmother Marta used a vanilla bean paste she got from a neighbor. I’ve used both and the paste gives those beautiful little flecks, but the extract is just as delicious in a pinch. Avoid imitation vanilla here — it leaves a chemical aftertaste that no amount of butter can cover up.
- 1 ¾ cups all-purpose flour: Standard AP flour is perfect. No bread flour, no cake flour. Keep it simple and the texture will be right.
- 1 tsp baking powder + ¼ tsp baking soda: The leavening team. They work together to give you a slight lift without puffing up like a pillow. If you skip the baking soda, the wafers won’t spread as nicely.
- ½ tsp salt: Table salt is fine, but kosher salt gives you that occasional savory hit that makes the sweetness sing. Use Diamond Crystal or Morton’s.
The Tools That Make It Easy
- Electric stand mixer or hand mixer: You can do this by hand, but your arm will get a workout. I’ve done it both ways — the mixer gives you that light, fluffy texture more reliably.
- Baking sheets (2): I use my grandmother’s old warped ones. They work fine. A light-colored sheet is best — dark sheets can brown the bottoms too fast.
- Parchment paper or silicone mat: Non-negotiable. These wafers are delicate and you want them to slide right off without sticking.
- Small cookie scoop (1-inch) or piping bag: I use a piping bag for the classic shape, but a scoop works wonders for a more rustic look.
- Cooling rack: Needed for that crisp texture to set properly. Don’t skip this or the bottoms will steam and soften.
How I Make Them — From My Kitchen to Yours
Set a timer for 10 minutes. That’s all the active work this dough needs. The rest of the time is mostly chill time and bake time.
Preheat your oven to 350°F: Line your baking sheets with parchment paper or silicone mats. Do this before you start mixing — you want to be ready to bake as soon as the dough is done.
- Cream the butter and sugars: Beat the softened butter with both sugars on medium-high speed until it’s pale, light, and fluffy — about 3-4 minutes. Scrape the bowl once halfway through. It should look like a cloud. (📸 Photo tip: the mixture should be noticeably lighter in color than when you started, and it should hold a soft peak when you stop the mixer.)
- Add the egg and vanilla: Beat until just combined. Don’t overmix! If it looks a little separated, that’s okay — the flour will bring it back together. A smooth, glossy batter at this stage is what you’re after.
- Add the dry ingredients: In a separate bowl, whisk the flour, baking powder, baking soda, and salt. Add this to the wet ingredients in two additions, mixing on low speed until just combined. The dough will be soft and slightly sticky — that’s the texture you want.
- Shape the wafers: Transfer the dough to a piping bag (or a zip-top bag with the corner snipped off). Pipe small rounds — about ½ inch wide and ¼ inch high — onto the prepared sheets, leaving 2 inches between them. They spread! If you don’t have a piping bag, use a small cookie scoop and drop rounded teaspoons of dough onto the sheets. (📸 Photo tip: Your piping should look like uniform little buttons. If they have peaks, dip your finger in water and gently press them flat. The water keeps the dough from sticking to your finger.)
- Bake: Bake for 8-12 minutes, rotating the sheets halfway through. They’ll be golden brown at the edges and pale in the center when they’re done. The tops will be set and lightly crackled. Every oven is different — my old gas oven takes 10 minutes, my friend’s convection oven takes 8. Start checking at the 8-minute mark.
- Cool: Let them cool on the baking sheet for 5 minutes — they’ll continue to crisp up from the heat of the pan. Then transfer them to a wire rack to cool completely. This is the hardest step. I always burn my tongue on the first one out of sheer impatience. It’s worth it, though.
How I Keep a Jar of These in My Pantry Always
I make a double batch on Sunday and we watch them disappear by Wednesday. My daughter Nora packs them in her bag for a study snack. My husband takes them to work. I hide a small jar behind the flour canister for myself — and I don’t feel bad about it.
- Fridge: Store in an airtight container at room temperature for up to 3 weeks. No fridge needed — it actually softens them!
- Freezer: Yes! They freeze beautifully for up to 3 months. Lay them flat in a single layer in a freezer bag. To thaw, just bring them to room temp on the counter. They’ll be as crisp as the day you baked them.
- Reheat: Not necessary, BUT pop them in a 300°F oven for 3 minutes if you want that just-baked warmth. It also revives them if they’ve softened in humid weather.
Mistakes I Made (So You Don’t Have To)
- Using cold butter: I once used butter straight from the fridge. The dough was a lumpy mess and the wafers spread unevenly. Room temperature butter is critical for the creaming step. Leave it on the counter for an hour before you start.
- Not watching the bake time closely: At the 8-minute mark, start checking. They go from “perfectly golden” to “oops, too dark” really fast. Set a timer and don’t wander off to fold laundry. Ask me how I know.
- Crowding the pan: They spread more than you think. I know the baking sheet looks empty with 2 inches between them, but trust me — they’ll turn into one giant wafer cookie if you crowd them. Even if you’re in a hurry, give them the space they need.
- If they get soft (it happens!): If you live in a humid climate (hello, North Carolina summers), they might soften after a few days. Don’t toss them! Just pop them in a 300°F oven for 3-4 minutes and they crisp right back up. Even if you mess this part up a little, they’ll still taste good — I’ve done it.
Mix It Up — Wafers for Every Mood
- Chocolate-Dipped Vanilla Wafers: Melt 1 cup of semi-sweet chocolate chips with 1 tsp of coconut oil. Dip half of each cooled wafer in the chocolate and let it set on parchment. This is how I make them feel fancy for holiday parties. My sister-in-law requests these every year without fail.
- Lemon Vanilla Wafers: Add the zest of one lemon to the butter-sugar mixture during creaming. Bright, fresh, and perfect with afternoon tea. The lemon pairs beautifully with the buttery base.
- Gluten-Free Version: I’ve made these with a 1:1 gluten-free baking flour (like Bob’s Red Mill) twice, and they were shockingly good. The texture is slightly more tender, but the flavor holds up perfectly.
- Vegan Version: My neighbor’s daughter is vegan, so I tested this. Swap the butter for vegan butter (Miyoko’s is my favorite) and the egg for a flax egg (1 tbsp ground flax + 3 tbsp water). They spread a little less, but they’re still deliciously crisp.
- The Banana Pudding Version: Make them extra small — about the size of a nickel. They layer perfectly in a trifle dish and hold their texture even after sitting with the pudding and bananas overnight. This is the version that made my grandmother famous in our family.
The Questions I Get Most About These Wafers
Q: Why did my wafers spread into one giant cookie?
A: Ugh, I’ve been there. This usually means one of two things: either your butter was too warm (it should be softened, not melted), or you didn’t give the dough enough time to set. If your kitchen is warm, pop the piped rounds in the fridge for 10 minutes before baking. It makes a world of difference.
Q: Can I use margarine or shortening instead of butter?
A: I don’t recommend it. Butter is what gives these wafers their signature flavor and crisp texture. Margarine has a higher water content, which leads to spreading and a softer, greasier result. If you need dairy-free, use a high-quality vegan butter. I’ve tested it and it works!
Q: How long do these really stay fresh?
A: In an airtight container at room temperature, they stay perfectly crisp for 2-3 weeks. In humid weather, you may need to re-crisp them in the oven (300°F for 3-4 minutes). They never last that long in my house, though — Dan finishes them in about 4 days.
Q: What do you serve with vanilla wafers?
A: Honestly, a cup of black coffee is my absolute favorite pairing. But they’re also incredible crumbled over vanilla ice cream, layered in a banana pudding, or just eaten by the handful while standing over the kitchen counter at 10pm. My kids love them with a glass of cold milk after school.
More Recipes My Family Makes on Repeat
If you liked this one, here are a few others that get the same reaction at our table:
- The Chocolate Chip Cookies I’ve Made 100 Times — Thick, chewy, and reliably perfect every single time.
- My Grandmother’s Butter Shortbread — Melt-in-your-mouth tender with a simple dusting of powdered sugar.
- The Best Homemade Banana Pudding — Because once you have the wafers, you need the pudding to go with them.
Making these vanilla wafers feels like a small act of love, whether you’re baking them for a holiday party or just for a quiet afternoon moment. I hope they bring a little warmth and a lot of crunch to your kitchen.
I’d love to know — drop a comment below if you try them, or tag me on Instagram with your batch. It honestly makes my day to see them being made in someone else’s kitchen.
📌 Save this homemade vanilla wafer recipe for your next baking day — they’re buttery, crisp, and stay snappy for weeks.

My Grandmother’s Vanilla Wafers with the Snap That Stays Crisp (Even in Banana Pudding)
Equipment
- Electric stand mixer or hand mixer
- Baking sheets (2)
- Parchment paper or silicone mat
- Small cookie scoop (1-inch) or piping bag
- Cooling Rack
Ingredients
- 1 cup unsalted butter, softened
- 1/2 cup granulated sugar
- 1/3 cup powdered sugar
- 1 large egg, room temperature
- 2 teaspoons vanilla extract
- 1 3/4 cups all-purpose flour
- 1 teaspoon baking powder
- 1/4 teaspoon baking soda
- 1/2 teaspoon salt
Instructions
- Preheat oven to 350°F. Line baking sheets with parchment paper or silicone mats.
- Cream the butter and sugars: Beat softened butter with granulated and powdered sugar on medium-high until pale, light, and fluffy – about 3-4 minutes. Scrape the bowl halfway through.
- Add the egg and vanilla: Beat until just combined. Don’t overmix. The mixture may look slightly separated; the flour will bring it together.
- Whisk together flour, baking powder, baking soda, and salt in a separate bowl. Add to wet ingredients in two additions, mixing on low until just combined. Dough will be soft and slightly sticky.
- Transfer dough to a piping bag (or zip-top bag with corner snipped) and pipe 1/2-inch wide rounds about 1/4 inch high onto prepared sheets, spacing 2 inches apart. Alternatively, drop rounded teaspoons of dough using a small cookie scoop. If peaks form, gently press flat with a moistened finger.
- Bake for 8-12 minutes, rotating sheets halfway through, until edges are golden brown and tops are set and lightly crackled. Start checking at 8 minutes.
- Cool on baking sheet for 5 minutes, then transfer to a wire rack to cool completely. They will continue to crisp as they cool.
Notes
Related posts:
 The Slow Cooker Cowboy Casserole That Saves Tired Weeknights (No Soggy Tots Allowed)
 Lemon Garlic Butter Baked Salmon in Foil That’s Ready in 25 Minutes — No Fuss, No Mess
 Moist Chocolate Zucchini Bread That Doesn’t Turn Out Rubbery — Finally
 Creamy Homemade Strawberry Dole Whip (That Tastes Just Like the Real Thing)
 Blueberry Peach Bread That Doesn’t Sink or Turn Mushy — Finally
 Quinoa Chicken Sausage Bowls That Are Ready in 30 Minutes (And Actually Keep Well)