
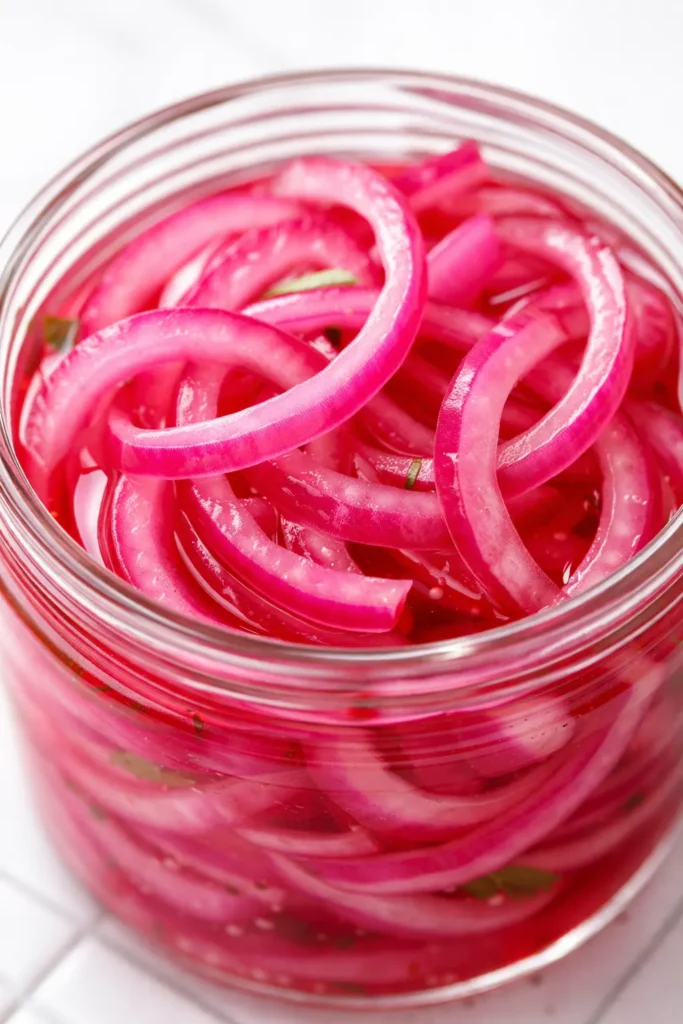
The first time I made these, I didn’t think such a small jar of vinegar and salt could change my entire weeknight dinner routine. But there I was, three days later, putting them on tacos, grain bowls, eggs, and even a sad little turkey sandwich that suddenly became my favorite lunch. They’re that kind of recipe.
Bright, tangy, and surprisingly crunchy — these come together in 15 minutes and make everything you eat taste better.
I’ve been making Marta’s quick pickles for years, but these red onions are the ones my daughter Nora asks me to pack her when she goes back to Savannah. She even has a jar in her dorm fridge right now.
- Serves: Makes 1 pint
- Hands-On Time: 15 min | Total Time: 1 hr 15 min (includes cooling)
- Difficulty: Easy — if you can slice an onion, you’ve got this
- Cost per serving: ~$1.50
- Calories: ~15 per serving
- Dietary Notes: Naturally vegan, gluten-free, dairy-free, whole30
(Photo above: A wide-mouth mason jar filled with vibrant magenta pickled red onions nestled against a bright white ceramic bowl of black beans and rice, silver tongs resting on the rim, soft afternoon light streaming from a farmhouse window.)
The Trick to Keeping Them Crunchy (Not Soggy)
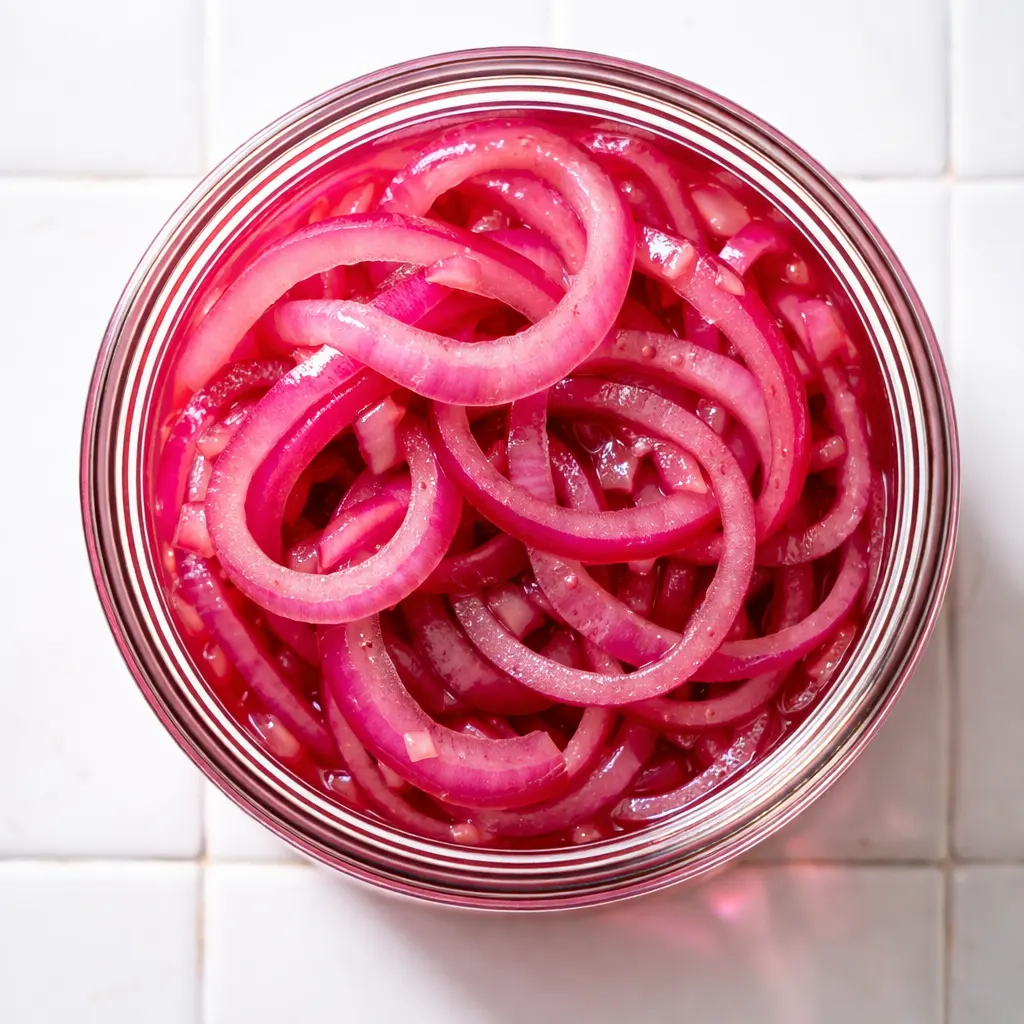
Most pickled onions turn limp within a day. The problem isn’t the brine — it’s what you do to the onions before they hit the jar.
Running the sliced onions under hot water for about 30 seconds removes some of the raw sulfur compounds right away. This means you get the tangy, sharp flavor without that aggressive oniony bite that lingers for hours.
And the crunch? It comes from using the right vinegar ratio and not pouring boiling brine directly over the onions. Letting it cool for a minute makes all the difference.
What Goes In — Plus My Honest Notes
- 1 large red onion (about 8 oz): The star. Look for one that feels heavy for its size — it’s fresher and will stay crunchier. I used a standard red onion here, not a sweet Vidalia. The color is just more vibrant.
- 3/4 cup apple cider vinegar: This gives the brine a fruity, mellow tang. White vinegar works too, but it’s sharper. My kids actually prefer the apple cider version — they say the white vinegar version smells like science class.
- 1/2 cup water: Helps balance the acidity so the onions aren’t totally overwhelmed.
- 1 tbsp granulated sugar: Just enough to take the edge off. You’re not going for sweet, just balanced. My grandma Marta used a pinch of sugar in her brine and said it made the onions “behave.” I never really knew what that meant, but I do it anyway.
- 1 tsp kosher salt: Essential for flavor and texture.
- Optional aromatics: 1 smashed garlic clove, 1/2 tsp black peppercorns, a pinch of red pepper flakes. I add garlic and peppercorns every time. The red pepper flakes are for when I want a little heat — my husband loves them that way.
Tools for This Recipe
- Cutting board and sharp chef’s knife (a mandoline works great if you want super thin slices, but I prefer the texture of hand-sliced)
- 1-pint mason jar or similar heatproof glass container with a tight-fitting lid
- Small saucepan for the brine
- Fine mesh strainer (for rinsing the onions)
That’s really it. Nothing fancy.
Here’s How I Do It
Honestly, the hardest part is waiting the 45 minutes for them to cool down before you dig in.
Prep the onions: Slice, rinse, and drain.
- Slice: Peel the onion and cut it into thin rings or half-moons. I like mine about 1/8-inch thick — thin enough to soften quickly in the brine, thick enough to still have a bite. (📸 Photo tip: Your slices should look uniform in thickness so they pickle at the same rate.)
- Rinse: Place the sliced onions in a fine mesh strainer and run hot tap water over them for about 30 seconds. Shake off the excess water and set aside. This step is the one everyone skips, and it’s the reason homemade pickled onions sometimes taste too harsh.
- Make the brine: In a small saucepan, combine the apple cider vinegar, water, sugar, and salt. Add your aromatics (garlic, peppercorns, pepper flakes) if you’re using them. Bring it to a gentle simmer over medium heat, stirring to dissolve the sugar and salt. You don’t need a rolling boil — just a few bubbles around the edges. (📸 Photo tip: You’ll see the liquid go from cloudy to clear as the salt and sugar dissolve.)
- Pack the jar: Stuff the rinsed onions into your pint jar. They’ll look like a lot of onion, but they will soften and settle once the brine hits them. Tuck the garlic clove and any spices in between the layers.
- Pour and cool: Remove the brine from the heat and let it sit for just 60 seconds — this is key for maintaining crunch. Then pour the warm brine over the onions in the jar, making sure they are completely submerged. Let the jar cool completely on the counter (about 45 minutes to 1 hour).
- Enjoy or store: Once cool, pop the lid on and refrigerate. They’re technically ready to eat right away, but they’re best after an overnight rest in the fridge when the flavors have had time to get friendly.
Make-Ahead Notes (Because We’re All Busy)
I make a double batch every Sunday. We use them all week, and by Friday, they’re still just as good as day one.
- Fridge: Store in an airtight jar for up to 3 weeks. The brine keeps them preserved but the texture is best within the first two weeks.
- Freezer: Not recommended. The vinegar brine doesn’t freeze well (the texture gets weird and watery). Trust me, I tried it once so you don’t have to.
- Reheat: You don’t! These are a cold or room temperature topping. If you need them on a hot dish like tacos or grain bowls, just pile them on directly — the heat of the food will warm them perfectly.
Things I Wish I’d Known the First Time
- Slice against the grain for maximum crunch: If you cut the onion from root to stem (pole to pole), you get longer, more fibrous strands. Slicing across the equator gives you those classic rings that soften beautifully. I do a mix of both for texture.
- Don’t skip the hot water rinse: I know it feels like an extra step, but it genuinely changes the final flavor. A quick rinse tames the raw sulfur without cooking the onion, so you get that bright, sharp taste without the lingering after-bite.
- Taste your brine before you pour it: Should be pleasantly sour with a hint of sweetness and salt. If it tastes harsh, add a tiny pinch more sugar. If it’s flat, add a splash more vinegar. Your palate knows best.
- Use a wide-mouth jar: Trust me on this one. Getting a fork or tongs into a narrow jar of slippery pickled onions is frustrating. A wide-mouth jar makes it easy to grab exactly what you need.
Swaps That Actually Work
- Different Vinegar (White, Red Wine, Rice): White vinegar is the sharpest. Red wine vinegar gives a beautiful color and slightly fruitier taste. Rice vinegar is the mildest. My sister uses rice vinegar and says it feels more “Asian market” — she’s right, and it works.
- Spicy Version: Add 1 whole dried chile de árbol or 1/2 tsp red pepper flakes to the jar. This is the version my husband requests for his taco Tuesdays.
- Herby Version: Tuck a sprig of fresh dill or thyme into the jar before pouring the brine. I do the dill version when I’m using these on sandwiches — it smells incredible.
- Sweet Version (Bread & Butter Style): Double the sugar to 2 tbsp. My kids actually love this version with sharp cheddar on a cracker.
- Quick vs. Fermented: This is a quick pickle (vinegar-based), not a fermented pickle. If you want fermented pickled red onions, you’d need a salt brine and several days at room temp. That’s a different project for another day!
Questions I Get About This Recipe All the Time
Q: Why did my pickled red onions turn out bitter?
A: That usually happens if you skip the hot water rinse or if you used a particularly strong, old onion. The rinse tames the sulfur compounds. Also, make sure you’re not using table salt with iodine — it can sometimes leave a metallic taste. Stick with kosher salt.
Q: Can I use white vinegar instead of apple cider vinegar?
A: Yes, absolutely. Just know that white vinegar is sharper and a little more one-note. I’d add an extra 1/2 tsp of sugar to round it out. But if you love that classic deli-style snap, go for it.
Q: How long do these last? Can I freeze them?
A: They last up to 3 weeks in the fridge, but they’re truly best in the first two weeks. I don’t recommend freezing them — the texture gets watery and sad when it thaws. They’re so quick to make that you can just whip up a fresh batch when you run out.
Q: What’s your favorite way to use these?
A: Oh, that’s like asking me to pick a favorite kid! Okay, top 3: 1) On a simple black bean taco with crumbled cotija and avocado. 2) Piled onto a smashed avocado toast with a sprinkle of Everything Bagel seasoning. 3) Surprisingly, on a grilled cheese with sharp cheddar and a handful of arugula. My kids love that last one for weekend lunches.
More Recipes My Family Makes on Repeat
If you liked this one, here are a few others that get the same treatment in my kitchen:
- Quick Refrigerator Dill Pickles — Crunchy, garlicky, and ready in 24 hours. My go-to for summer snacking.
- Smoky Black Bean Tacos — These are the ones I mentioned above. Weeknight heroes.
- The Only Sandwich Bread You’ll Ever Need — Because pickled onions belong on a great loaf.
This is the kind of recipe that costs a dollar, takes fifteen minutes, and makes a whole week of meals feel like you actually know what you’re doing in the kitchen. A little jar of crunch and tang waiting in the fridge — it’s my favorite kind of insurance.
If you make a batch, drop a comment below or tag me on Pinterest — I love seeing that bright magenta jar in someone else’s fridge.
📌 Save this homemade pickled red onions recipe for your next taco night or meal prep Sunday — they take 15 minutes and stay crunchy for weeks.
Homemade Pickled Red Onions That Stay Crunchy for Weeks — 15 Minutes of Work
Equipment
- Cutting Board
- Chef’s knife (or mandoline)
- Fine-mesh strainer
- Small saucepan
- 1-pint wide-mouth mason jar
Ingredients
- 1 large (about 8 oz) red onion
- 3/4 cup apple cider vinegar (or white, red wine, rice)
- 1/2 cup water
- 1 tablespoon granulated sugar
- 1 teaspoon kosher salt
Optional aromatics
- 1 clove garlic, smashed
- 1/2 teaspoon black peppercorns
- 1 pinch red pepper flakes (optional for heat)
Instructions
- Slice the onion: Peel and cut into thin rings or half-moons about 1/8-inch thick. Uniform slices pickle evenly.
- Rinse the onions: Place in a fine mesh strainer and run hot tap water over them for 30 seconds. Shake off excess water and set aside.
- Make the brine: In a small saucepan, combine apple cider vinegar, water, sugar, and salt. Add any optional aromatics (garlic, peppercorns, pepper flakes) if using. Bring to a gentle simmer over medium heat, stirring until sugar and salt dissolve. Do not boil vigorously.
- Pack the jar: Stuff the rinsed onions into a 1-pint wide-mouth jar. Tuck garlic and spices between layers.
- Pour and cool: Remove brine from heat and let sit for 60 seconds (this helps maintain crunch). Pour warm brine over onions, ensuring they are fully submerged. Let jar cool completely on the counter, about 45 minutes to 1 hour.
- Enjoy or store: Once cool, seal with lid and refrigerate. They’re ready to eat immediately but are best after an overnight rest. Store up to 3 weeks, but texture peaks within the first two.
Notes
Related posts:
 High-Protein Overnight Oats That Actually Taste Like Breakfast (Not a Chalky Disaster)
 The Slow Cooker Cowboy Casserole That Saves Tired Weeknights (No Soggy Tots Allowed)
 Lemon Garlic Butter Baked Salmon in Foil That’s Ready in 25 Minutes — No Fuss, No Mess
 Moist Chocolate Zucchini Bread That Doesn’t Turn Out Rubbery — Finally
 Creamy Homemade Strawberry Dole Whip (That Tastes Just Like the Real Thing)
 Blueberry Peach Bread That Doesn’t Sink or Turn Mushy — Finally