
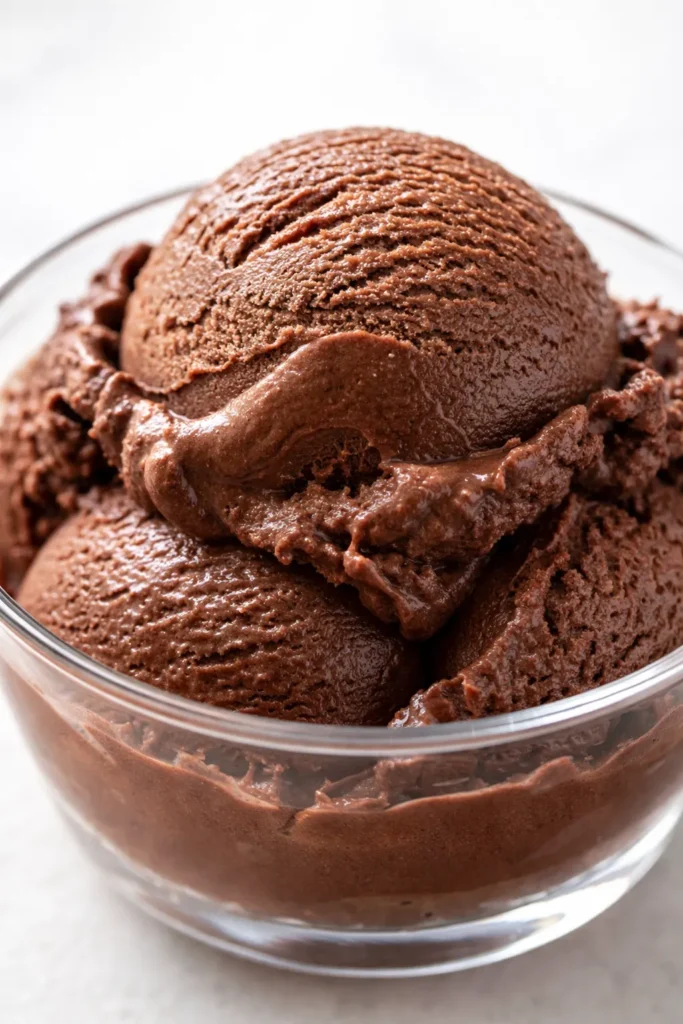
The summer I got my first real ice cream maker, Nora was seven. She asked for ice cream for breakfast every single day for a week, and I kept saying no — until I made this version. The one that made her pause mid-bite and say, “Mom, this is the one.” That’s the only recommendation I need. This isn’t just any homemade chocolate ice cream. It’s the kind that scoops smooth, melts rich on your tongue, and doesn’t turn into a solid block of ice by day three in the freezer.
The short version: Real cream, real eggs, real chocolate — and a technique that keeps it spoonable straight out of the freezer, no weird ingredients required.
I’ve made this every single summer for ten years now. It’s the guest that shows up for every backyard dinner and the reason my neighbors start texting me in May asking when “the good ice cream” is happening.
- Serves: 8 as dessert
- Hands-On Time: 25 min | Total Time: 8 hrs (includes chilling and freezing)
- Difficulty: Medium — but it’s just one pot and a whisk, I promise
- Cost per serving: ~$1.50
- Calories: ~380 per serving
- Dietary Notes: Naturally gluten-free, no artificial anything
(Photo above: A close-up overhead shot of a scoop of dark chocolate ice cream in a white ceramic bowl, a drip of melted chocolate on the edge, warm afternoon light from the left, a crumpled linen napkin beside it. The texture looks dense and creamy, not icy.)
Why I Swear by the Custard Method (Even Though It Takes a Few Extra Minutes)
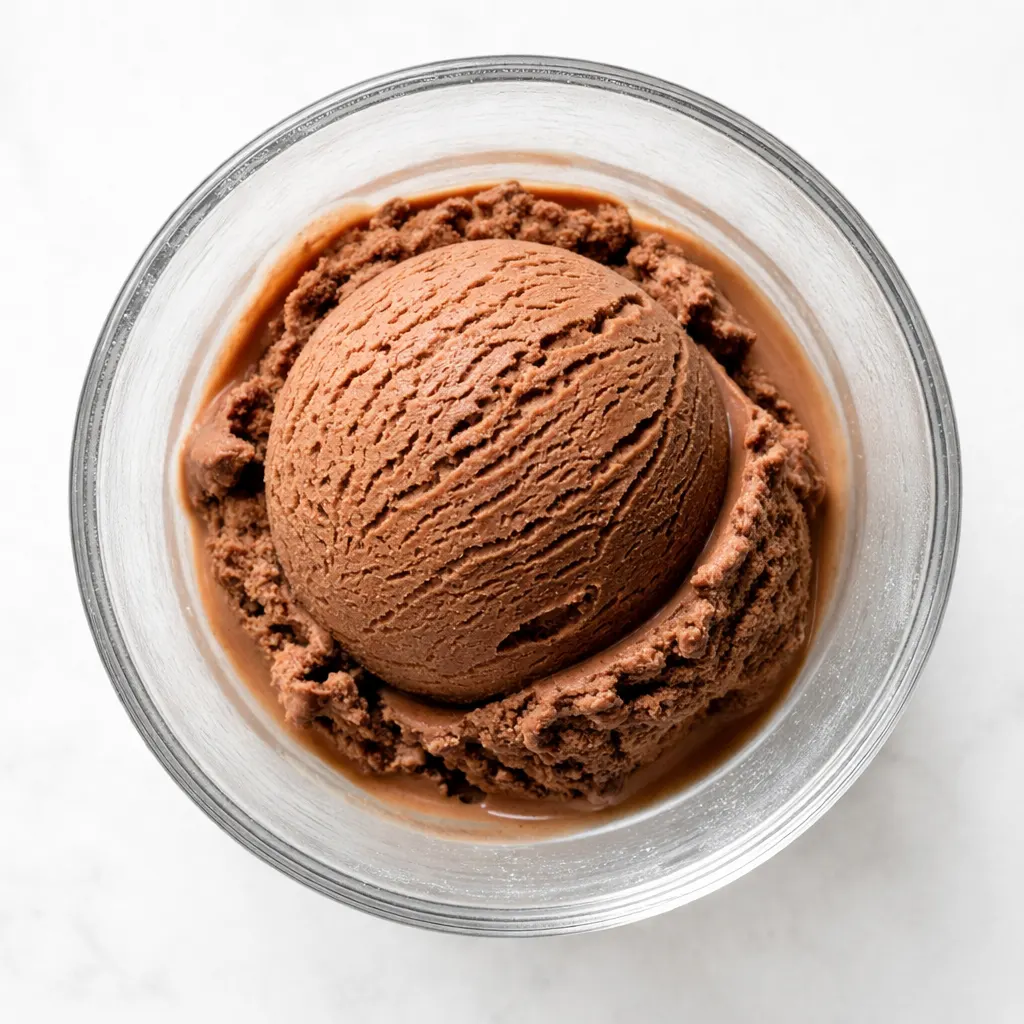
There are two ways to make homemade ice cream: the quick way (cream, milk, sugar, dump it in the machine) and the right way. The quick way makes ice that melts into watery disappointment. The custard method — with egg yolks — is what gives you that smooth, dense, almost chewy texture you remember from the best scoop shop in town.
The yolks do the work. They’re a natural emulsifier, which is a fancy way of saying they keep the water and fat from separating. When the water tries to freeze into crystals, the fat and the yolks hold everything together, so you get small, silky crystals instead of big shards. No weird gums, no cornstarch, no shortcuts. Just the way Marta used to make it in the old ice cream maker she brought over from Germany.
I’ve tested the no-cook version side by side with this one. My family didn’t even finish the no-cook batch. They finished this one before I got the lid on the container.
What You Need — And Why Each Ingredient Pulls Its Weight
- 2 cups heavy cream: Don’t skimp here. Light cream or half-and-half won’t give you the same texture. Nora once tried to make this with 2% milk when I wasn’t home, and I came back to a container of chocolate-flavored ice. Don’t be Nora on this one.
- 1 cup whole milk: Helps keep it from being too dense. You need some milk solids for body, but not so much that it’s heavy.
- 2/3 cup granulated sugar: Sweet enough to taste, not so sweet that it masks the chocolate. My dad, who has a massive sweet tooth, adds an extra tablespoon. I think he’s wrong, but I’m sharing it anyway for the sugar-lovers out there.
- 1/4 tsp salt: Everything needs salt. It sharpens the chocolate and keeps the sweetness from being flat.
- 1/2 cup unsweetened cocoa powder (Dutch-process preferred): Dutch-process gives you a darker, rounder, almost fudge-like flavor. Natural cocoa works, but it’ll be lighter and a little more tangy. I keep both in my pantry, but I reach for the Dutch-process every time for this recipe.
- 4 oz dark chocolate (70%), finely chopped: This is the magic. The cocoa powder gives the base flavor; the melted chocolate gives it body and that melt-in-your-mouth richness. I’ve used chocolate chips in a pinch — they work, but the texture is slightly grainier because of the stabilizers. A real chocolate bar is worth it here.
- 5 large egg yolks: The backbone of the custard. Room temperature is ideal so they blend smoothly, but cold is okay if you temper them slowly.
- 2 tsp vanilla extract: Rounds out the chocolate. Don’t use imitation. It makes it taste like a cheap ice cream cake.
The Tools That Make This Easier
- A medium saucepan (heavy-bottomed is best — it distributes the heat evenly so you don’t accidentally scramble the eggs)
- A whisk (the kind with wires, not a spoon — you need the thin wires to get the custard smooth)
- A fine-mesh strainer (catches any teeny bits of cooked egg if you do get impatient)
- A large bowl for an ice bath (this stops the cooking immediately and saves you from a grainy texture)
- An ice cream maker (with a frozen bowl or a compressor — I’ve used both, and they both work)
- An airtight container (shallow and wide is better than deep — it freezes faster and scoops easier)
Let’s Make It (Start to Finish)
This goes fast once you start, so I like to have everything measured and ready before I turn on the burner. Read through once — you’ve got this.
Set up your ice bath: Fill a large bowl with a few inches of cold water and plenty of ice. Place a smaller bowl with your fine-mesh strainer on top. This will be where your finished custard lands.
- Whisk the dry ingredients: In your saucepan, whisk together the sugar, cocoa powder, and salt until there are no lumps. It’s okay if it looks a little dusty — the cream will sort it out.
- Add the cream and milk: Pour in the heavy cream and whole milk. Whisk until the cocoa is fully incorporated and the mixture is smooth. Set the pan over medium heat.
- Heat the mixture: Stir occasionally with a rubber spatula (get the bottom of the pan) until it’s steaming and small bubbles form around the edges. Don’t let it boil — you want it hot enough to melt the chocolate later, but not so hot that the eggs will seize up. (📸 Photo tip: When you see tiny bubbles around the edge, you’re ready for the next step. The steam should feel warm on your face but not scorching.)
- Temper the egg yolks: While the cream heats, whisk the egg yolks in a medium bowl until they’re pale and thick, about 30 seconds. Slowly — and I mean slowly — drizzle about a cup of the hot cream mixture into the yolks while whisking constantly. This raises the temperature of the eggs gradually so they don’t scramble.
- Cook the custard: Pour the tempered yolk mixture back into the saucepan with the rest of the cream. Cook over medium-low heat, stirring constantly with a spatula — make sure you’re scraping the bottom and corners. Continue until the mixture thickens enough to coat the back of a spatula and a finger drawn through leaves a clean line that holds. This takes about 5-8 minutes. (📸 Photo tip: When you lift the spatula and run your finger through the coating, the line should stay distinct — that’s nappe consistency, which is just a fancy way of saying it’s ready.)
- Add the chocolate and strain: Remove the pan from the heat. Add the chopped dark chocolate and vanilla, and stir until the chocolate is completely melted and the custard is smooth. Immediately pour the custard through the strainer into the bowl set over the ice bath. This catches any tiny bits of cooked egg or unmelted chocolate.
- Cool and chill: Let the custard sit in the ice bath, stirring occasionally, until it’s cool to the touch — about 15-20 minutes. Then cover it with plastic wrap (press the wrap directly onto the surface, or a skin will form) and refrigerate for at least 4 hours, or overnight. I always go overnight. The texture is noticeably smoother, and the flavor deepens in the fridge.
- Churn: Pour the cold custard into your ice cream maker and churn according to the manufacturer’s instructions. It’s done when it looks like soft-serve — thick, creamy, and a little bit airy.
- Freeze to harden: Transfer the churned ice cream to an airtight container. Smooth the top, press a piece of plastic wrap directly onto the surface (this prevents ice crystals), and freeze for at least 4 hours, or until scoopable. Overnight is best.
How I Make This Fit Into a Busy Week (Make-Ahead Notes)
I almost always make the custard base the night before. It needs at least 4 hours in the fridge, but honestly, it gets better with time. The cocoa and chocolate settle into something deeper and rounder after 12 hours. I’ll churn it the next morning before the heat kicks in, then let it firm up in the freezer while we run errands or sit on the porch.
- Fridge: The custard base keeps for 3-4 days before churning. Just give it a good whisk before you pour it into the machine.
- Freezer: Churned and hardened ice cream keeps for 2-3 weeks. After that, it starts to pick up freezer flavors. Press plastic wrap directly onto the surface to keep it tasting fresh.
- Reheat (if needed): If it gets too hard, let it sit on the counter for 10-15 minutes before scooping. That’s normal for homemade ice cream — it doesn’t have the softeners that store-bought stuff uses.
What I’ve Learned From Making This Every Summer for a Decade
- Temper slowly, and I mean slowly. The first time I made this, I got impatient and dumped the hot cream too fast into the eggs. Within seconds, I had chocolate scrambled eggs. It’s fixable if you strain it well, but the texture suffers. Take the extra 60 seconds to stream it in gradually.
- Don’t skip the ice bath. I know it’s an extra bowl to wash, but it stops the cooking instantly. If you leave the custard sitting in the hot pan, it continues to cook and can get grainy. The ice bath locks in the silky texture.
- Freeze your maker’s bowl for a full 24 hours. The instructions usually say 12-24 hours. Do the full 24. A bowl that’s not frozen all the way through won’t churn the ice cream properly, and you’ll end up with a thin, soupy mess that takes forever to freeze.
- Trust the chill. Even if the base tastes amazing straight out of the fridge, don’t be tempted to churn it early. Warm custard won’t aerate properly in the machine, and you’ll get a dense, icy result instead of a light, creamy one.
Ways to Make This Your Own (My Family’s Favorites)
- Dairy-free: I’ve made this with full-fat coconut milk (2 cans) plus 1 cup of coconut cream. It’s not quite as rich, but the texture still holds up surprisingly well. A friend who’s dairy-free said it was the best chocolate ice cream she’d had in years.
- Extra dark: My brother-in-law likes things borderline bitter. He uses 85% chocolate and adds 1 tsp of instant espresso powder with the dry ingredients. It doesn’t taste like coffee — it just makes the chocolate taste like more chocolate.
- Mint chocolate chip: When the mint in my garden takes over in July, I steep a big handful of fresh leaves in the hot cream for 15 minutes before straining them out. It turns the ice cream the faintest green and makes it taste like summer.
- Kid-friendly mix-ins: Nora always demands crushed pretzels and chocolate chunks folded in during the last minute of churning. The salty-sweet thing is her signature, and honestly, it’s ruined me for plain chocolate ice cream.
The Questions I Get About Homemade Ice Cream Every Single Time
Q: Why did my ice cream turn out icy?
A: Ugh, I’ve been there, and it’s so frustrating. Usually it’s one of three things: you didn’t use enough fat (cream instead of milk would help), the custard wasn’t cold enough before churning (it needs a full 4 hours minimum), or the ice cream maker bowl wasn’t frozen solid enough. Try again with these fixes — you’ll get there. I messed up my first three batches before I figured it out.
Q: Can I use half-and-half instead of cream?
A: Technically, yes, but it won’t be the same. You need a high fat content to keep ice crystals from forming. Half-and-half has about half the fat of heavy cream. The texture will be lighter and icier, kind of like a frozen mousse rather than a dense scoop. If that’s what you want, go for it. But if you’re craving that rich, creamy texture, stick with the heavy cream.
Q: How long does it last in the freezer? Can I freeze it for months?
A: It’s best within the first two weeks. After that, ice crystals start to develop, and it absorbs flavors from the freezer. If you’re making it for a specific occasion, I’d recommend churning it no more than a week ahead. Press plastic wrap directly onto the surface, and keep it in the back of the freezer where the temperature is most stable, not in the door.
Q: What do you serve this with?
A: On its own, first and foremost. But on Sundays, I’ll make a warm brownie and pile a scoop on top while it’s still hot — the melting edge is everything. Nora’s favorite is in a float with really good root beer. For adults only, I’ve been known to drizzle a little bourbon caramel over the top. You’ve been warned.
More Recipes My Family Makes on Repeat
If you liked this one, here are a few others that get the same reaction at our table:
- [INTERNAL LINK PLACEHOLDER: Brown Butter Peach Galette] — The free-form summer dessert that takes about 15 minutes to assemble and looks like you spent all day.
- [INTERNAL LINK PLACEHOLDER: Old-Fashioned Banana Pudding] — The kind with layers of Nilla wafers and a custard that’s worth every degree of the stove.
- [INTERNAL LINK PLACEHOLDER: No-Churn Vanilla Bean Ice Cream] — For when you don’t feel like pulling out the machine but still want something cold and creamy.
The first time you pull that container out of the freezer and get a clean scoop with no ice shards, you’ll know exactly why I’ve been making this for a decade. Save it for a hot Sunday, a backyard dinner, or a day when you just want something that tastes like real chocolate and a little bit of effort. That’s what it was made for.
If you make it, tag me on Instagram — I want to see your first scoop. And if you have questions, drop them in the comments. I read every single one.
📌 This homemade chocolate ice cream recipe (the custard method!) never gets icy — save it for your first hot weekend of the season.
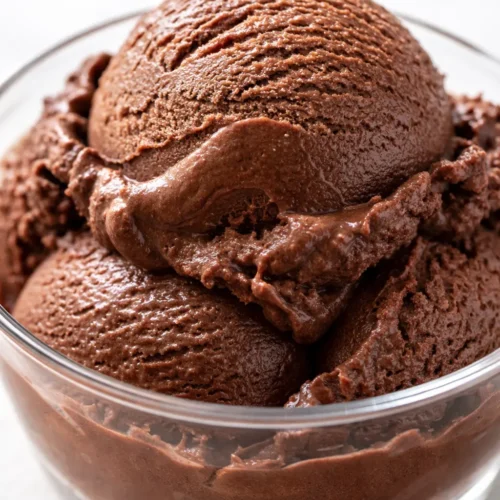
Silky Homemade Chocolate Ice Cream (Custard Method)
Equipment
- Medium Saucepan (heavy-bottomed)
- Whisk
- Fine-mesh strainer
- Large Bowl for Ice Bath
- Ice cream maker
- Airtight Container
- Rubber spatula
Ingredients
Ice Cream Base
- 2 cups heavy cream
- 1 cup whole milk
- 2/3 cup granulated sugar
- 1/4 tsp salt
- 1/2 cup unsweetened cocoa powder (Dutch-process preferred)
- 4 oz dark chocolate (70%), finely chopped
- 5 large egg yolks
- 2 tsp vanilla extract
Instructions
- Set up your ice bath: Fill a large bowl with a few inches of cold water and plenty of ice. Place a smaller bowl with your fine-mesh strainer on top. This will be where your finished custard lands.
- Whisk the dry ingredients: In your saucepan, whisk together the sugar, cocoa powder, and salt until there are no lumps.
- Add the cream and milk: Pour in the heavy cream and whole milk. Whisk until the cocoa is fully incorporated and the mixture is smooth. Set the pan over medium heat.
- Heat the mixture: Stir occasionally with a rubber spatula until it’s steaming and small bubbles form around the edges. Do not let it boil.
- Temper the egg yolks: While the cream heats, whisk the egg yolks in a medium bowl until they’re pale and thick, about 30 seconds. Slowly drizzle about a cup of the hot cream mixture into the yolks while whisking constantly.
- Cook the custard: Pour the tempered yolk mixture back into the saucepan. Cook over medium-low heat, stirring constantly, until the mixture thickens enough to coat the back of a spatula and a finger drawn through leaves a clean line that holds, about 5-8 minutes.
- Add the chocolate and strain: Remove pan from heat. Add chopped dark chocolate and vanilla; stir until melted and smooth. Immediately pour through the strainer into the bowl over the ice bath.
- Cool and chill: Let custard sit in ice bath, stirring occasionally, until cool to the touch (15-20 minutes). Cover with plastic wrap pressed directly onto the surface and refrigerate for at least 4 hours, or overnight.
- Churn: Pour cold custard into ice cream maker and churn according to manufacturer’s instructions until it looks like soft-serve.
- Freeze to harden: Transfer churned ice cream to an airtight container. Smooth top, press plastic wrap directly onto surface, and freeze for at least 4 hours until scoopable. Overnight is best.
Notes
Related posts:
 The Super Simple Chocolate Cake for Dad That Disappears in Minutes
 My Grandmother’s Peach Cobbler with the Biscuit Topping That Stays Crispy Every Time
 My Grandmother’s Chocolate Wafers for the Ultimate Homemade Oreo Ice Cream Sandwiches
 My Grandmother’s Strawberry Shortcake, Turned Into the Creamiest Ice Cream (No Machine Required)
 The DIY Caramel Crunch Frappe That Beats the Drive-Thru (In 5 Minutes)
 Zucchini Carrot Muffins That Are Actually Fluffy (Not Soggy) – Ready in 35 Minutes