
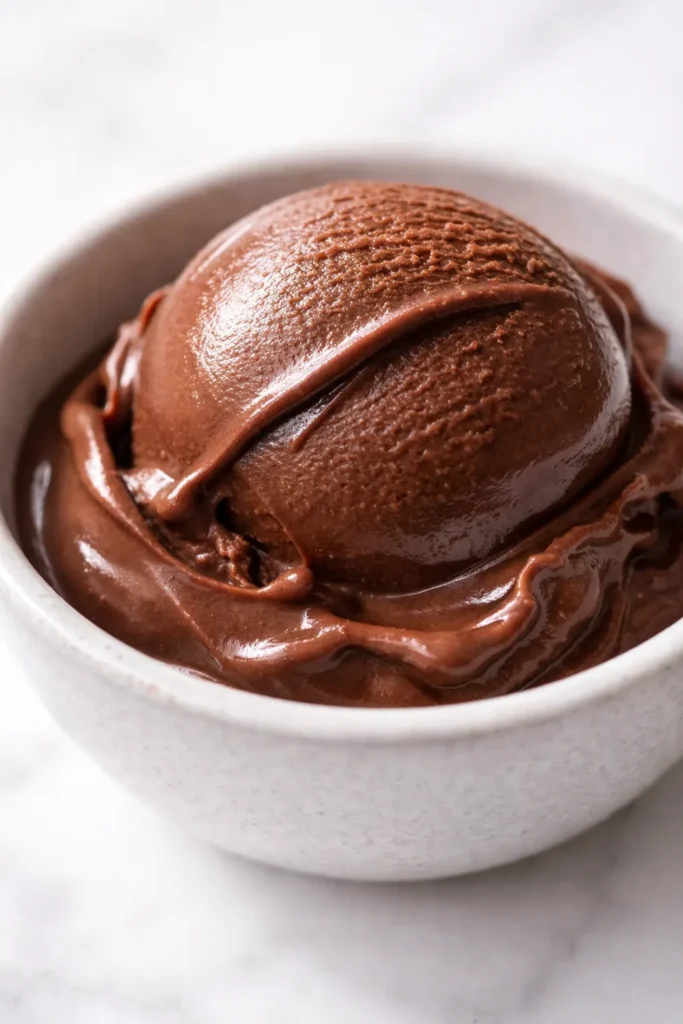
My grandmother Marta believed gelato should taste like the ingredient itself — not sugar, not cream, not air. Just the pure, concentrated flavor of what you came for. This dark chocolate gelato is exactly that. The first spoonful hits you with a deep, slightly bitter cocoa note that fades into something almost velvety. My daughter Nora, who usually picks fruit flavors, asked for a second scoop before she’d finished the first. That’s when I knew I’d finally cracked it.
The short version: Rich, intensely chocolate gelato with a texture that stays scoopable all week — no ice crystals, no shortcuts.
This is the gelato I make when I want to taste every single ingredient in the bowl. It’s not a dessert that shouts. It’s the one that earns the quiet at the table.
- Serves: 6 as dessert
- Hands-On Time: 30 min | Total Time: 6 hours (includes chilling & churning)
- Difficulty: Medium — patience required, not skill
- Cost per serving: ~$2.50
- Calories: ~280 per serving
- Dietary Notes: Naturally gluten-free. Can be made dairy-free (see Variations).
(Photo above: A single scoop of dark chocolate gelato in a simple white bowl, a delicate chocolate curl resting on top. Soft afternoon light from the kitchen window catches the glossy surface. No distractions — just the gelato, exactly as it should be.)
The Trick That Keeps It Silky, Not Icy
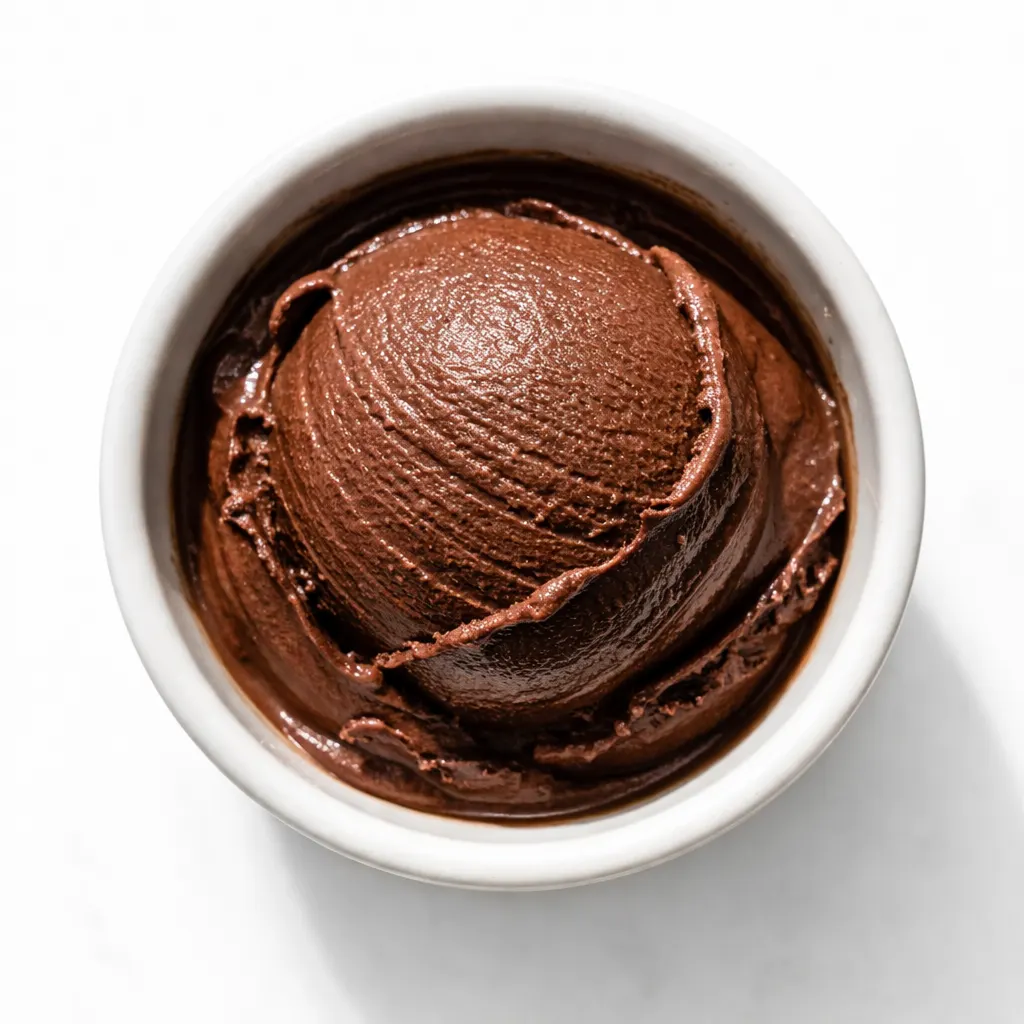
Most homemade chocolate gelato turns into a block of ice by day two. Not this one. The trick is in how you handle the chocolate — melting it directly into the warm milk base instead of relying on cocoa powder alone. This changes everything. The melted chocolate blends right into the warm milk, and somehow — magic, Marta would say — it keeps everything from turning into a solid ice block. You get this scoopable, fudgy texture even after it’s been in the freezer overnight. I learned this the hard way after way too many grainy batches.
Ingredients Worth Talking About
- 7 oz dark chocolate (70% cacao): This is the star. Don’t use chocolate chips — they have stabilizers that mess with the texture. A good quality bar is worth every penny.
- 2 cups whole milk: Gelato is milk-based, not cream-heavy like ice cream. It keeps the flavor clean and lets the chocolate shine. My kids actually prefer it this way — they say the chocolate tastes “louder.”
- 1/2 cup sugar: Just enough to balance the bitterness. Marta used a full cup, but I’ve dialed it back so the chocolate leads.
- 4 egg yolks: These give gelato its luxurious texture. Save the whites for an omelet or a meringue.
- 1/4 cup cocoa powder: I use Dutch-processed for a smoother, more intense flavor. Regular works too, but it won’t be as dark.
What You’ll Actually Need
- Medium saucepan
- Whisk
- Fine-mesh strainer
- Bowl for the ice bath
- Ice cream maker (a must for gelato — it needs the slow churn to develop its texture)
- Airtight container for freezing
Making the Gelato — My Exact Process
Set everything out before you start. The actual cooking goes fast, so read through once and you’ll be ready.
Melt and prep: Finely chop the chocolate and place it in a large heatproof bowl. Set aside.
- Warm the milk: In a medium saucepan, heat the milk and sugar over medium heat until it steams — small bubbles around the edge, not a full boil.
- Temper the yolks: Whisk the egg yolks in a separate bowl. Slowly pour about a cup of the hot milk into the yolks, whisking constantly. This gentle step keeps them from scrambling. (📸 Photo tip: The mixture should be smooth and slightly thickened — not lumpy!)
- Cook the custard: Pour the yolk mixture back into the saucepan. Cook over low heat, stirring constantly, until it coats the back of a spoon — about 5 minutes. If you’re using a thermometer, 170°F is your target.
- Pour over chocolate: Pour the hot custard through a fine-mesh strainer directly over the chopped chocolate. Let it sit for 1 minute, then stir until completely smooth.
- Chill: Set the bowl over an ice bath and stir until it’s completely cool. Then cover and refrigerate for 4 hours (or overnight). This is where the texture really develops — don’t rush it. (📸 Photo tip: The base should look like a thick, dark pudding at this point.)
- Churn: Pour the cold base into your ice cream maker and churn for 20-25 minutes, until it’s thick and creamy.
- Freeze: Transfer to a container and freeze for at least 2 hours to firm up. It’ll be soft-serve consistency right after churning, which is also delicious.
Sunday Prep = Stress-Free Dessert All Week
I make the custard base on Sunday evenings while I’m cleaning up from dinner. It chills overnight, and after work on Monday, I churn it while we eat. Then it’s ready for the week.
- Fridge: The base keeps for up to 3 days in the fridge before churning.
- Freezer: The finished gelato keeps for up to 2 weeks, but it’s best within the first 5 days. Press plastic wrap directly onto the surface before sealing the lid to prevent ice crystals.
- Reheat: If it’s too firm straight from the freezer, let it sit on the counter for 10 minutes before scooping.
Things I Wish I’d Known the First Time
- Chop the chocolate fine: Larger pieces won’t melt completely into the custard, and you’ll end up with chunks. Not the end of the world, but the texture is smoother when it’s fully incorporated.
- Don’t skip the strainer: Even if you think you whisked the yolks perfectly, a strainer catches any tiny bits of cooked egg. This one step is the difference between silky and slightly grainy. My husband thought I was overthinking it until he tried both versions.
- Patience with chilling is non-negotiable: I know 4 hours feels like forever. But warm base in a churn is a recipe for icy gelato. Cold base, frozen churn bowl, room where it’s cool — that’s the formula for success.
- Trust the spoon test: If you don’t have a thermometer, the custard is ready when it coats the back of a spoon and you can draw a clean line through it with your finger. Marta taught me that, and it’s never let me down.
Swaps That Actually Work
- Dairy-Free: Use full-fat oat milk or coconut milk in place of the whole milk. The texture will be slightly less dense but still very good. My sister-in-law has been dairy-free for years and she says this version is “a game changer.”
- Spicy: Add 1/4 teaspoon of cayenne pepper to the milk as it heats. The heat sneaks up on you at the end and it’s wonderful.
- Kid-Friendly: Swap 3 oz of the dark chocolate for milk chocolate. It makes it sweeter and milder — my niece asks for it every time she visits.
- Mint Chocolate: Steep a handful of fresh mint leaves in the milk for 10 minutes before straining them out. Add a drop of peppermint extract at the end for an extra kick.
- Make-Ahead for a Party: Churn the gelato, scoop it into a parchment-lined loaf pan, and freeze it solid. Pop out the block and slice it for individual servings — it looks elegant and saves time.
Questions I Get About This Recipe All the Time
Q: Why did my gelato turn out icy?
A: Ugh, I’ve been there. It’s usually a sign that the base wasn’t chilled long enough, or the ice cream maker bowl wasn’t fully frozen. Make sure the base is at least 40°F before churning, and your bowl has been in the freezer for a full 24 hours. You’ve got this next time!
Q: Can I make this without an ice cream maker?
A: Yes! Pour the chilled base into a shallow dish and freeze. Every 30 minutes, take it out and stir vigorously with a fork to break up ice crystals. Do this 4-5 times until it’s creamy. It won’t be as smooth as churned gelato, but it’ll still taste incredible.
Q: How long does this gelato last in the freezer?
A: About 2 weeks in an airtight container. Press a piece of plastic wrap directly onto the surface before sealing — that’s the best way to keep ice crystals from forming. If it gets too hard, let it sit on the counter for 10 minutes before scooping.
Q: What do you serve with dark chocolate gelato?
A: I love it with a sprinkle of flaky sea salt and a few fresh raspberries. My husband pours a shot of hot espresso over it for an affogato. Nora eats it straight out of the container, no judgment here. For a dinner party, I set out tiny bowls with vanilla bean shortbread on the side. It’s simple, but everyone loves it.
More Recipes My Family Makes on Repeat
If this dark chocolate gelato is your speed, here are a few others that get the same reaction at our table:
- Brown Butter Peach Galette — A Sunday afternoon favorite that’s flaky, jammy, and zero stress.
- Classic Banana Pudding — The one my kids ask for on birthdays. Extra vanilla wafers, please.
- Easy Homemade Fudge Sauce — The perfect partner for any scoop in your freezer. Ready in 10 minutes.
This gelato is the kind of dessert that makes you slow down. It’s not about a sugar rush — it’s about sitting with a small bowl and the deep, honest flavor of good chocolate. I hope it finds its way into your kitchen this weekend, or on a random Tuesday when you just need something good.
If you make it, drop a comment below — I love hearing how it goes for you! Tag me on Pinterest so I can see yours!
📌 This dark chocolate gelato recipe has the silkiest texture you’ll find — save it for your next weekend baking project or a special occasion dessert.
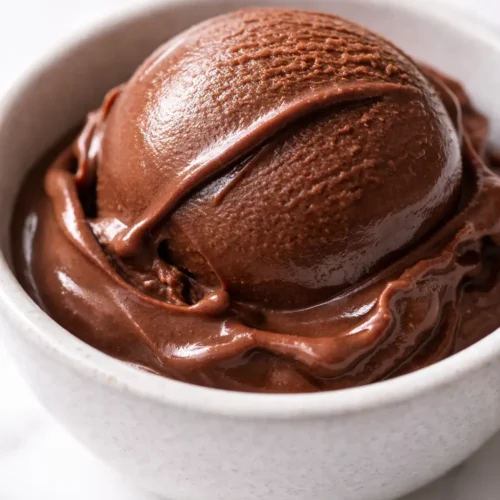
Smooth, Dangerously Dark Chocolate Gelato with a Silky, Slow-Melt Texture
Equipment
- Medium Saucepan
- Whisk
- Fine-mesh strainer
- Bowl for the ice bath
- Ice cream maker
- Airtight Container
Ingredients
- 7 oz dark chocolate (70% cacao), finely chopped
- 2 cups whole milk
- 1/2 cup sugar
- 4 egg yolks
- 1/4 cup Dutch-processed cocoa powder
Instructions
- Finely chop the chocolate and place it in a large heatproof bowl. Set aside.
- Warm the milk: In a medium saucepan, heat the milk and sugar over medium heat until it steams — small bubbles around the edge, not a full boil.
- Temper the yolks: Whisk the egg yolks in a separate bowl. Slowly pour about a cup of the hot milk into the yolks, whisking constantly. This gentle step keeps them from scrambling.
- Cook the custard: Pour the yolk mixture back into the saucepan. Cook over low heat, stirring constantly, until it coats the back of a spoon — about 5 minutes. If using a thermometer, 170°F is your target.
- Pour over chocolate: Pour the hot custard through a fine-mesh strainer directly over the chopped chocolate. Let it sit for 1 minute, then stir until completely smooth.
- Chill: Set the bowl over an ice bath and stir until completely cool. Then cover and refrigerate for 4 hours (or overnight). The texture develops during this time — don’t rush it.
- Churn: Pour the cold base into your ice cream maker and churn for 20-25 minutes, until thick and creamy.
- Freeze: Transfer to a container and freeze for at least 2 hours to firm up. It will be soft-serve consistency right after churning, which is also delicious.
Notes
Related posts:
 The Slow Cooker Cowboy Casserole That Saves Tired Weeknights (No Soggy Tots Allowed)
 Lemon Garlic Butter Baked Salmon in Foil That’s Ready in 25 Minutes — No Fuss, No Mess
 Moist Chocolate Zucchini Bread That Doesn’t Turn Out Rubbery — Finally
 Creamy Homemade Strawberry Dole Whip (That Tastes Just Like the Real Thing)
 Blueberry Peach Bread That Doesn’t Sink or Turn Mushy — Finally
 Quinoa Chicken Sausage Bowls That Are Ready in 30 Minutes (And Actually Keep Well)