
That first sip — when the cold brew hits your tongue followed by that rich, creamy vanilla body — and you realize it’s packed with over 35 grams of protein. My kids think it’s a treat. I know it’s getting them out the door without a fight over breakfast. This one’s been on repeat in my kitchen for two summers now, and my 19-year-old, Nora, takes a thermos of it to her art studio in Savannah when she’s home.
The short version: This coffee milkshake has serious protein and doesn’t taste like chalk or a diet experiment.
I’ve fine-tuned this ratio about thirty times now. Too much ice and it’s watery. Not enough yogurt and it’s thin. This version? It’s the one I make on busy mornings when I need something that’ll keep me full until lunch.
- Serves: 1 (or 2 small)
- Hands-On Time: 5 min | Total Time: 5 min
- Difficulty: Easy enough for a 10-year-old to make
- Cost per serving: ~$2.50
- Calories: ~420 per serving
- Dietary Notes: Naturally high protein; easily made dairy-free or vegan
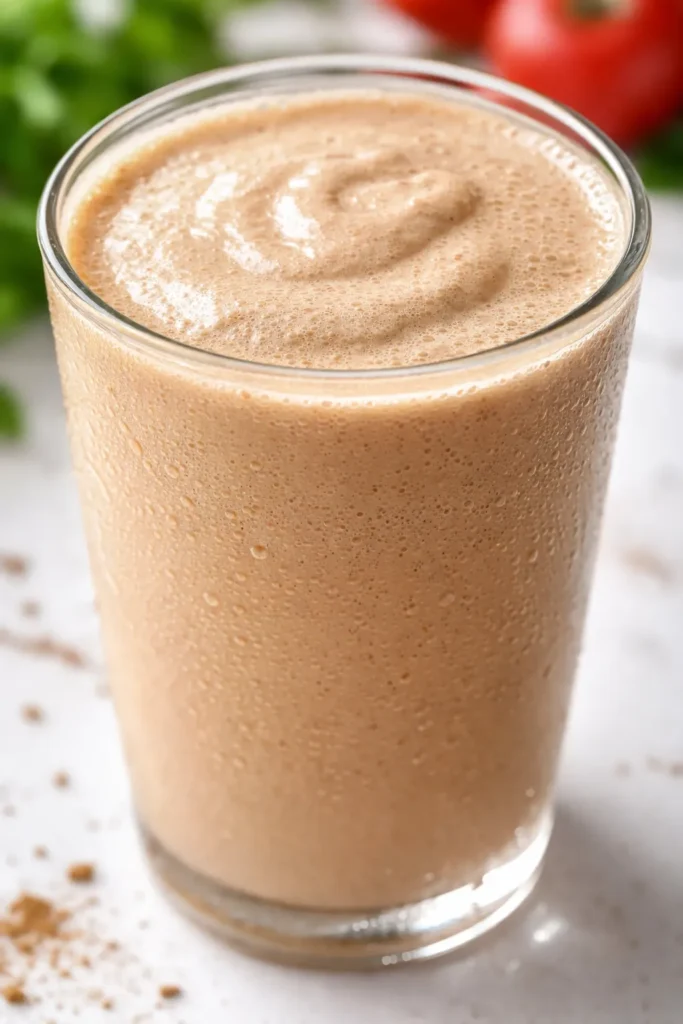
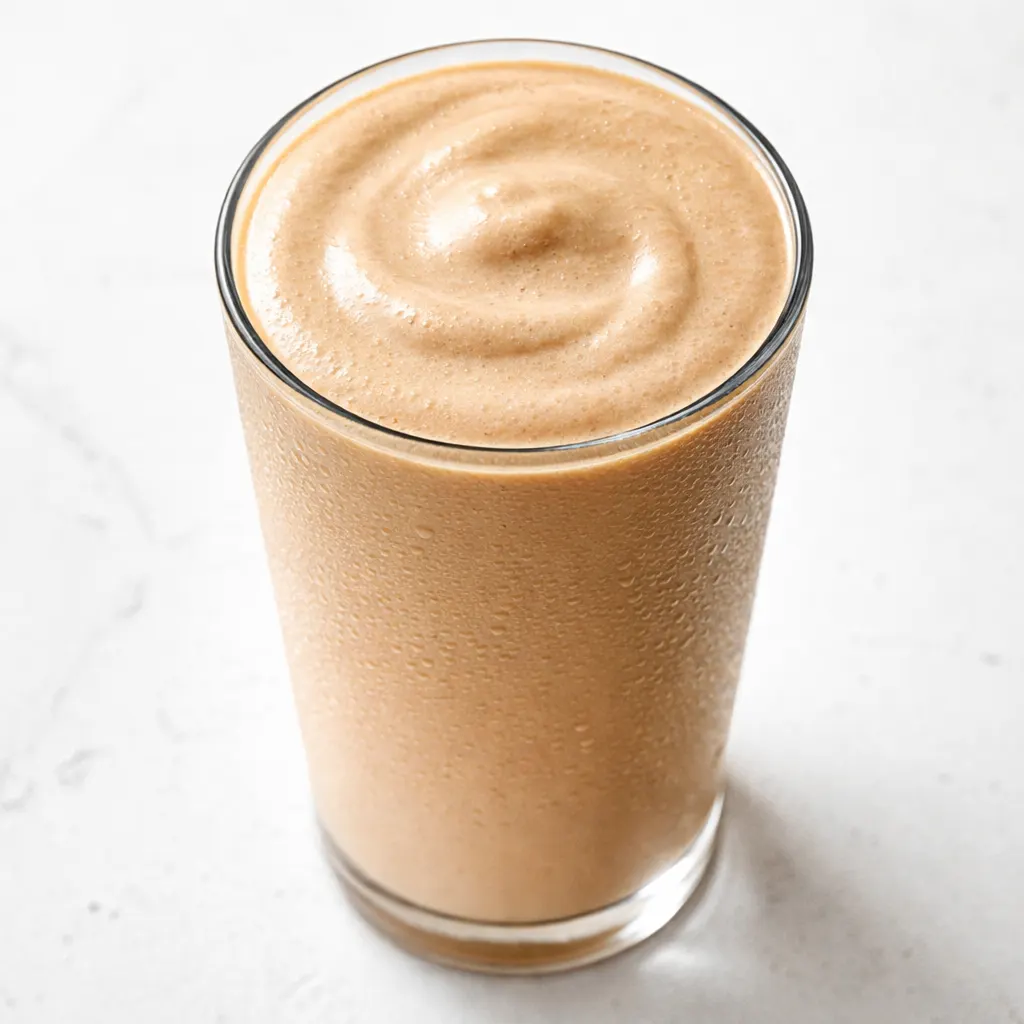
(Photo above: a tall frosty glass packed with a thick coffee-colored milkshake, a caramel drizzle clinging to the inside of the glass, topped with a light foam. A metal straw sits against the rim. Morning light from the farmhouse kitchen window catches the condensation on the glass.)
The Trick That Makes It Creamy, Not Gritty
Most high-protein shakes taste like they’re trying too hard. Gritty powder, watery coffee, that weird artificial sweetener aftertaste. This one skips all that. The secret is blending the ice into the wet ingredients first so it gets actually smooth before you add the powder. And using real cold brew instead of instant coffee makes a world of difference — especially if you’re someone who actually likes the taste of coffee.
Greek yogurt does the heavy lifting here. It gives you that thick, heavy body that makes it feel like a real milkshake from a diner, not a sad smoothie. Plus it packs 15 grams of protein right out of the gate.
You won’t taste the yogurt. You won’t taste the protein powder. You’ll taste cold brew, vanilla, and a hint of richness that makes you want to finish every last drop.
Everything You Need — Plus My Honest Notes
- 1 cup strong cold brew coffee (or 2 shots espresso + water): This is the backbone. Don’t use watery drip coffee that’s been sitting in the pot — it’ll taste bitter and thin. I make a batch of cold brew on Sunday and it lasts all week. My kids can smell the difference when I use fresh-brewed coffee versus instant — they’re not wrong.
- 1/2 cup plain Greek yogurt (or cottage cheese for extra protein): Full fat or 2%. The fat is what gives it that milkshake body. My kids can’t taste the yogurt at all, and it adds 15g of protein right there. I’ve used cottage cheese in a pinch and it works — just blend it really well so there are no lumps.
- 1 scoop vanilla protein powder (whey or high-quality plant): Vanilla is the safest bet. If you use unflavored, add a splash of vanilla extract. Chocolate works great too if you want a mocha vibe. I’ve tried about six different brands and the sweeter ones need less maple syrup — taste first.
- 1/2 cup milk (dairy, oat, or soy): Whole milk makes it dreamy. Oat milk makes it extra creamy if you’re dairy-free. Almond milk is too thin unless you’re desperate. We use oat milk when Nora’s home from college because she’s been on a barista oat milk kick.
- 1 cup ice cubes: About 5-6 standard cubes. Too much ice and it gets watery. Too little and it’s not cold enough. I know it’s tempting to load up the blender with ice — don’t. Trust me on this one.
- 1 tablespoon almond butter or peanut butter (optional but recommended): This is for the healthy fats and another 4g of protein. Plus it makes it taste like a peanut butter coffee shake. My husband thinks this turns it into dessert. I tell him it’s still breakfast.
- 1 tablespoon maple syrup or honey (optional): If your protein powder is already sweetened, you might not need this. Taste first, then add. I only use this when I’m using a plain plant-based powder that needs a little help.
Tools You’ll Actually Need
- Blender: A high-speed one is best, but a regular blender works — just blend a little longer. I use my old Oster that’s been in this house for 15 years.
- Measuring cups and spoons: Not a must, but helpful when you’re still learning the ratio.
- Tall glass: Something that holds at least 16 ounces. This shake is generous.
- Straw: Metal or paper — it feels more like a treat. My kids will drink anything through a straw.
Making It — Start to Finish in 5 Minutes
This goes fast, so get your ingredients out before you start the blender. The order matters more than you’d think.
- Blend the wet ingredients first: Add the cold brew, milk, and Greek yogurt to the blender. Whir until smooth. (📸 Photo tip: You should see a smooth, light brown liquid with no yogurt lumps. If you see streaks of white, blend another 10 seconds.)
- Add the ice: Drop in the ice cubes and blend on high until they’re completely crushed and the mixture is thick and slushy. This takes about 20 seconds. Don’t rush this step — you want the ice fully broken down.
- Add the protein powder and extras: Pour in the protein powder, almond butter, and sweetener (if using). Blend on low at first, then high for 15 seconds. (📸 Photo tip: It should look like a thick milkshake — ripples on top, no dry powder clinging to the sides of the blender.)
- Check the consistency: If it’s too thick, add a splash of milk. If it’s too thin, add a couple more ice cubes and blend again. I like it thick enough that the straw stands up straight in the glass.
- Pour and serve: Pour into a tall glass. Top with a pinch of cinnamon or cocoa powder if you’re feeling fancy. Drink immediately — it’s best fresh. I’ve tried saving it for later and it separates. This one’s meant to be enjoyed right away.
How I Make These for the Week Ahead
Sunday night ritual: I make a big batch of the base — cold brew, milk, yogurt, and protein powder — and keep it in a quart jar in the fridge. When I want a shake, I just pour the base over ice in the blender and whir. Takes 60 seconds. Nora loves this when she’s running late for class at school.
- Fridge: Base lasts 3 days in a sealed jar. Shake is best fresh, so store the wet base separately from the ice.
- Freezer: Not recommended. The texture changes when thawed and it gets grainy. Trust me, I tried it once.
- Reheat: Don’t. This is a cold drink. If you want a hot version, warm up the coffee and skip the ice.
My Best Advice After Making This 40+ Times
- Don’t skip the yogurt. Seriously. It’s not just for protein — it gives the shake that thick, heavy body that makes it feel like a real milkshake. If you use milk alone, it’s too thin and you’ll be disappointed. Even if you’re dairy-free, use a thick oat or coconut yogurt, not the runny kind.
- Use frozen banana for extra creaminess. If you have a spotty banana on the counter, peel it, chop it, and freeze it. Swap it for the ice or use half banana, half ice. It adds natural sweetness and a texture that’s almost like soft serve. My kids beg for the banana version.
- Taste before you sweeten. Protein powders vary wildly in sweetness. A vanilla whey from one brand might be super sweet, while a plant-based one might be earthy. Always taste the blended shake first before adding maple syrup. I’ve ruined a few batches by adding sweetener I didn’t need.
- Make it a mocha. Add 1 tablespoon of unsweetened cocoa powder with the protein powder. It’s like a frozen mocha latte but with 35g of protein. My husband thinks this is the best version and he’s not even a coffee guy.
Make It Yours
- Dairy-Free: Use oat milk, unsweetened dairy-free yogurt (I like the thick coconut kind), and a plant-based protein powder. I’ve tested this with pea protein and it works — just blend it extra well.
- Nut-Free: Skip the almond butter. Use sunflower seed butter or just leave it out entirely. The shake will still be creamy from the yogurt. My son’s classroom is nut-free, so this is the version I pack for him.
- Extra Protein: Swap the milk for cottage cheese (blend it really well!) or add a scoop of unflavored collagen peptides on top of the protein powder. I’ve done this after a long trail run and it’s the ultimate recovery drink.
- Lower Sugar: Use unsweetened almond milk, plain Greek yogurt, and an unflavored protein powder. Sweeten with a few drops of stevia or just let the coffee shine. It’s still creamy and delicious.
Questions People Always Ask About This Shake
Q: Why did my shake turn out watery?
A: Ugh, I’ve been there. That happens when the ice melts too fast. Use cold brew that’s already chilled, and don’t over-blend. Blend just until smooth, then pour. Also, too much ice will water it down — stick to 1 cup. If it’s still thin, add a tablespoon more yogurt next time.
Q: Can I make this without protein powder?
A: Yes! Add an extra 1/2 cup of Greek yogurt or cottage cheese and a splash of vanilla. It won’t be “super high protein” — more like 20-25g — but it’ll still be creamy and delicious. I’ve done this when I ran out of powder and it’s still a solid breakfast.
Q: How long does it last in the fridge?
A: The shake itself is best drunk immediately — it separates as it sits. But the base (coffee, milk, yogurt, protein powder) keeps for 3 days in a sealed jar. I make the base on Sunday and blend with ice each morning. Works perfectly.
Q: What do you serve this with?
A: Honestly, it’s an all-in-one breakfast for me. But if I’m serving it as a snack, I love it with a handful of almonds or a slice of my banana bread. It’s also amazing as a post-run recovery drink — my neighbor swears by it after her morning trail runs.
More Recipes My Family Makes on Repeat
If you loved how easy this is, here are a few others that get the same reaction at our table:
- Classic Banana Bread — The one my kids call “real banana bread,” not the dry kind. It’s perfect toasted with butter.
- Overnight Oats with Coffee — For mornings when you want a cold breakfast waiting for you. It’s like dessert for breakfast, but actually filling.
- Peanut Butter Protein Balls — The pre-workout snack that actually tastes like a cookie. I make a double batch every Sunday.
This is the kind of recipe that makes you feel like you’re actually treating yourself — until you realize you just had 35 grams of protein before 8 AM. If you try it, come back and let me know how it went. I love hearing what your family thinks, or if you came up with your own version.
📌 Save this high-protein coffee milkshake recipe for those mornings when you need breakfast to be fast, filling, and actually delicious — it’ll change your whole morning routine.
High Protein Coffee Milkshake
Equipment
- Blender
- Measuring Cups and Spoons
- Tall Glass (16 oz or larger)
- Metal or Paper Straw
Ingredients
- 1 cup strong cold brew coffee (or 2 shots espresso + water)
- 1/2 cup plain Greek yogurt (full fat or 2%)
- 1 scoop vanilla protein powder (whey or plant-based)
- 1/2 cup milk (dairy, oat, or soy)
- 1 cup ice cubes (about 5-6 standard cubes)
- 1 tablespoon almond butter or peanut butter (optional)
- 1 tablespoon maple syrup or honey (optional, to taste)
Instructions
- Add the cold brew, milk, and Greek yogurt to the blender. Blend until smooth – no lumps. (You should see a smooth, light brown liquid.)
- Add the ice cubes and blend on high until completely crushed and the mixture is thick and slushy, about 20 seconds. Do not rush this step.
- Add the protein powder, almond butter (if using), and sweetener (if using). Blend on low then high for 15 seconds until thick and creamy, with no dry powder clinging to the sides.
- Check consistency: if too thick, add a splash of milk; if too thin, add a couple more ice cubes and blend again. It should be thick enough that a straw stands upright.
- Pour into a tall glass. Top with a pinch of cinnamon or cocoa powder if desired. Serve immediately – it separates if stored.
Notes
Related posts:
 The Slow Cooker Cowboy Casserole That Saves Tired Weeknights (No Soggy Tots Allowed)
 Lemon Garlic Butter Baked Salmon in Foil That’s Ready in 25 Minutes — No Fuss, No Mess
 Moist Chocolate Zucchini Bread That Doesn’t Turn Out Rubbery — Finally
 Creamy Homemade Strawberry Dole Whip (That Tastes Just Like the Real Thing)
 Blueberry Peach Bread That Doesn’t Sink or Turn Mushy — Finally
 Quinoa Chicken Sausage Bowls That Are Ready in 30 Minutes (And Actually Keep Well)