
I ruined a lot of salted caramel before I figured out what I was doing wrong. Grainy batches that tasted fine but felt like wet sand in your mouth. One batch that crystallized so hard I had to chip it out of the pan like a piece of amber glass. And then, finally, the batch where I stopped fussing and just watched the color — and it came out silky, glossy, the kind of homemade salted caramel you’d spend twelve dollars on at a farmers market and then hoard in your fridge.
The short version: Fifteen minutes of hands-on time, no candy thermometer, and one color cue that tells you exactly when to pull it off the heat.
I’ve made this close to sixty times now, and the method hasn’t changed since that fourth batch. My daughter Nora still asks for it every time she drives up from Savannah — there’s a jar in my fridge with a label that says “do not touch” and we both ignore the label.
- Serves: Makes about 1½ cups — roughly 12 servings (2 tablespoons each) as a topping or sauce
- Hands-On Time: 15 min | Total Time: 35 min
- Difficulty: Straightforward once you know what to look at — and I’ll tell you exactly what that is
- Cost per serving: ~$0.65 (about $2.75 for the whole jar — a fraction of store-bought)
- Calories: ~170 per 2-tablespoon serving
- Dietary Notes: Naturally gluten-free. Dairy-free version swaps in coconut cream — tested and genuinely good.
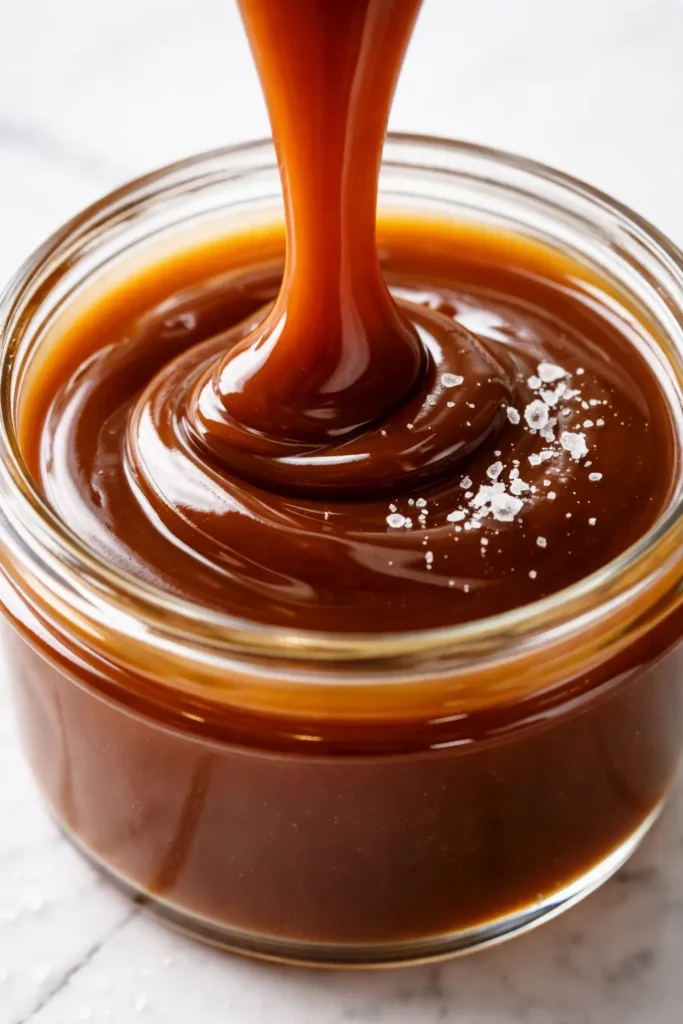
(Photo above: a small glass jar filled with deep amber caramel set on a cream linen cloth, a scattering of flaky sea salt on the glossy surface, soft morning light from the left catching the shine — a few slow drips mark the rim of the jar.)
Why This Caramel Doesn’t Crystallize (It’s Not Luck)
The thing that ruins more caramel than anything else is stirring. Once the syrup is boiling, the spoon becomes a magnet for those little sugar crystals, and crystals spread — one grain turns into a whole panful of gritty caramel that no amount of whisking will fix. The answer is simple: once the sugar is fully wet, you don’t touch it. You swirl the pan gently if you need to even out the heat, and you let the burner do the rest.
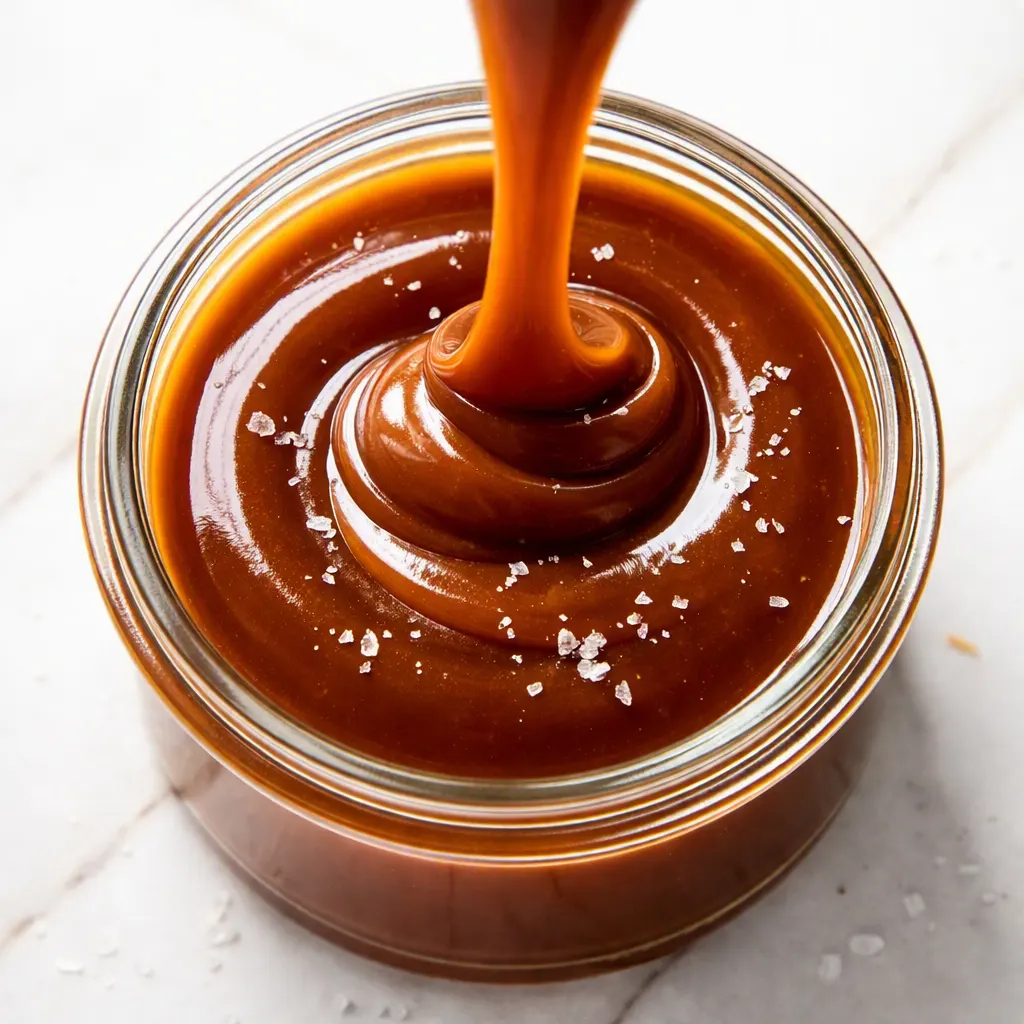
The second thing is color. Most recipes tell you to cook it until amber, but amber covers a lot of territory. I’m telling you to pull it when it looks like old pennies — not new shiny pennies, not dark honey. The color is the signal, and the smell is the backup. When it shifts from plain sweet to toasty and just faintly bitter underneath, that bitterness is not the enemy. That’s the caramel actually becoming caramel.
Skip either of these and you’ll get a sauce that’s fine — or a sauce that’s gritty, and then you’ll email me. Do them and you’ll get the glossy, pourable, slightly-thick caramel you’re picturing right now.
Everything You Need (and the Notes I’d Give a Friend)
- 1 cup (200g) granulated sugar: Plain white sugar, that’s it. Don’t reach for brown sugar — that’s a butterscotch situation, not a caramel one, and the whole point here is the clean, pure sugar flavor. Nora calls this “grown-up syrup” because it’s not as cloying as you’d expect — which is exactly why she keeps stealing spoonfuls straight from the jar.
- ¼ cup water: Just there to melt the sugar gently so it doesn’t scorch on the edges before the middle even dissolves. Think of it as a helper, not an ingredient.
- ¾ cup heavy cream, warmed: Warm it before you pour — cold cream can seize the caramel and splatter, and nobody needs a caramel burn on their forearm. I warm mine in the microwave in 30-second bursts while the sugar cooks. It just needs to feel warm to your fingertip, not hot.
- 6 tablespoons unsalted butter, cut into cubes and at room temperature: The butter gives it that velvety body. Salted butter works too if that’s what you have — just reduce the added salt at the end.
- ¾ teaspoon flaky sea salt, plus more for finishing: Fine salt dissolves into the caramel itself; flaky salt is for the top. That little crunch of salt that cracks between your teeth is the difference between good caramel sauce and the kind people text you about.
- 1 teaspoon vanilla extract (optional but almost always in my pot): It rounds off the sharp edge of the caramel and makes everything taste a little more like something you’d get at a fancy ice cream shop.
What to Pull Out Before You Start
- A light-colored stainless steel saucepan (2-quart). You need to be able to see the color change, and dark nonstick pans hide it. A heavy bottom keeps the heat steady — worth more than any fancy gadget.
- A long-handled whisk. The caramel bubbles up when you add the cream, and the distance between your hand and that hot sugar matters more than you think.
- A liquid measuring cup for the cream and a small bowl to hold your measured salt and vanilla.
- A glass jar or heatproof bowl with a spout for storing the finished caramel.
That’s genuinely all of it. No candy thermometer. I’ll die on this hill.
The Method — No Candy Thermometer Required
Read this once through before you turn on the burner. The caramel doesn’t wait for you, so everything gets measured and set out ahead of time. That’s half the battle right there.
- Set up your station: Warm the cream, cube the butter, and measure the salt and vanilla into a tiny bowl. Put everything within arm’s reach of the stove. You will not have time to go hunting for the vanilla later.
- Combine the sugar and water: in the saucepan, right in the middle. Don’t stir it yet. Once the pan is on the heat, gently swirl until every single grain of sugar is wet — no dry spots, no sugar stuck to the sides. This is the only swirling you’ll do.
- Turn the heat to medium: and let the syrup come to a boil. At first the bubbles are big and lazy — that’s the water boiling off. Then the bubbles get small, tight, and fast. That shift means it’s all sugar now, and this is where you stop looking away from the pan.
- Watch the color: it’ll travel from pale straw to light amber to that deep, penny-brown amber. The last stretch happens faster than you think, so keep your eyes on it and your hand near the heat. (📸 Photo tip: tilt the pan toward you and look at the syrup against the light-colored stove — you want the color of old pennies, not orange honey. When you see it, act.)
- Pull it off the heat at old-penny color. The residual heat in the pan will carry it a shade further, and that’s normal — it’s exactly what you want.
- Whisk in the butter, off the heat: It will bubble up furiously and hiss like it’s furious at you — that sound is the caramel waking up. Keep whisking until the butter is completely melted and the mixture looks smooth and unified.
- Slowly pour in the warm cream, whisking the whole time: It’ll billow up like a storm cloud and bubble hard for a few seconds. Don’t stop whisking. If it seizes into chunks, don’t panic — the next step fixes it. (📸 Photo tip: the sauce should look like liquid amber with a glossy shine, little bubbles still popping on the surface, no streaks or separation. That gloss is what you’re after.)
- Return the pan to low heat and whisk gently for a minute or two. This smooths out any lumps, brings everything into one silky mixture, and dissolves the salt properly. Add the vanilla and the fine salt, give it one more whisk, and taste it — the salt should be present but not shouting.
- Pour it into the jar and let it cool for about 20 minutes before you use it. It thickens as it cools, so it’ll look thin in the jar at first and that’s exactly right. When you serve it, sprinkle a pinch of flaky salt over the top at the very end.
Make-Ahead Notes (Because We’re All Busy)
Caramel might be the best make-ahead recipe in my kitchen. I make a double batch on Sunday afternoons and we use it all week — on pancakes, stirred into coffee, over ice cream, on sliced apples when Nora’s home. Once it’s in the jar, it’s just there, waiting for you to remember it exists.
- Fridge: Airtight glass jar, up to 2 weeks. It will solidify in the cold — that’s normal. Reheat gently in 10-second microwave bursts, or set the jar in a bowl of warm water for twenty minutes.
- Freezer: Yes, up to 3 months in an airtight jar with an inch of headroom — it expands as it freezes. Thaw overnight in the fridge, then reheat slowly.
- Reheat: Low and slow is the rule. A saucepan over low heat with a splash of cream works beautifully and brings back the gloss. The microwave works too if you’re patient and do short bursts — I use it more often than I want to admit.
The Mistakes I Made So You Don’t Have To
- Don’t walk away, not even once: The color goes from pale to penny-brown in the last sixty seconds, and it doesn’t rewind. I’ve made this nearly sixty times and I still stand at the stove the entire time. Put your phone in another room. This is a two-minute stretch of your life and it decides everything.
- Let the color be your boss, not a timer: Every pan and every stove runs a little differently — the timer lies, the color doesn’t. Old pennies. That’s the whole trick. Trust the color over any number on a clock.
- If it seizes into lumps when you add the cream, save it: Seriously. Put it back on low heat and whisk gently for a minute or two, and it will come back together almost every time. Even if it doesn’t fully smooth out, it will still taste wonderful — just don’t serve it to the texture police. I’ve rescued more batches this way than I’d like to count, and I’m still here to tell you about it.
- The salt goes in twice: Fine salt melts into the caramel itself, and flaky salt gets sprinkled on top for those little crystals that crack between your teeth. You can skip the top if you have to, but that crunch is the whole salted caramel experience. Don’t rob yourself.
- Wipe down the sides if you see crystals forming: A lightly wet pastry brush is the easiest tool. It catches stray sugar crystals before they fall back into the pot and set off a chain reaction. No pastry brush? A corner of a damp paper towel held with tongs works just fine.
Swaps That Actually Work
- Dairy-Free: Use full-fat coconut cream in place of the heavy cream and a good vegan butter (or just the coconut cream alone — it firms up nicely). Expect a faint coconut note and a slightly softer set. This is the version I make for my nephew who can’t do dairy, and he’s never once complained.
- Spicy (the after-bedtime version): Add a tiny pinch of cayenne along with the salt. My kids need the plain stuff, but after they’re asleep I’ll drizzle the spicy version over vanilla ice cream — that little heat against the cold is magic.
- Coffee Caramel: Stir a teaspoon of espresso powder into the warm cream before you pour it in. It adds a low, roasted depth that’s gorgeous drizzled over chocolate cake or straight into a latte.
- Bourbon Caramel: Whisk in a tablespoon of bourbon right after the vanilla, off the heat, so the alcohol keeps a little of its personality. Thanksgiving approved.
- Gift-Jar Version: Double the batch, pour it into small jars, and finish each one with extra flaky salt before you put the lids on. Tie a ribbon around it and people will think you spent the entire day on it. You didn’t. That’s our secret.
Questions I Get About This Recipe All the Time
Q: Why did my caramel turn grainy and hard?
A: Ugh, I’ve been there — it’s the most defeating thing in a kitchen. It’s almost always crystallization. Either you stirred the boiling syrup, or the sugar wasn’t fully dissolved before it came to a boil, or a stray grain from the side of the pan fell back in. This time, let the sugar and water sit together for a minute before heating, swirl gently until every grain is wet, and then leave it alone. Keep a wet pastry brush handy for the sides. My first three batches were disasters — this method is the one that finally worked for me. You’ve got this.
Q: Can I make this dairy-free?
A: Yes, and I’m not guessing — I’ve tested it. Swap the heavy cream for full-fat coconut cream and use a vegan butter if you like. It comes out a little thinner and carries a soft coconut note, but it’s genuinely delicious. I’ve brought it to my nephew’s birthday parties for years and the jar is always empty before the cake is cut.
Q: How long does homemade salted caramel last? Can I freeze it?
A: Two weeks in the fridge in an airtight glass jar — if it lasts that long, which it never does at my house. And yes, it freezes beautifully for up to three months as long as you leave an inch of headroom in the jar. Thaw it overnight in the fridge and reheat gently over low heat or in short microwave bursts. It might look separated when you first warm it; just whisk it back together and it’ll come right home.
Q: What do you serve with salted caramel?
A: Vanilla ice cream is the obvious one, and it’s perfect. Sliced apples with a justified amount of caramel. Coffee — a spoonful stirred in turns an ordinary afternoon cup into something else entirely. My kids drizzle it over pancakes, and if we’re being honest, I’ve eaten it straight from a spoon more times than I can count. The unexpected pairing: roasted pear halves with a little fresh thyme and this caramel drizzled over the top. I know it sounds strange, but the sweet, soft pear and that deep caramel bite is everything.
More Recipes My Family Makes on Repeat
If this caramel is your kind of thing, here are a few more recipes that get the same reaction at our table:
- No-Churn Vanilla Ice Cream — the dessert this caramel was born for, no ice cream machine required.
- My Grandmother’s Apple Cake — the one I made forty-three times to get the crumb right, and a drizzle of this caramel on top is never the wrong choice.
- Brown Butter Banana Bread — a ribbon of caramel through the middle, if you’re feeling dangerous on a Sunday morning.
When you pull that pan at old-penny color and the kitchen smells toasty and faintly bitter in the best way, you’ll understand exactly why I’ve made this every fall for the past six years.
If you try it, drop a comment below — I love hearing how it goes for you! And tag me on Pinterest when you make your jar, I’d love to see it.
📌 This homemade salted caramel recipe stays smooth and glossy even after reheating — save it for holiday baking and gift jars.
Homemade Salted Caramel That Doesn’t Crystallize
Equipment
- Light-Colored Stainless Steel Saucepan (2-quart)
- Long-Handled Whisk
- Liquid measuring cup
- Glass Jar with Spout
Ingredients
- 1 cup granulated sugar (200g)
- 1/4 cup water
Finish
- 3/4 cup heavy cream, warmed
- 6 tablespoons unsalted butter, cubed and at room temperature
- 3/4 teaspoon fine sea salt, plus flaky sea salt for finishing
- 1 teaspoon vanilla extract (optional but recommended)
Instructions
- Set up your station: warm the cream, cube the butter, and measure the salt and vanilla into a small bowl. Keep everything within arm’s reach of the stove.
- Combine the sugar and water in a light-colored saucepan without stirring. Once the pan is on the heat, swirl gently until every grain of sugar is wet — no dry spots, no sugar on the sides.
- Heat over medium until the syrup boils. At first the bubbles are big and lazy; then they turn small, tight, and fast. That shift means it is all sugar now, so do not look away from the pan.
- Watch the color travel from pale straw to light amber to old-penny brown. Tilt the pan toward you to check. When you see that deep penny-brown amber, act immediately.
- Pull the pan off the heat. The residual heat will carry the color a shade further, which is exactly what you want.
- Whisk in the butter off the heat. It will bubble and hiss — that sound is the caramel waking up. Keep whisking until the butter melts and the mixture looks smooth and unified.
- Slowly pour in the warm cream, whisking the whole time. It will billow up and bubble hard for a few seconds. Do not stop whisking. If it seizes into chunks, the next step will fix it.
- Return the pan to low heat and whisk gently for one to two minutes to smooth out any lumps. Add the vanilla and fine salt, whisk once more, and taste. The salt should be present but not shouting.
- Pour the caramel into a glass jar and let it cool for about 20 minutes before using. It thickens as it cools, and it will look thin at first. Sprinkle flaky salt over the top when you serve it.
Notes
Related posts:
 The Slow Cooker Cowboy Casserole That Saves Tired Weeknights (No Soggy Tots Allowed)
 Lemon Garlic Butter Baked Salmon in Foil That’s Ready in 25 Minutes — No Fuss, No Mess
 Moist Chocolate Zucchini Bread That Doesn’t Turn Out Rubbery — Finally
 Creamy Homemade Strawberry Dole Whip (That Tastes Just Like the Real Thing)
 Blueberry Peach Bread That Doesn’t Sink or Turn Mushy — Finally
 Quinoa Chicken Sausage Bowls That Are Ready in 30 Minutes (And Actually Keep Well)