
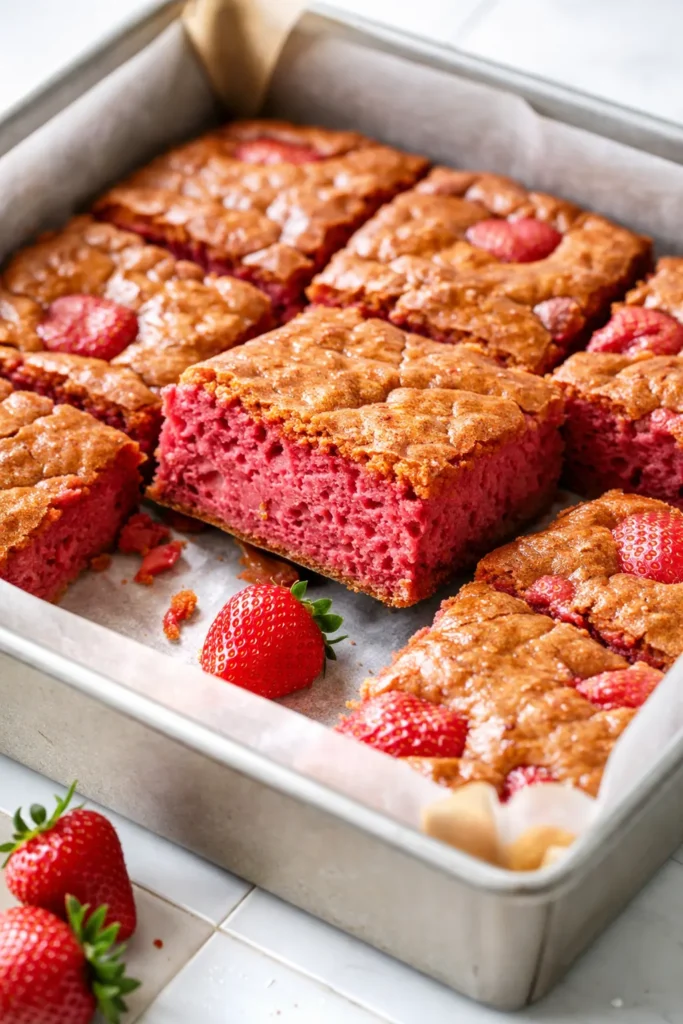
I wanted them to taste like the real thing — not a strawberry-flavored imitation, but that deep, jammy, slightly tart sweetness that only comes from the fruit itself. The first few batches were disasters. Soggy. Pale. Tasted like sad pink cake. This version? It’s the one my daughter Nora asks for when she comes home from Savannah, and the one that finally convinced me strawberry brownies deserve a permanent spot in the rotation.
The short version: These are fudgy, chewy, and packed with real strawberry flavor from freeze-dried berries — no artificial anything.
I tested this recipe eleven times over two months. Eleven. I learned that the secret isn’t more strawberries — it’s the right kind of strawberries, and knowing exactly when to stop mixing.
- Serves: 16 brownies (as a dessert or snack)
- Hands-On Time: 15 min | Total Time: 45 min
- Difficulty: Medium — easy enough for a Tuesday, special enough for a party
- Cost per serving: ~$0.85
- Calories: ~210 per brownie (with glaze)
- Dietary Notes: Naturally vegetarian. Easily adaptable for gluten-free or dairy-free (see swaps below).
(Photo above: Overhead shot of a perfectly cut strawberry brownie on a white ceramic plate, showing the fudgy interior studded with tiny strawberry seed specks, glossy pink glaze drizzled in zigzag patterns, soft morning light from the kitchen window hitting the edge of the pan.)
Why Freeze-Dried Strawberries Are the Secret Weapon
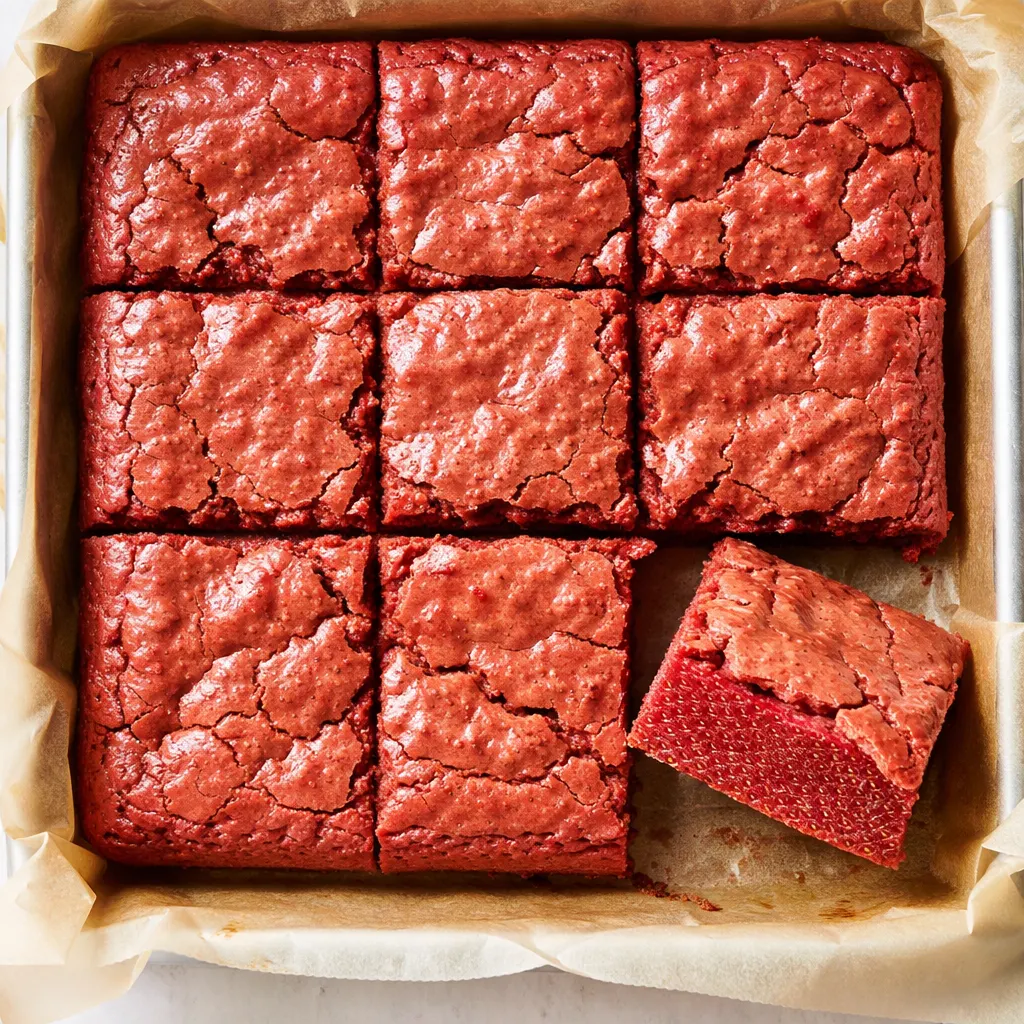
Fresh strawberries are mostly water. In a brownie, that water steams the batter and prevents the dense, fudgy texture you’re after. Freeze-dried berries have all the flavor and color, without the liquid. You grind them into a powder and it disperses evenly through the batter. No soggy spots. No artificial coloring.
The second trick is the fat base. I use melted butter and white chocolate together. The white chocolate gives structure and sweetness, while the butter keeps it from being cloying. It’s the same principle Marta used when she added a little dark chocolate to her fruit cakes — the fat carries the fruit flavor deeper.
The result is a brownie that tastes like a handful of ripe strawberries, but has the chew and density of a real brownie. Not a cake. Not a blondie. A strawberry brownie that finally lives up to the name.
Everything You Need (and a Few Notes From Me)
- 1 ½ cups (about 1.5 oz) freeze-dried strawberries: Look for the bags in the dried fruit aisle. One standard bag is usually enough. Don’t use fresh or frozen here — I tried both, and they made the batter too wet. My kids couldn’t stop snacking on the freeze-dried ones while I measured.
- 6 oz (about 1 cup) high-quality white chocolate, chopped: Ghirardelli or Guittard work beautifully. The cheap white chips often contain wax and won’t melt smoothly. I learned this the hard way with a grainy batch that went straight in the trash.
- ½ cup (1 stick) unsalted butter: Melted and slightly cooled.
- 1 cup granulated sugar: Regular white sugar. The structure is important here.
- 2 large eggs: Room temperature. They incorporate much better.
- 1 teaspoon vanilla extract: Real, not imitation.
- ¾ cup all-purpose flour: Spooned and leveled.
- ¼ teaspoon salt: Fine sea salt or table salt.
- For the glaze: 1 cup powdered sugar, 2 tablespoons ground freeze-dried strawberry powder, 1–2 tablespoons fresh lemon juice.
What to Pull Out Before You Start
- 8×8-inch metal baking pan (glass heats unevenly for this recipe — I’ve tested both)
- Parchment paper
- Food processor or blender (for grinding berries)
- Medium saucepan (for melting butter and chocolate)
- Large mixing bowl
- Whisk and rubber spatula
Let’s Make It (Step by Step)
This comes together fast once you start, so I like to have everything prepped before I turn on the oven. Read through once, then dive in.
Preheat and prep: Preheat your oven to 350°F. Line your 8×8 pan with parchment paper, leaving an overhang on two opposite sides. That overhang is your best friend for lifting the whole block out later.
- Grind the strawberries: Place the freeze-dried strawberries in your food processor or blender. Blitz until they become a fine, fluffy pink powder. (📸 Photo tip: You should have a bright pink powder with no visible chunks. If you see dark red specks, keep going.) Set aside 2 tablespoons of the powder for the glaze. The rest goes into the batter.
- Melt the base: In a small saucepan over low heat, combine the butter and chopped white chocolate. Stir constantly until just melted and smooth. Remove from heat and let it cool for 2–3 minutes. If it’s too hot, it will cook the eggs in the next step and you’ll get scrambled bits. I’ve done it. It’s sad.
- Whisk the eggs and sugar: In a large bowl, whisk the eggs, sugar, and vanilla together until thick and pale, about 2 minutes. You’re looking for a light, ribbony texture that falls in a slow ribbon from the whisk.
- Combine wet ingredients: Pour the cooled butter-chocolate mixture into the egg mixture. Fold gently with a rubber spatula until just combined. Don’t stir vigorously — you want to keep the air you just beat in.
- Add dry ingredients: Add the flour, salt, and the strawberry powder (minus the 2 tablespoons reserved for the glaze). Fold gently until the last streak of flour disappears. The batter will be thick and gorgeously pink. (📸 Photo tip: The batter should look like a thick pink mousse — no flour streaks visible, but not overmixed.)
- Bake: Pour the batter into the prepared pan and spread it evenly. Bake for 25–30 minutes. The edges will pull away from the pan, and the center should be set but still soft when pressed. A toothpick inserted in the center should come out with a few moist crumbs — not wet batter. This is the fudgy texture we’re after, so don’t wait for a clean toothpick.
- Cool completely: Let the brownies cool in the pan on a wire rack for at least 1 hour. The texture finishes setting as it cools. I know it’s hard to wait when the kitchen smells this good, but trust me.
- Make the glaze: In a small bowl, combine the powdered sugar, reserved 2 tablespoons strawberry powder, and 1 tablespoon of lemon juice. Stir until smooth. Add more lemon juice a teaspoon at a time until it’s thick but drizzling consistency. Drizzle over the cooled brownies.
How I Store These (If They Last That Long)
I usually make a batch on Sunday afternoon and they disappear by Tuesday. But if you want to be strategic about it, here’s how:
- Fridge: Store in an airtight container for up to 5 days. The glaze stays glossy and the texture stays fudgy.
- Freezer: Yes! Wrap individual brownies tightly in plastic wrap, then place them in a freezer bag. They’ll keep for up to 3 months. My secret: I wrap them individually so my husband can grab one for his lunch without defrosting the whole batch.
- Reheat: The microwave is fine here — 10–15 seconds softens the brownie and the glaze without melting it completely. If you have time, let a frozen brownie sit at room temperature for 15 minutes instead.
Things I Learned the Hard Way So You Don’t Have To
- Grind the berries to a fine powder. I left some chunks in my first batch, thinking it would be pretty. Those chunks burned in the oven and turned bitter. Fine powder is the way.
- Don’t overbake — even if the center looks slightly underdone. The residual heat in the pan finishes the cooking as it cools. If you wait until the center looks fully firm, the edges will be dry. I’ve made this mistake at least three times.
- Use a metal pan. Glass pans trap heat differently and the edges can overbake while the center stays raw. Metal gives you the most even results for this particular recipe.
- Let them cool completely before glazing. If the brownies are even slightly warm, the glaze will melt and soak in instead of sitting on top. I know the anticipation is real — but the wait pays off.
Swaps That Actually Work
- Gluten-Free: Substitute the all-purpose flour with a 1:1 gluten-free baking blend (I use King Arthur). The texture is slightly more tender, but my gluten-free friends say it’s their favorite version.
- Dairy-Free: Use vegan butter (Miyoko’s works well) and dairy-free white chocolate. This is the version I make for my nephew who can’t do dairy — he devours it.
- Kid-Friendly Version: Skip the glaze or just dust with powdered sugar. My kids actually prefer them without the glaze — they say the plain ones taste more like “real strawberry candy.”
- Brunch Party Version: Bake the batter in a 9×9 pan for slightly thinner brownies. Cut into 25 smaller squares and arrange on a platter with fresh strawberry slices. They disappear fast.
Questions I Get About This Recipe All the Time
Q: Why did my brownies turn out cakey instead of fudgy?
A: Ugh, I’ve been there. The most common reason is overmixing the batter after you add the flour. You want to fold gently until the flour just disappears — no more. Another culprit is overbaking. Take them out when the center is still slightly soft to the touch. They’ll firm up as they cool, I promise.
Q: Can I use fresh strawberries if I don’t have freeze-dried?
A: I don’t recommend it for this specific recipe. Fresh strawberries add too much moisture, which makes the brownies steam instead of bake. You’d end up with a dense, wet cake. If you really want to use fresh, macerate them first (toss with sugar and let them sit for 30 minutes), drain the liquid, and chop them very fine. But honestly? The freeze-dried version is better. I’ve tested both.
Q: How long do these last? Can I freeze them?
A: In the fridge, they’ll stay fudgy and delicious for about 5 days in an airtight container. Yes, they freeze beautifully — I always wrap individual brownies in plastic wrap and then pop them in a freezer bag. They last up to 3 months. To thaw, just leave one on the counter for 15 minutes, or microwave for 10 seconds.
Q: What do you serve with these?
A: My favorite pairing is a cold glass of milk or a cup of strong coffee — the bitterness balances the sweetness perfectly. For a dessert spread, I serve them alongside dark chocolate brownies and fresh strawberries. My kids love them crumbled over vanilla ice cream for a quick sundae.
More Recipes My Family Makes on Repeat
If you liked this one, here are a few others that get the same reaction at our table:
- Classic Fudgy Brownies — The dark chocolate cousin of this recipe. Three ingredients, one pot, zero fuss.
- Lemon Blondies with Rosemary — Tart, herby, and the perfect summer bar cookie.
- Strawberry Rhubarb Crumble Bars — When strawberry season hits, this is the first thing I make.
These strawberry brownies are the recipe I wish I’d had ten years ago. The one that finally nails the texture and the flavor, without any artificial shortcuts. I hope they become that for you, too.
If you try them, drop a comment below — I love hearing how it goes in your kitchen. And if you’re on Pinterest, save this one for your next spring baking day. It’s the strawberry dessert you’ve been looking for.
📌 Save this strawberry brownies recipe for your next spring baking day — fudgy, real-fruit flavor that finally works without artificial coloring.
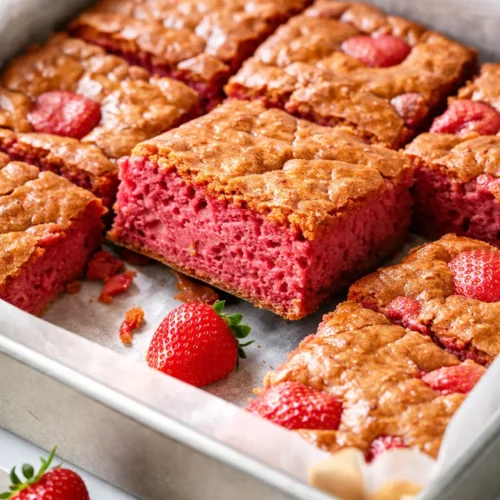
Strawberry Brownies: The Fudgy, Real-Fruit Version That Works Every Time
Equipment
- 8×8 Metal Baking Pan
- Parchment Paper
- Food Processor or Blender
- Medium Saucepan
- Large Mixing Bowl
- Whisk and Rubber Spatula
Ingredients
- 1.5 cups freeze-dried strawberries (about 1.5 oz)
- 6 oz high-quality white chocolate, chopped
- 0.5 cup unsalted butter (1 stick)
- 1 cup granulated sugar
- 2 large eggs, room temperature
- 1 teaspoon vanilla extract
- 0.75 cup all-purpose flour
- 0.25 teaspoon salt
Glaze
- 1 cup powdered sugar
- 2 tablespoons reserved strawberry powder (from ground berries)
- 1-2 tablespoons fresh lemon juice
Instructions
- Preheat your oven to 350°F. Line an 8×8-inch metal baking pan with parchment paper, leaving an overhang on two opposite sides.
- Place the freeze-dried strawberries in a food processor or blender. Blitz until they become a fine, fluffy pink powder. Set aside 2 tablespoons of the powder for the glaze.
- In a small saucepan over low heat, combine the butter and chopped white chocolate. Stir constantly until just melted and smooth. Remove from heat and let cool for 2–3 minutes.
- In a large bowl, whisk the eggs, sugar, and vanilla together until thick and pale, about 2 minutes – a light, ribbony texture that falls in a slow ribbon from the whisk.
- Pour the cooled butter-chocolate mixture into the egg mixture. Fold gently with a rubber spatula until just combined. Do not stir vigorously – keep the air you beat in.
- Add the flour, salt, and the strawberry powder (minus the 2 tablespoons reserved for the glaze). Fold gently until the last streak of flour disappears. The batter will be thick and pink.
- Pour the batter into the prepared pan and spread evenly. Bake for 25–30 minutes. The edges will pull away from the pan, and the center should be set but still soft when pressed. A toothpick inserted in the center should come out with a few moist crumbs – not wet batter.
- Let the brownies cool completely in the pan on a wire rack for at least 1 hour. The texture finishes setting as it cools.
- Make the glaze: In a small bowl, combine the powdered sugar, reserved 2 tablespoons strawberry powder, and 1 tablespoon of lemon juice. Stir until smooth. Add more lemon juice a teaspoon at a time until thick but drizzling consistency. Drizzle over the cooled brownies.
Notes
Related posts:
 High-Protein Overnight Oats That Actually Taste Like Breakfast (Not a Chalky Disaster)
 The Slow Cooker Cowboy Casserole That Saves Tired Weeknights (No Soggy Tots Allowed)
 Quick Lemon Ricotta Pasta for Busy Weeknights: Creamy, Bright, and on the Table in 20 Minutes
 Lemon Garlic Butter Baked Salmon in Foil That’s Ready in 25 Minutes — No Fuss, No Mess
 Lipton Onion Soup Meatloaf for Tuesday Nights: Moist, Savory, and the Only One You’ll Ever Need
 Moist Chocolate Zucchini Bread That Doesn’t Turn Out Rubbery — Finally