
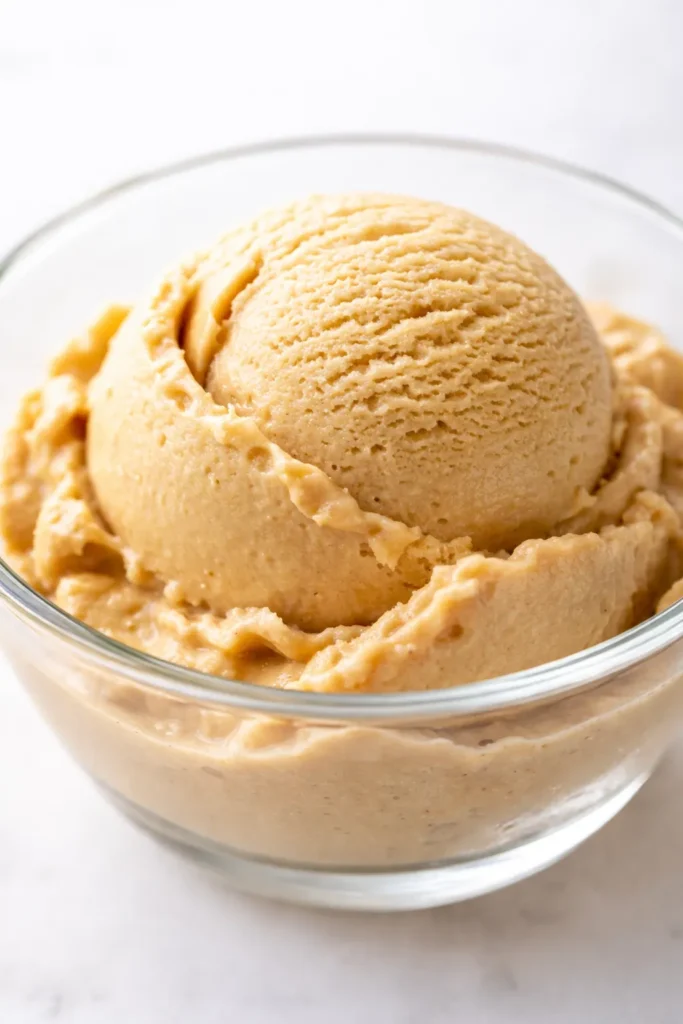
That first scoop — the one that cuts clean through without cracking or bending the spoon — is why I’ll never go back to store-bought! The enemy of a good homemade ice cream isn’t the cream content, it’s skipping the egg yolks. A simple ten-minute custard is what keeps this scoopable, not a brick of ice.
The short version: A rich, eggy custard base meets steeped dark roast coffee for the creamiest homemade ice cream you can make without a machine.
I’ve been making this version since my daughter Nora was in middle school, and it’s the one recipe her friends always ask for the batch number on. Marta would have approved of the method — slow, patient, and entirely worth the wait.
- Serves: 8 as dessert
- Hands-On Time: 25 min | Total Time: 4 hours 25 min (includes chilling and freezing)
- Difficulty: Medium — the custard needs your full attention for 10 minutes, but no special skills required
- Cost per serving: ~$1.50
- Calories: ~320 per serving
- Dietary Notes: Vegetarian. Easily adapted dairy-free with full-fat oat milk and coconut cream.
(Photo above: overhead shot of a white ceramic bowl filled with glossy, just-churned coffee ice cream, a wooden scoop resting against the edge, with a few whole coffee beans scattered on a linen napkin in natural side light.)
The Custard Trick That Keeps It Silky (Not Icy)
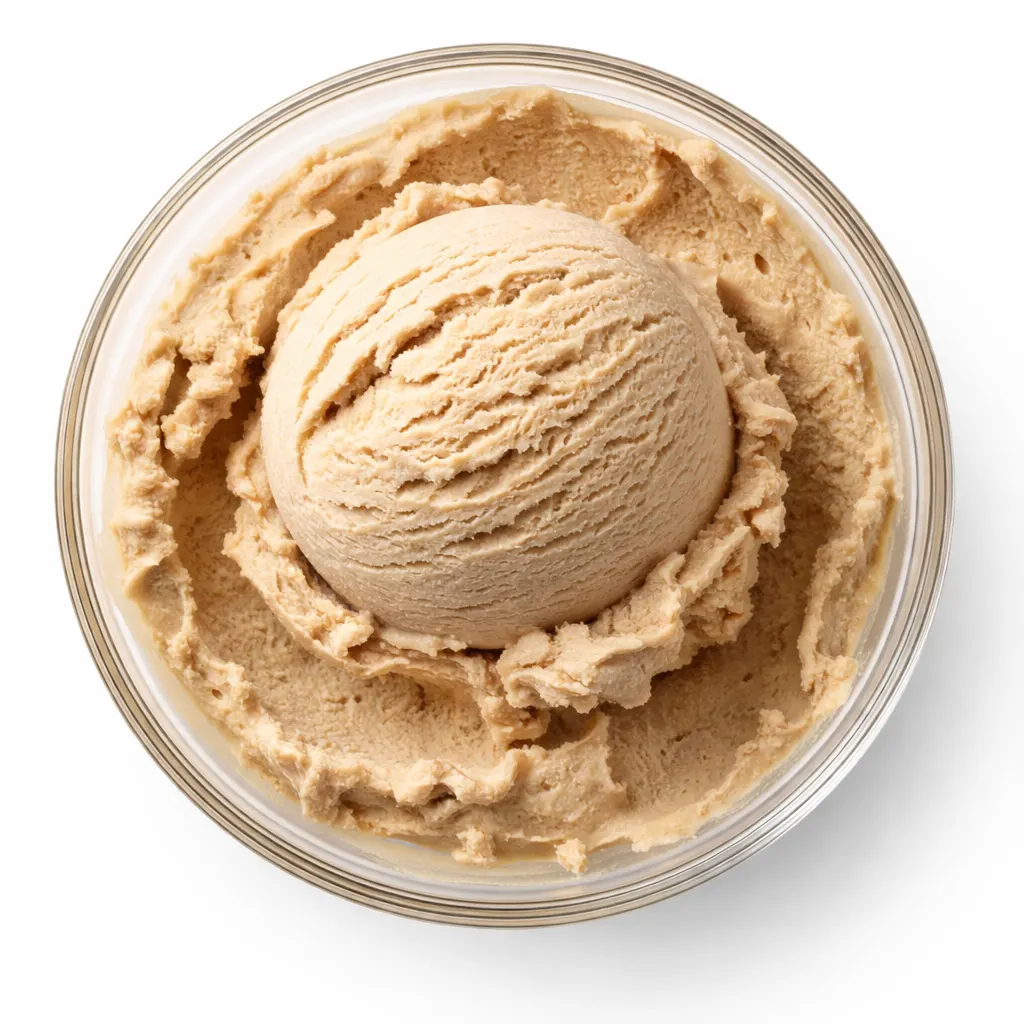
Most homemade ice cream recipes skip the eggs. That’s why they freeze into a solid block after day one. The yolks are what keep the texture soft and scoopable — they coat the ice crystals and stop them from getting too large. It’s the same reason custard-based ice creams cost more at the store. You’re paying for that richness.
The second secret is the coffee itself. I steep whole beans in the warm cream before I even start the custard. It gives you a deeper, more aromatic flavor than just adding brewed coffee. It’s one extra step, but it’s the step that makes people ask for the recipe.
What You’ll Need (Plus My Honest Notes)
- 2 cups heavy cream: Don’t skimp here. A higher fat content is what gives the body. I’ve tested this with half-and-half and it was noticeably thinner.
- 1 cup whole milk: The balance to the cream. Too much cream and it’s almost greasy. My kids actually prefer this ratio to store-bought.
- 1/2 cup whole coffee beans: Steeped in the cream. Use a dark roast for the deepest flavor. Marta would have used whatever was in the cupboard, but I’m picky now.
- 4 large egg yolks: The backbone of the custard. Save the whites for an omelet or meringue.
- 3/4 cup granulated sugar: Enough to balance the bitterness of the coffee. Taste the base before you freeze it — it should be slightly too sweet because freezing dulls sweetness.
- 1/4 teaspoon fine sea salt: Just a pinch. It rounds out the bitterness and sharpens the flavor.
The Setup (You Probably Have All of This)
- Medium saucepan — heavy-bottomed is best for even heat
- Fine-mesh strainer
- Whisk
- Large bowl for ice bath
- 8×8 or 9×5 loaf pan for freezing (if no ice cream maker)
- Ice cream maker (optional — the still-freeze method works great, just takes a bit more effort)
Let’s Make It (Step by Step, No Fuss)
Read through this once before you start. The custard moves fast once the heat is on.
Steep the cream:
- Heat: Combine the cream and coffee beans in a medium saucepan over medium-low heat. Cook until small bubbles form around the edges — steaming hot but not boiling. This takes about 5 minutes. Do not let it boil or the coffee gets bitter.
- Steep: Remove from heat, cover, and let sit for 15 minutes. The cream will be a deep tan color and smell intensely of coffee. (📸 Photo tip: You’re looking for the cream to take on a warm, golden-brown hue from the beans.)
- Strain: Pour the cream through a fine-mesh strainer into a clean bowl. Discard the beans. Rinse out the saucepan.
Make the custard:
- Whisk the yolks: In a separate bowl, whisk the egg yolks with the sugar and salt until thick and pale, about 2 minutes. It should fall off the whisk in a ribbon.
- Temper: Slowly pour the warm cream into the yolks, whisking constantly. This is the crucial step — if you dump the hot cream in all at once, you’ll get scrambled eggs. I hold the bowl with a damp towel to keep it steady.
- Return to heat: Pour the mixture back into the saucepan and cook over low heat, stirring constantly with a rubber spatula. Scrape the bottom and corners every few seconds.
- Check for doneness: The custard is ready when it coats the back of a spoon and leaves a clean line when you drag your finger through it. This takes 8-12 minutes. (📸 Photo tip: Run your finger across the back of the spoon — if the line holds without dripping, it’s done.) Do not let it simmer or boil.
- Strain and cool: Immediately pour the custard through the fine-mesh strainer into a clean bowl. Set the bowl in an ice bath and stir occasionally until cool. Or, cover and refrigerate overnight. The overnight rest gives the best texture — the flavors meld and the base gets thick.
Freeze:
- Churn (if using a machine): Pour the cold custard into your ice cream maker and churn according to the manufacturer’s instructions. It will look like soft serve.
- Still-freeze (no machine): Pour the custard into a loaf pan and freeze for 45 minutes. Stir vigorously with a fork, breaking up any frozen edges. Repeat every 30 minutes for 3-4 hours until it’s a creamy, scoopable consistency.
- Harden: Transfer to an airtight container and freeze for at least 2 more hours before serving. Let it sit on the counter for 10 minutes before scooping.
Make-Ahead Notes (Because We’re All Busy)
I make the custard base on Sunday nights and churn it on Monday after dinner. That’s the real-life version of this recipe — it doesn’t all have to happen in one day.
- Fridge: The custard base keeps for up to 3 days. Give it a good whisk before churning.
- Freezer: Finished ice cream is best within 2 weeks. After that, it starts to get icy despite the custard trick.
- Reheat (soften): Let it sit at room temperature for 10-15 minutes before scooping. Or microwave the container for 10 seconds if you’re impatient (I do this all the time).
Things I Wish I’d Known the First Time
- Don’t rush the steep: The full 15 minutes is non-negotiable. I tried steeping for 5 minutes once and the coffee flavor was noticeably weaker. Trust the process.
- The finger test never lies: A thermometer is fine, but running your finger across the back of the spoon tells you exactly when the custard has thickened enough. It should leave a clean, sharp line.
- Chill it completely: Churning a warm or even room-temperature custard makes icy ice cream. Cold custard freezes faster, which means smaller ice crystals and a creamier result. Overnight is best.
- Even if you curdle it a little, it’s still good: I’ve scrambled the eggs slightly more times than I’d like to admit. A quick strain and a blender whiz can sometimes save it. Don’t throw it out — it’s still ice cream.
Make It Yours: Easy Variations
- Dairy-Free: Use full-fat coconut cream and oat milk. The coconut flavor pairs beautifully with coffee. This is the version I make for my sister-in-law who’s dairy-free — she says it’s better than the original.
- Mocha: Whisk in 2 tablespoons of cocoa powder with the sugar. My kids call this “breakfast ice cream.”
- Spiced Coffee: Add a cinnamon stick and a star anise to the cream while it steeps. Remove before straining. It’s a subtle warmth that makes the ice cream taste like winter.
- Boozy Affogato: Add 2 tablespoons of bourbon or dark rum to the custard before churning. The alcohol keeps it even softer in the freezer. Serve with a hot espresso shot poured over the top.
Questions I Get About This Recipe All the Time
Q: Why did my custard curdle?
A: Ugh, I’ve been there. It usually happens because the heat was too high or the cream was added too fast to the yolks. Low heat and slow pouring are the two things to watch. If it happens, strain it through a fine-mesh sieve and blend it with an immersion blender — it often comes back together.
Q: Can I use pre-ground coffee or leftover brewed coffee?
A: You can, but the flavor won’t be as deep. Steeping whole beans extracts the oils without the bitter sediment. If you’re using leftover coffee, use a strong dark roast and reduce the milk by 1/4 cup to compensate for the extra liquid. I’ve tested this and it works, but the bean-steeped version is noticeably better.
Q: How long does this last in the freezer?
A: It’s best within the first 2 weeks. Press a piece of parchment paper directly onto the surface of the ice cream before sealing the lid — it prevents freezer burn and ice crystals from forming on top. Let it sit out for 10-15 minutes before scooping for the best texture.
Q: What do you serve with this coffee ice cream?
A: Three things: a shot of hot espresso poured over it (affogato), dark chocolate shavings and flaky salt, or a slice of Marta’s apple cake. My kids love it in a root beer float, which sounds strange but is genuinely incredible. It’s also perfect with a warm brownie.
More Recipes My Family Makes on Repeat
If you loved this coffee ice cream, here are a few others that get the same reaction at our table:
- [INTERNAL LINK PLACEHOLDER: Marta’s Apple Cake] — The one I make every fall. It’s the perfect partner for a scoop of this ice cream.
- [INTERNAL LINK PLACEHOLDER: Brown Butter Chocolate Chip Cookies] — Crispy edges, soft centers, and the brown butter makes them taste like butterscotch. Coffee ice cream sandwiches, anyone?
- [INTERNAL LINK PLACEHOLDER: No-Churn Vanilla Bean Ice Cream] — The simple base that started it all. Use it as a canvas for any flavor you can dream up.
I make this coffee ice cream every summer, and it never lasts more than a week in our house. If you try it, drop a comment below and let me know how your first scoop went — I read every single one.
📌 Pin this homemade coffee ice cream recipe for your next summer gathering — it’s the make-ahead dessert that everyone asks for the recipe to.
Homemade Coffee Ice Cream (Creamier Than Store-Bought)
Equipment
- Medium Saucepan
- Fine-mesh strainer
- Whisk
- Large Bowl
- Loaf pan (for still-freeze method)
- Ice cream maker (optional)
Ingredients
For the Custard Base
- 2 cups heavy cream
- 1 cup whole milk
- 1/2 cup whole coffee beans (dark roast)
- 4 large egg yolks
- 3/4 cup granulated sugar
- 1/4 teaspoon fine sea salt
Instructions
- Steep the cream: Combine cream and coffee beans in a medium saucepan over medium-low heat. Heat until small bubbles form around the edges — steaming hot but not boiling (about 5 minutes). Do not let it boil.
- Remove from heat, cover, and let steep for 15 minutes. The cream will turn a deep tan color and smell intensely of coffee.
- Pour the cream through a fine-mesh strainer into a clean bowl. Discard the beans. Rinse out the saucepan.
- Make the custard: In a separate bowl, whisk egg yolks with sugar and salt until thick and pale, about 2 minutes — the mixture should fall off the whisk in a ribbon.
- Temper the yolks: Slowly pour the warm cream into the yolks, whisking constantly. This prevents the eggs from scrambling.
- Return the mixture to the saucepan and cook over low heat, stirring constantly with a rubber spatula, scraping the bottom and corners every few seconds. Cook until the custard coats the back of a spoon and leaves a clean line when you drag your finger through it (8–12 minutes). Do not let it simmer or boil.
- Immediately pour the custard through a fine-mesh strainer into a clean bowl. Set the bowl in an ice bath and stir occasionally until cool. Alternatively, cover and refrigerate overnight for the best texture.
- Freeze (churn method): Pour the cold custard into your ice cream maker and churn according to the manufacturer’s instructions until it looks like soft serve. Transfer to an airtight container and freeze for at least 2 hours before serving.
- Freeze (still-freeze method, no machine): Pour the custard into a loaf pan and freeze for 45 minutes. Stir vigorously with a fork, breaking up any frozen edges. Repeat every 30 minutes for 3–4 hours until creamy and scoopable. Then transfer to an airtight container and freeze for at least 2 more hours.
- Let the finished ice cream sit at room temperature for 10 minutes before scooping for the best texture.
Notes
Related posts:
 The Slow Cooker Cowboy Casserole That Saves Tired Weeknights (No Soggy Tots Allowed)
 Lemon Garlic Butter Baked Salmon in Foil That’s Ready in 25 Minutes — No Fuss, No Mess
 Moist Chocolate Zucchini Bread That Doesn’t Turn Out Rubbery — Finally
 Creamy Homemade Strawberry Dole Whip (That Tastes Just Like the Real Thing)
 Blueberry Peach Bread That Doesn’t Sink or Turn Mushy — Finally
 Quinoa Chicken Sausage Bowls That Are Ready in 30 Minutes (And Actually Keep Well)