
The first time I made these, my daughter Nora called from Savannah asking what smelled so good. I had to describe the sound of the cheese hitting the hot tortilla — that steady, low sizzle that means something good is happening. She was homesick and I was standing in my kitchen at 6pm wondering what to feed everyone. These tuna melt wraps came out of that moment, and they’ve been a regular ever since.
The short version: Crispy on the outside, melty on the inside, and on the table faster than you can decide what to order for delivery.
I’ve made these on repeat for the last year, and my pickiest eater has never once left leftovers on the plate.
- Serves: 2 as a main course (easily doubled)
- Hands-On Time: 10 min | Total Time: 15 min
- Difficulty: Easy, even on a busy Tuesday
- Cost per serving: ~$2.50
- Calories: ~420 per wrap
- Dietary Notes: Adaptable for low-carb (use low-carb tortillas) and gluten-free
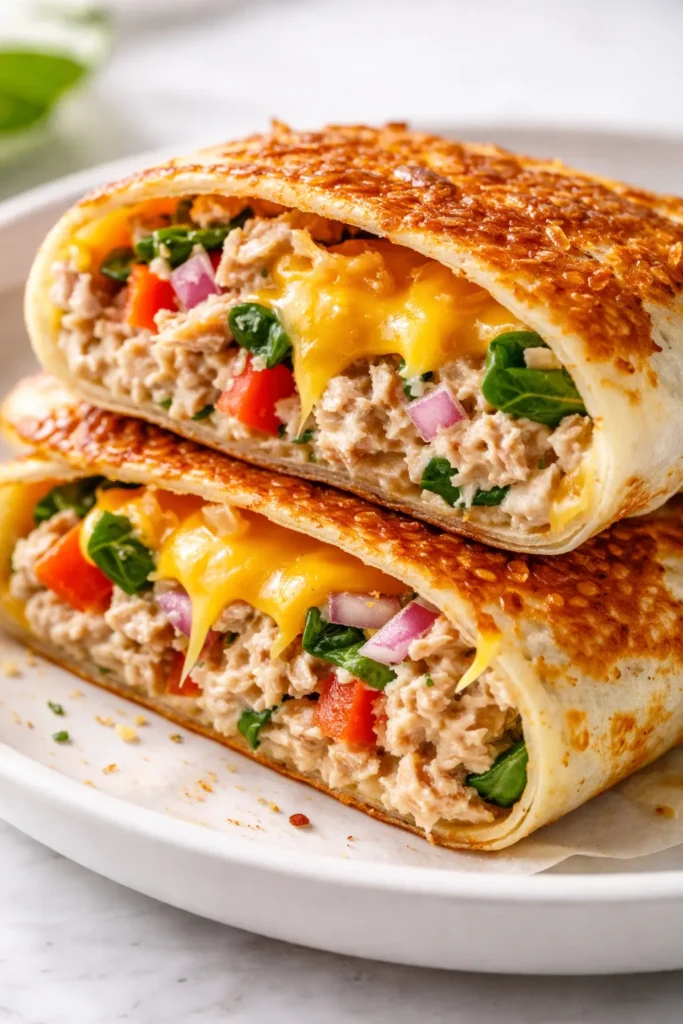
(Photo above: an overhead shot of two tuna melt wraps sliced in half on a wooden cutting board, the golden-brown tortillas giving way to a creamy tuna and melted cheese center. The afternoon light catches the crispy ridges where the cheese bubbled out.)
Why These Stay Crispy (When Other Wraps Get Soggy)
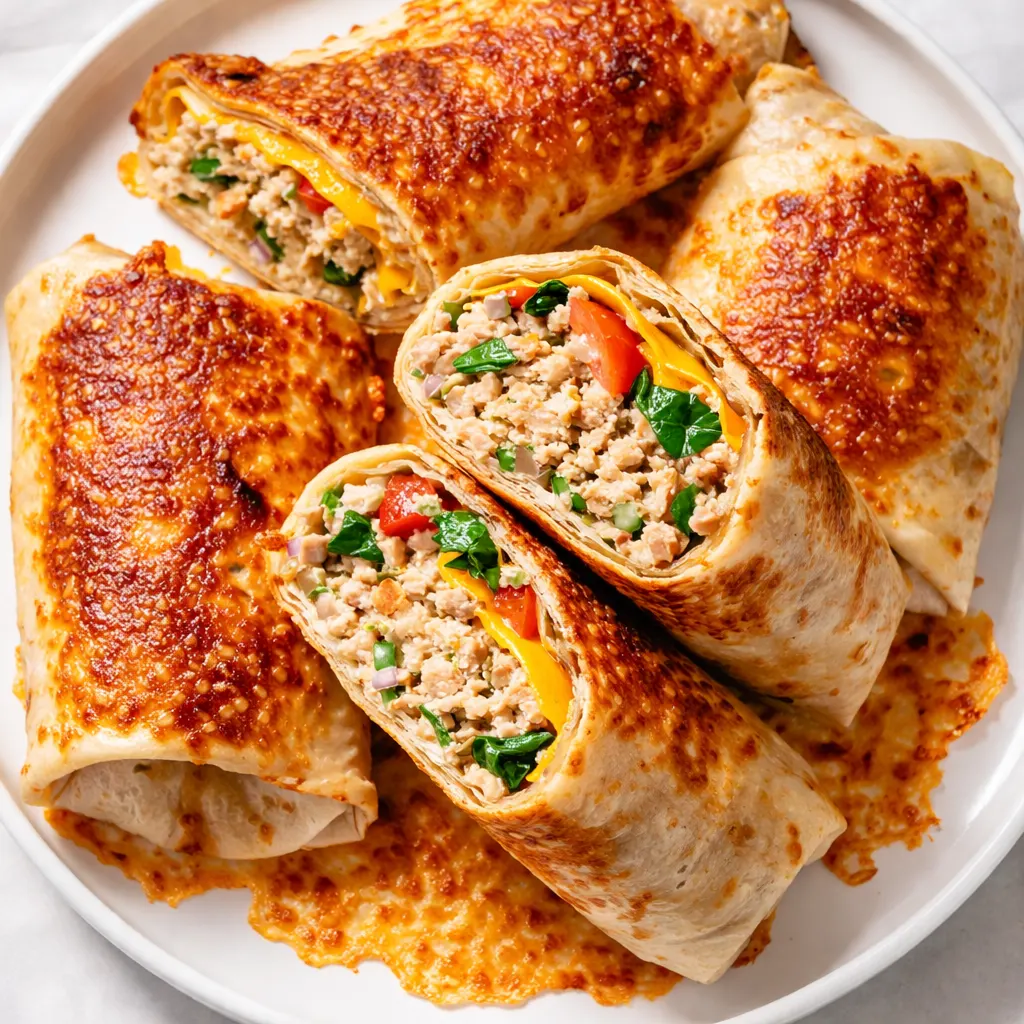
The trick is counterintuitive. You layer the cheese directly on the tortilla first — it melts and forms a barrier that traps the moisture from the tuna salad exactly where it belongs. Inside the wrap. Not soaking through the bread.
Before I figured this out, every wrap I made ended up with a sad, steamed tortilla that fell apart halfway through. The cheese seal changes everything. Think of it like a little insurance policy against sogginess.
What you get is a wrap that stays shatteringly crisp right down to the last bite, with a creamy, tangy tuna center that’s all the better for being trapped in that cheesy pocket.
Everything You’ll Need (Plus My Honest Notes)
- Canned tuna (2 cans, 5 oz each): I use albacore packed in water. It’s firm enough to hold its shape in the pan without getting weepy. Drain it well — press out as much liquid as you can with the back of a fork.
- Sharp cheddar or provolone (1 cup shredded): You need a cheese that melts beautifully and has enough personality to stand up to the tuna. Pre-shredded works in a pinch, but freshly shredded melts smoother. My kids prefer mild cheddar, but I sneak in sharp for myself.
- Burrito-sized flour tortillas (2 large): The 10-inch size gives you enough surface area for the tuna and a proper seal. Smaller tortillas are harder to fold without tearing.
- Mayonnaise (3 tbsp): Full-fat works best for texture and richness. My daughter Nora swears by the olive oil kind.
- Fresh lemon juice (1 tbsp): It cuts the richness and brightens the whole thing up.
- Celery (1 stalk, finely diced): For the crunch you need in every bite.
- Red onion (2 tbsp, grated): This is the trick I use for my kids. Grating the onion means they get the flavor without a single chunk. It disappears right into the mayo and tuna.
- Salt and black pepper: To taste. Don’t skimp on the pepper — it wakes up the tuna.
What to Pull Out of the Drawers
- A large non-stick skillet or a well-seasoned cast iron pan (12-inch is ideal so you have room to work)
- A mixing bowl for the tuna salad
- A fork and a spatula
- A sharp knife and cutting board
Nothing fancy here. If you don’t have a non-stick pan, a stainless steel one works — just make sure to let the tortillas cook fully before trying to flip them. They’ll release naturally when they’re ready.
Making the Tuna Melt Wrap (From Start to Finish)
This goes fast once the pan is hot. Read through the steps once before you start — it’ll take you less than a minute.
Prep the tuna: Open the cans and drain them thoroughly.
- Mix the tuna salad: In a bowl, combine the drained tuna, mayonnaise, lemon juice, finely diced celery, and grated red onion. Add a good pinch of salt and several cracks of black pepper. Give it a taste and adjust — the filling should be creamy and bright, with a distinct crunch from the celery. (📸 Photo tip: You’re looking for a texture that holds together when pressed, not dry or soupy.)
- Preheat the pan: Place it over medium heat. Give it a full minute to warm up before adding anything. A drop of water should sizzle gently on the surface — not aggressively, just a steady dance.
- Assemble the first wrap: Lay a tortilla flat on the cutting board. Sprinkle a generous layer of shredded cheese (about 1/4 cup) all over the surface — edge to edge, but leave a 1-inch border around the rim. This is your moisture barrier.
- Add the tuna: Spoon half the tuna salad (about 1/2 cup) down the center of the tortilla in a straight line. Top with another 1/4 cup of cheese on top of the tuna. Don’t overstuff — a tightly wrapped tortilla cooks more evenly and stays sealed.
- Fold and wrap: Fold the sides of the tortilla inward over the filling, then roll it away from you into a tight cylinder, tucking the seam underneath. The cheese barrier will feel slightly tacky, which helps seal the edge.
- Cook the wrap: Place it seam-side down in the hot pan. Press gently with the spatula for 10 seconds to encourage even browning. (📸 Photo tip: You should hear a steady, low sizzle. If it’s loud and popping, turn the heat down.)
- Flip and finish: Cook for 2-3 minutes per side, until the tortilla is deeply golden and crisp in patches, and the cheese is visibly oozing from the edges. The wrap should feel firm when you press on it.
- Rest before slicing: Transfer the wrap to the cutting board and let it rest for exactly 60 seconds. This lets the cheese set slightly so the filling stays put when you cut into it.
- Cut and serve: Slice diagonally with a serrated knife — it cuts cleanly without squishing the filling. Serve immediately.
How I Make These Ahead for the Week
Sunday prep makes these a no-brainer. I mix up a double batch of the tuna salad and keep it in the fridge. During the week, I just have to shred the cheese, warm the pan, and assemble. It takes less than 10 minutes from fridge to plate on a school night. The tuna salad keeps beautifully for up to three days — the flavors actually settle and get better.
- Fridge: Prep the tuna salad up to 3 days in advance. Store in an airtight container.
- Freezer: I don’t recommend freezing assembled wraps. The tortilla texture changes and the tuna can get watery. But you can freeze the tuna salad for up to 3 months. Thaw overnight in the fridge.
- Reheat: If you have leftovers (which I rarely do), reheat in a dry skillet over medium heat for 2 minutes per side. The microwave will make the tortilla soft. Don’t do it.
Things I’ve Learned After Making These Way Too Many Times
- Don’t overstuff the wraps. I know it’s tempting to pile on the tuna. But a too-full wrap doesn’t seal properly and falls apart in the pan. Trust the proportions — they’re tested for a reason.
- Medium heat is your best friend. High heat burns the tortilla before the cheese has time to melt. Low heat steams it and turns it floppy. Medium heat gives you that golden-brown exterior with a perfectly melted center.
- Let the cooked wrap rest. That 60-second wait is non-negotiable if you want clean slices. I learned this the hard way when my first wrap exploded its filling all over the cutting board because I was impatient.
- If your tuna salad seems dry, add another teaspoon of mayo. Canned tuna varies in moisture. A slightly creamier filling ensures the wrap isn’t dry, even with the cheese barrier doing its job.
- Even if you mess up the fold, it’ll still taste good. I’ve had wraps that looked like a toddler assembled them. They were still crispy and delicious. This is a forgiving recipe.
Make It Your Own (Easy Swaps My Family Uses)
- Dairy-Free: Use your favorite dairy-free cheese that melts well. Look for one with a good melt reputation — I’ve had luck with the oat milk or cashew-based shreds.
- Gluten-Free: Large gluten-free tortillas work perfectly. Just handle them gently — they can be more delicate when folding.
- Spicy: Add a spoonful of pickled jalapeños or a drizzle of hot sauce to the tuna salad. This is what I do when it’s just the adults eating.
- Kid-Friendly: Use mild cheddar and leave out the grated onion. My kids love the plain version — they call them “tuna quesadillas.”
- Add-Ins: Capers, chopped dill pickles, or a sprinkle of Everything Bagel seasoning on the outside of the tortilla before cooking. Each one adds a little extra personality.
Questions My Readers Always Ask About This Recipe
Q: Why did my tortilla get soggy instead of crispy?
A: That usually happens if the heat was too low or the tuna salad was too wet. Make sure to drain the tuna really well — I press it in a fine-mesh strainer with the back of a spoon. And keep the heat at medium. Low heat steams the tortilla instead of browning it.
Q: Can I use a different kind of fish?
A: Absolutely. Canned salmon works wonderfully here — same method. You can even use leftover grilled salmon or trout, flaked up. It’s a great way to use up last night’s dinner.
Q: Do these reheat well?
A: Yes, but skip the microwave. The air fryer is your best bet. 350°F for 3-4 minutes brings the crispiness right back. You can also reheat them in a dry skillet over medium heat for about 2 minutes per side.
Q: What do you serve with these?
A: A simple tomato soup is my favorite pairing — it’s classic and comforting. Or a crunchy green salad with lemon vinaigrette to cut the richness. My kids love them with sweet potato fries on the side.
More Recipes My Family Asks For on Repeat
If you liked this one, here are a few others that get the same reaction at our dinner table:
- Classic Chicken Salad — The one my husband requests every time we have leftover roasted chicken.
- Black Bean Quesadillas — Ready in 10 minutes and the only way I can get my kids to eat beans.
- Quick Tomato Soup — The perfect partner for this wrap. I make it with canned San Marzanos and it tastes like it simmered all day.
This is one of those recipes that started as a “let’s see what happens” moment and turned into a regular on our dinner rotation. I hope it becomes that for you, too. If you make these, leave a comment below and let me know how they turned out — I love hearing from you.
📌 Save this easy tuna melt wrap recipe for your next busy weeknight or lazy Sunday lunch — it’s ready in 15 minutes and incredibly satisfying.
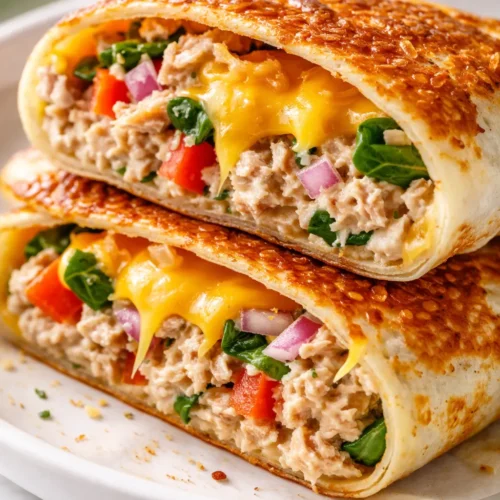
Tuna Melt Wraps That Are Actually Crispy (Ready in 15 Minutes!)
Equipment
- Large Non-Stick Skillet
- Mixing Bowl
- Spatula
- Sharp Knife
- Cutting Board
Ingredients
For the Tuna Salad
- 2 cans (5 oz each) canned tuna (packed in water)
- 3 tbsp mayonnaise
- 1 tbsp fresh lemon juice
- 1 stalk finely diced celery
- 2 tbsp grated red onion
- salt and black pepper to taste
For the Wraps
- 2 large burrito-sized flour tortillas
- 1 cup shredded sharp cheddar or provolone
Instructions
- In a bowl, combine the drained tuna, mayonnaise, lemon juice, finely diced celery, and grated red onion. Add a good pinch of salt and several cracks of black pepper. Give it a taste and adjust – the filling should be creamy and bright, with a distinct crunch from the celery.
- Place a large non-stick skillet over medium heat. Give it a full minute to warm up before adding anything. A drop of water should sizzle gently on the surface – not aggressively, just a steady dance.
- Lay a tortilla flat on the cutting board. Sprinkle a generous layer of shredded cheese (about 1/4 cup) all over the surface – edge to edge, but leave a 1-inch border around the rim. This is your moisture barrier.
- Spoon half the tuna salad (about 1/2 cup) down the center of the tortilla in a straight line. Top with another 1/4 cup of cheese on top of the tuna. Don’t overstuff – a tightly wrapped tortilla cooks more evenly and stays sealed.
- Fold the sides of the tortilla inward over the filling, then roll it away from you into a tight cylinder, tucking the seam underneath. The cheese barrier will feel slightly tacky, which helps seal the edge.
- Place it seam-side down in the hot pan. Press gently with the spatula for 10 seconds to encourage even browning. You should hear a steady, low sizzle. If it’s loud and popping, turn the heat down.
- Cook for 2-3 minutes per side, until the tortilla is deeply golden and crisp in patches, and the cheese is visibly oozing from the edges. The wrap should feel firm when you press on it.
- Transfer the wrap to the cutting board and let it rest for exactly 60 seconds. This lets the cheese set slightly so the filling stays put when you cut into it.
- Slice diagonally with a serrated knife – it cuts cleanly without squishing the filling. Serve immediately.
Notes
Related posts:
 Mini Quiche Recipe: The Store-Bought Crust Version That Tastes Like You Made It From Scratch
 The Slow Cooker Cowboy Casserole That Saves Tired Weeknights (No Soggy Tots Allowed)
 Creamy Beef and Shells for Tuesday Nights: The One-Pot Dinner My Kids Actually Ask For
 Quick Lemon Ricotta Pasta for Busy Weeknights: Creamy, Bright, and on the Table in 20 Minutes
 Juicy Oven Baked Chicken Thighs That Stay Golden and Tender — in 40 Minutes
 Lemon Garlic Butter Baked Salmon in Foil That’s Ready in 25 Minutes — No Fuss, No Mess