
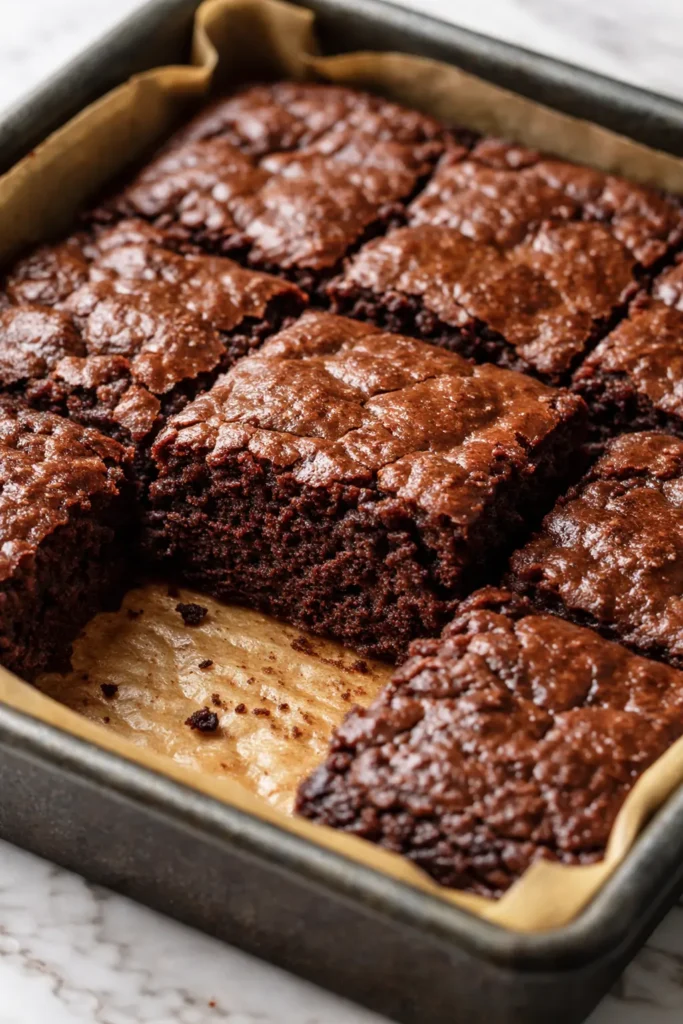
My daughter Nora called from Savannah last week, homesick. She didn’t ask for a pep talk. She asked if I was making the zucchini brownies. The ones I sent her back with after spring break. The ones she texted me about three days later saying, “Mom, I’m addicted.” The ones that have a whole cup of shredded zucchini in them and somehow taste richer than any box mix I grew up on.
The short version: These take 15 minutes to mix, 35 to bake, and they disappear faster than any other brownie I’ve ever made. My picky nine-year-old neighbor asked for the recipe.
I’ve made these about thirty times now — tinkering with the flour ratio, testing different sweeteners, and learning the hard way that not squeezing the zucchini dry enough turns a fudgy brownie into a soggy one. This version is the one that finally earned a permanent spot in my rotation.
- Serves: Makes 16
- Hands-On Time: 15 min | Total Time: 40 min
- Difficulty: Weekday-easy — you don’t even need a mixer
- Cost per serving: About $0.75
- Calories: ~170 per brownie
- Dietary Notes: Easily gluten-free. Kid-tested, kid-approved.
(Photo above: overhead shot of a perfectly square fudgy brownie being lifted from a stack on a wooden cutting board, a slight crumb scattered on the surface, afternoon sunlight catching the glossy chocolate top and a few melted chocolate chip pockets.)
Why These Don’t Taste Healthy (in the Best Way)
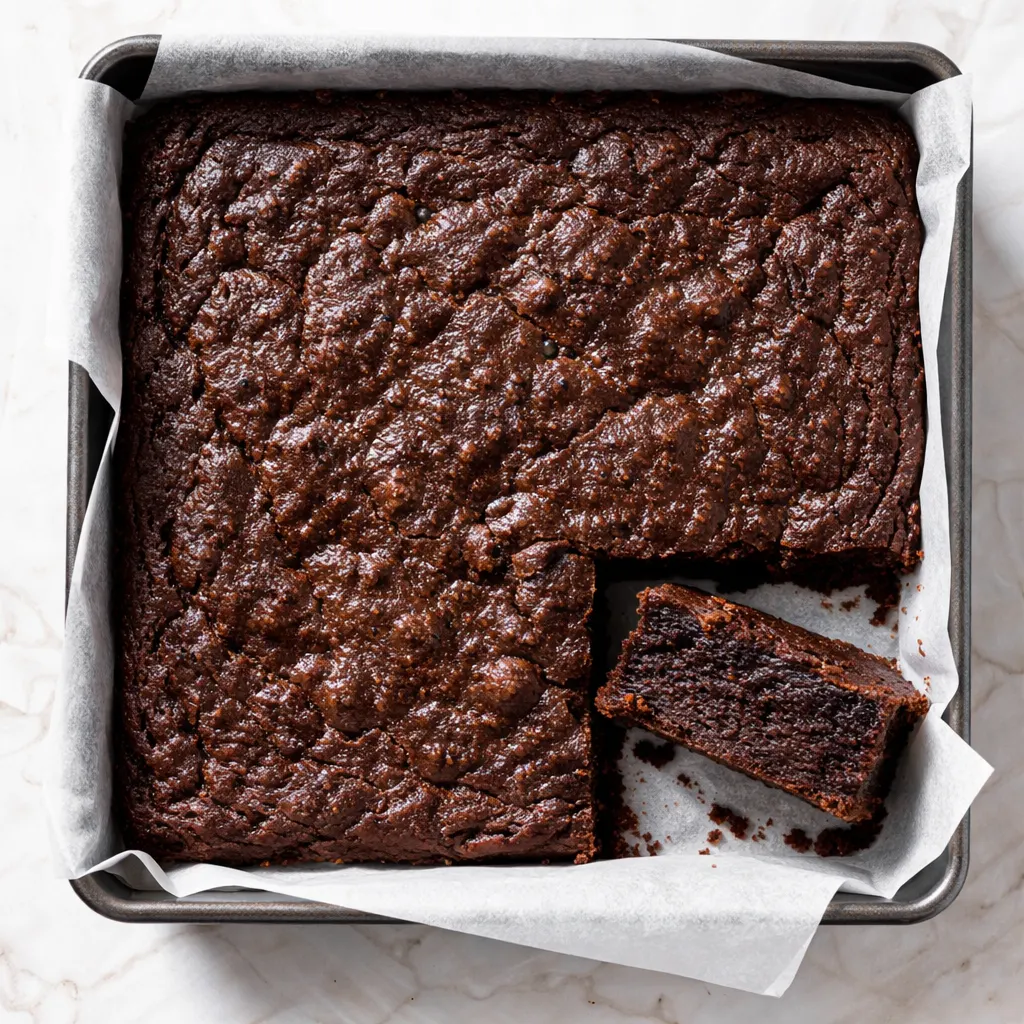
The zucchini isn’t here to be a hero. It’s here to do one job: add moisture so deep that the brownies stay fudgy for four days. I learned the hard way that skipping the squeeze-out step makes them soggy. The trick is grating it fine, salting it lightly, and squeezing every drop of water out before it goes into the bowl. What’s left is fiber and tenderness — nothing watery. The cocoa and chocolate chips do the heavy lifting for flavor. The zucchini just keeps everything impossibly soft.
Ingredients Worth Talking About (Especially the Zucchini)
- 1 ½ cups shredded zucchini (about 1 medium): Don’t peel it. The green flecks disappear into the batter, but they keep the texture tender. I squeeze mine dry in a clean kitchen towel over the sink. You’ll be shocked how much water comes out — keep going until no more drips.
- ½ cup unsalted butter (or coconut oil): Butter gives the best flavor, but coconut oil works beautifully if you’re dairy-free. My daughter Nora actually prefers the coconut oil version — says it makes the top shinier.
- ¾ cup granulated sugar (or ½ cup maple syrup): Sugar gives the crackly top. Maple syrup makes them softer and less sweet. Both are good. If you use maple syrup, reduce the zucchini moisture squeeze slightly — the syrup adds liquid.
- 2 large eggs: They give the brownies structure. Let them come to room temperature so they emulsify properly with the butter.
- ¾ cup cocoa powder: Use natural unsweetened, not Dutch-process. The acidity helps the brownies rise. I’ve tested Dutch-process and they come out flatter — still delicious, but different.
- ½ cup all-purpose flour (or ⅓ cup almond flour + 2 tbsp oat flour): AP flour gives the classic texture. The gluten-free blend I listed is my go-to for my sister’s family. Don’t use straight coconut flour — it soaks up all the moisture and leaves them dry.
- ½ tsp salt: Essential. Cocoa needs salt to taste like chocolate, not dirt.
- ½ tsp baking powder: A tiny lift. Not enough to make them cakey — just enough to keep them from being bricks.
- ½ cup dark chocolate chips: The pockets of melted chocolate are what sell these to kids and adults alike. I fold them in last and reserve a handful for the top before baking.
The Setup (It’s Minimal, I Promise)
- 9×9-inch metal or glass baking dish — metal gives crispier edges, glass gives softer ones. Both work.
- Box grater (the large holes, not the tiny ones)
- Clean kitchen towel or cheesecloth (for squeezing the zucchini — paper towels tear)
- Large mixing bowl and a whisk (no mixer needed!)
- Parchment paper (for lifting the whole block out cleanly)
Let’s Make Them (Start to Finish)
The oven does the hard work. You just have to mix and pour. Read through once first — it’s fast.
Prep: Heat the oven to 350°F. Line a 9×9 pan with parchment paper so it hangs over two sides. (📸 Photo tip: The paper folded over the edges like handles.)
- Grate and squeeze: Grate the zucchini using the large holes of a box grater. Toss with a pinch of salt and let sit for 5 minutes. Transfer to a clean kitchen towel, wrap it up, and wring it out over the sink. Keep squeezing until the water stops running. You’ll have about 1 cup of dry shreds left. (📸 Photo tip: A close-up of the towel with water streaming out — this is the step everyone asks about!)
- Melt the butter: In a large microwave-safe bowl, melt the butter (or coconut oil) with the sugar. Whisk until smooth. Let it cool for 2 minutes so it doesn’t cook the eggs.
- Add eggs and vanilla: Whisk in the eggs one at a time, then the vanilla. The mixture should look glossy and thick.
- Fold in the dry ingredients: Sift the cocoa powder, flour, salt, and baking powder over the wet mixture. Fold gently with a rubber spatula until just combined — no white streaks, but don’t overmix. Overmixing develops gluten and makes them tough.
- Add zucchini and chocolate chips: Fold in the squeezed zucchini and most of the chocolate chips. The batter will be thick and smell deeply of chocolate.
- Bake: Pour the batter into the prepared pan. Sprinkle the reserved chocolate chips on top. Bake for 30–35 minutes. The edges will pull away from the pan and the top will look set. A toothpick inserted in the center should come out with a few moist crumbs attached — not wet batter, not dry crumbs.
- Cool completely: This is the hardest part. Transfer the pan to a wire rack and let the brownies cool for at least 30 minutes before lifting them out. They continue to set as they cool. Cutting them warm gives you crumbs and sadness.
How I Stretch These Across the Week
I bake a double batch on Sunday afternoon. They’re gone by Wednesday, but here’s how I’d stretch them further if my family had more restraint.
- Fridge: In an airtight container for up to 5 days. Place a paper towel on the bottom to absorb any extra moisture. Change the towel on day 3.
- Freezer: Yes! Wrap individual brownies in plastic wrap, then foil, then place in a freezer bag. They last 3 months. Thaw on the counter for 30 minutes or microwave for 20 seconds.
- Reheat: 10 seconds in the microwave makes them taste fresh from the oven. For a crispy edge, heat in a dry skillet for 30 seconds per side.
Things I Wish I’d Known the First Time
- Squeeze until it’s almost dry: I know it feels like you’re throwing away good zucchini. You’re not. You’re removing the one thing that turns brownies into pudding. Keep wringing until no more water comes out.
- Don’t overmix the batter: Once the flour goes in, stir only until the last white streak disappears. Overmixing makes the brownies tough and cakey — the opposite of what we want.
- Let them cool before cutting: I know the smell is intoxicating. I know you want a warm brownie. But warm brownies are soft and crumbly and they haven’t finished setting. Give them the full 30 minutes on the counter. The texture you’re waiting for develops during that rest.
- Use good cocoa: This is the one ingredient you shouldn’t skimp on. Cheap cocoa tastes flat and dusty. Good cocoa tastes fruity and dark. It’s the difference between a brownie that’s fine and one that’s unforgettable.
Swaps That Actually Work
- Gluten-Free: Use ⅓ cup almond flour + 2 tablespoons oat flour instead of all-purpose flour. Don’t use straight coconut flour — it absorbs too much moisture and leaves the brownies dry.
- Dairy-Free: Use coconut oil instead of butter. Use dairy-free chocolate chips. The texture is slightly softer but still fudgy.
- Lower Sugar: Reduce the sugar to ½ cup. The brownies will be less sweet and the top won’t crackle as much, but they’re still delicious. I do this version for after-school snacks.
- Spicy: Add ½ teaspoon cinnamon and ¼ teaspoon cayenne pepper to the dry ingredients. The warmth of the spices pairs beautifully with the dark chocolate. My husband’s favorite.
Questions I Get About These Brownies All the Time
Q: Why did my brownies turn out gummy?
A: Ugh, I’ve been there. It means they needed more time in the oven, or the zucchini wasn’t squeezed dry enough. Check your oven temperature with a thermometer — many run cool. And next time, squeeze the zucchini harder. I promise it’s the right move.
Q: Can I use all-purpose flour instead of the gluten-free blend?
A: Yes, absolutely. Use ½ cup all-purpose flour. The texture will be slightly more traditional — a little fluffier, but still fudgy. I’ve tested it both ways and both are excellent.
Q: How long do these last? Can I freeze them?
A: They keep in an airtight container at room temperature for 3 days, or in the fridge for up to 5. And yes, they freeze beautifully. Wrap individual brownies tightly in plastic wrap, then foil, and store them in a freezer bag for up to 3 months. Thaw at room temperature or warm in the microwave for 20 seconds.
Q: What do you serve with these?
A: My kids love them with a glass of cold milk. I love them with a scoop of vanilla ice cream and a sprinkle of flaky salt. For brunch, I’ll serve them warm with a dollop of whipped cream. They’re versatile enough for any occasion.
More Recipes My Family Makes on Repeat
If you liked these, here are a few others that get the same reaction at our table:
- Heidi’s Best Banana Bread — The one that’s been tested 43 times, with the perfectly crackly top and tender crumb.
- Never-Soggy Chicken and Rice Bake — Every version I made for two years was fine. This batch? My sister asked for the recipe before I’d finished eating.
- One-Bowl Peanut Butter Cookies — No mixer, no chill time, and they disappear just as fast as these brownies.
These brownies have become my go-to for bake sales, after-school snacks, and quiet afternoons when I need something chocolate. They’re the kind of recipe that proves you don’t have to choose between “healthy” and “delicious” — you just have to know where to put the zucchini.
If you try them, drop a comment below and let me know how they turned out. I love hearing about the variations you come up with — my readers are the most creative people I know.
📌 Pin this fudgy zucchini brownie recipe for your next bake sale or healthy snack prep — you’ll be surprised how fast they disappear!
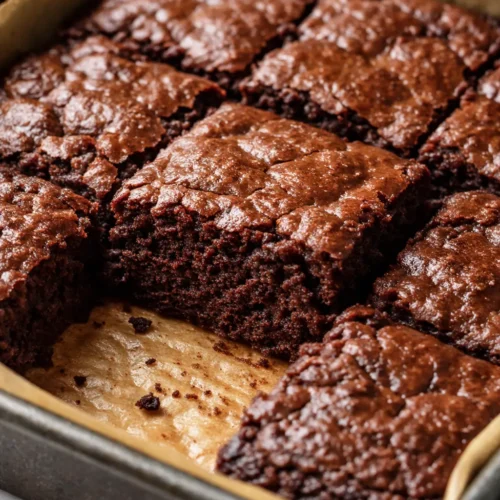
Healthy Zucchini Brownies
Equipment
- 9×9-inch baking dish
- Box Grater
- Clean Kitchen Towel
- Large Mixing Bowl
- Whisk
- Parchment Paper
Ingredients
- 1 1/2 cups shredded zucchini (about 1 medium zucchini)
- 1/2 cup unsalted butter (or coconut oil)
- 3/4 cup granulated sugar (or 1/2 cup maple syrup)
- 2 large eggs
- 1 tsp vanilla extract
- 3/4 cup unsweetened cocoa powder
- 1/2 cup all-purpose flour (see notes for gluten-free)
- 1/2 tsp salt
- 1/2 tsp baking powder
- 1/2 cup dark chocolate chips
Instructions
- Preheat the oven to 350°F. Line a 9×9-inch baking dish with parchment paper, letting it hang over two sides.
- Grate the zucchini using the large holes of a box grater. Toss with a pinch of salt and let sit for 5 minutes. Transfer to a clean kitchen towel, wrap tightly, and wring out over the sink until no more water drips. Set aside.
- In a large microwave-safe bowl, melt the butter (or coconut oil) with the sugar. Whisk until smooth. Let cool for 2 minutes.
- Whisk in the eggs one at a time, then the vanilla. The mixture should be glossy and thick.
- Sift the cocoa powder, flour, salt, and baking powder over the wet mixture. Fold gently with a rubber spatula until just combined – no white streaks. Do not overmix.
- Fold in the squeezed zucchini and most of the chocolate chips. The batter will be thick.
- Pour into the prepared pan. Sprinkle reserved chocolate chips on top. Bake for 30-35 minutes, until edges pull away and a toothpick inserted in the center comes out with a few moist crumbs. Cool completely in the pan on a wire rack for at least 30 minutes before lifting out and cutting.
Notes
Related posts:
 The Slow Cooker Cowboy Casserole That Saves Tired Weeknights (No Soggy Tots Allowed)
 Lemon Garlic Butter Baked Salmon in Foil That’s Ready in 25 Minutes — No Fuss, No Mess
 Moist Chocolate Zucchini Bread That Doesn’t Turn Out Rubbery — Finally
 Creamy Homemade Strawberry Dole Whip (That Tastes Just Like the Real Thing)
 Blueberry Peach Bread That Doesn’t Sink or Turn Mushy — Finally
 Quinoa Chicken Sausage Bowls That Are Ready in 30 Minutes (And Actually Keep Well)