
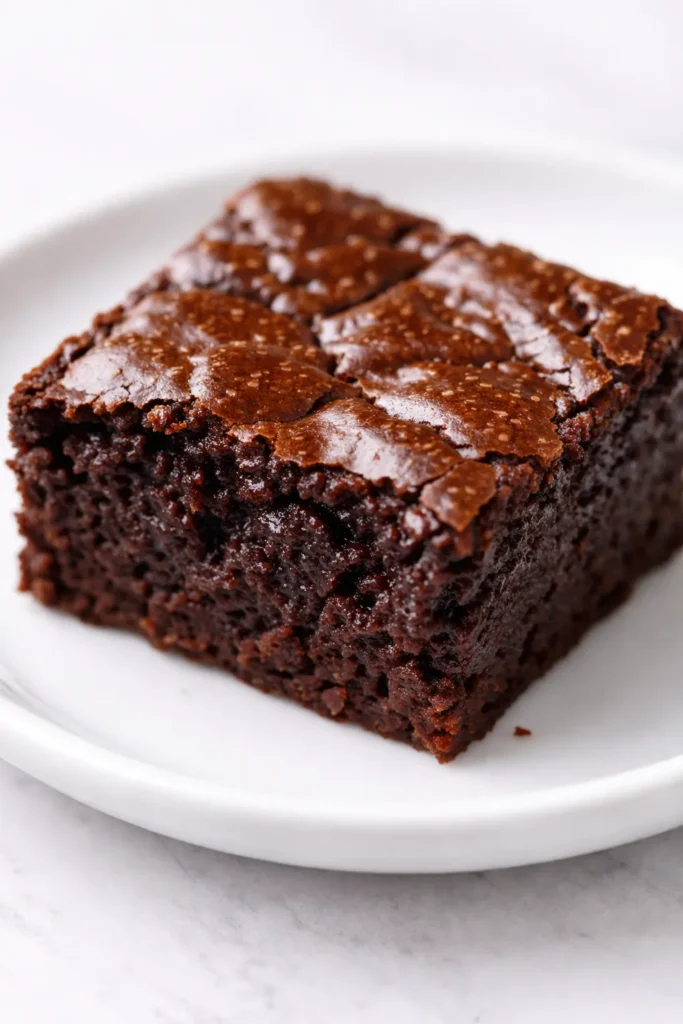
I have a confession: for about two years, every single “healthy” brownie recipe I tried ended up in the trash. Some were grainy. Some were dry enough to crack a tooth. And some had that unmistakable protein powder aftertaste that lingers on the roof of your mouth long after you’ve given up. I was about to swear off the whole idea for good.
Then I made these.
The short version: Ten minutes of blender work, twenty minutes in the oven, and you get fudgy, deeply chocolate brownie bites that just happen to pack a serious protein punch.
My neighbor texted me for the recipe before I’d even finished the dishes. My daughter Nora, who can spot a covert health ingredient from across the room, ate three before I could tell her what was in them. When I finally told her, she just shrugged and asked if I’d made a second batch.
- Serves: 16 bites (as a snack or dessert)
- Hands-On Time: 10 min | Total Time: 30 min
- Difficulty: Easy — if you can use a blender, you’ve got this
- Cost per serving: ~$0.65
- Calories: ~145 per bite
- Dietary Notes: Gluten-free, naturally high-protein (8g per bite), easily made dairy-free
(Photo above: A small stack of deep chocolate brownie bites on a scarred wooden board, one broken open to reveal a fudgy center studded with melted dark chocolate chips, photographed in warm late-afternoon light from a west-facing window.)
The Secret Ingredient You Won’t Taste
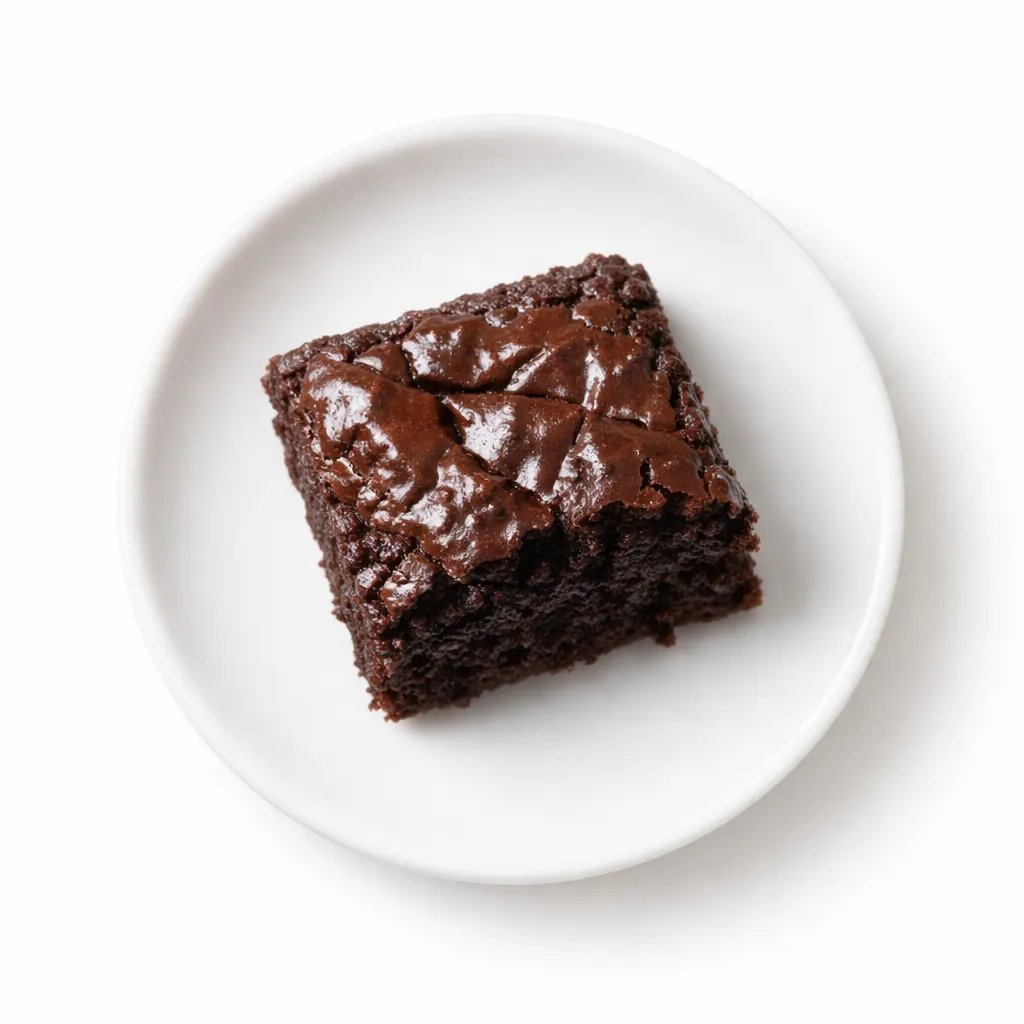
These brownie bites get their fudgy texture from a can of black beans. Before you click away — I promise you cannot taste them. Not even a hint. The cocoa powder and maple syrup do their jobs beautifully. What the beans do is create that dense, moist, almost fudgy crumb that a handful of almonds or a scoop of protein powder just can’t replicate. They add bulk and moisture without making the brownies taste like anything other than chocolate.
The second trick is almond flour instead of regular flour. Almond flour adds fat instead of starch, which keeps the bites tender and prevents the dreaded sponge-cake texture that plagues so many healthy brownies. Between the beans and the almond flour, these come out at around 8 grams of protein per bite — naturally, without a single scoop of powder.
I’ve made these at least thirty times to get the ratios right. The version I’m sharing today is the one that disappears fastest at my house.
Everything You Need (Plus My Honest Notes)
- 1 can (15 oz) black beans, rinsed and drained: This is the whole trick. Rinse them really well — you want the bean flavor gone, just the texture remains. I learned the hard way that cheap beans with more liquid make the batter too runny. Go for a good brand like Goya or Bush’s.
- 2 large eggs: They bind everything and add protein. My daughter once tried subbing flax eggs for a vegan version and it was gummy. Stick with real eggs here.
- 1/3 cup maple syrup: Maple gives a deeper, almost caramel sweetness than honey. Honey works too, but the maple flavor complements the chocolate in a way that makes you forget these are “healthy.” I’ve tested this with both — maple wins every time.
- 1/4 cup coconut oil or unsalted butter, melted: Coconut oil keeps them dairy-free if you need it. Butter makes them slightly richer. Use melted and slightly cooled — hot oil will cook the eggs before they hit the oven.
- 1/3 cup unsweetened cocoa powder: Dutch-processed cocoa gives a darker, more mellow chocolate flavor. Natural works too — just expect a slightly sharper, brighter taste. I keep both in my pantry and reach for Dutch-processed when I want that deep, almost black-brownie color.
- 1/2 cup almond flour: Not almond meal — the fine flour is key. It disappears into the batter and keeps these tender. If you only have almond meal, pulse it in a food processor for a few seconds to break down the bigger pieces.
- 1 tsp vanilla extract: It rounds everything out. I always use real vanilla, not imitation. Marta would have said the same.
- 1/2 tsp baking powder: Don’t skip this. It gives them just enough lift to avoid being hockey pucks. One time I forgot it and the brownies were dense enough to use as doorstops.
- 1/4 tsp salt: A pinch of salt makes the chocolate taste more chocolatey. I use fine sea salt.
- 1/3 cup dark chocolate chips (plus a few extra for the tops): The little pockets of melted chocolate are what make these feel like a treat. My kids will pick these out of the batter if I let them.
The Simple Setup
- A blender or small food processor — I use a Ninja, but any sturdy blender works
- A 24-count mini muffin tin (this recipe makes about 16, so you might need two batches or just fill the empty cups with water so the tin doesn’t warp)
- Silicone liners or a good non-stick spray — I swear by silicone for these. They slide right out
Let’s Make Them: From Blender to Bites in 30 Minutes
This goes fast, so read through once before you start. Everything happens in the blender, which means exactly one bowl to wash.
First, get the oven ready:
- Preheat your oven to 350°F. Line your mini muffin tin with silicone liners or give it a generous spray with non-stick spray.
- Blend the wet ingredients and beans: In your blender or food processor, combine the rinsed black beans, eggs, maple syrup, melted coconut oil (or butter), and vanilla extract. Blend on high for about 30 seconds, until the mixture is completely smooth. Scrape down the sides once or twice. You want absolutely no bean chunks — that’s what makes the texture fudgy instead of gritty. (📸 Photo tip: The mixture should look like a thick, dark chocolate milkshake — completely uniform, no flecks.)
- Add the dry ingredients: Add the cocoa powder, almond flour, baking powder, and salt to the blender. Blend again on low, then increase to high for 15-20 seconds. Scrape down the sides once more and blend until the batter is glossy and smooth. It should be thick enough to mound in a spoon — not runny. If it’s too runny, add an extra tablespoon of almond flour.
- Fold in the chocolate chips: Remove the blender jar from the base. Stir in the dark chocolate chips with a spatula. If you over-blend the chips, they’ll melt into the batter and you’ll lose those pockets of melted chocolate. Fold them in gently. (📸 Photo tip: You want distinct chips visible in the dark batter before it goes into the muffin tin.)
- Fill the cups: Spoon the batter into the prepared mini muffin cups, filling them almost to the top. These don’t rise much, so you want a generous amount in each cup. Press a few extra chocolate chips onto the tops of each bite — this makes them look bakery-level pretty.
- Bake the brownie bites: Bake for 18-22 minutes, rotating the pan halfway through. The edges should look set and just barely start to pull away from the liner. The center will look soft and slightly puffed — it shouldn’t look jiggly, but it will be tender. My oven runs slightly cool, so I always check at 18 minutes. If the center still looks wet and wobbly, give it the full 22.
- Cool completely: This is the hardest step. Let the brownie bites cool in the pan for exactly 10 minutes. Then transfer them to a wire rack to cool completely. I know it’s tempting to eat one warm, but they firm up dramatically as they cool. The texture you’re making them for doesn’t exist until they’ve come to room temperature. Trust the process.
Make a Batch on Sunday, Eat All Week
These are my go-to for Sunday afternoon prep. I make a double batch, keep a few in the fridge for school lunches, and stash the rest in the freezer for after-dinner cravings. My daughter grabs them on her way out the door in the morning, and they’re just as good on day four as they were on day one.
- Fridge: Store in an airtight container for up to 5 days. I microwave one for about 10 seconds to get that just-baked softness back.
- Freezer: Yes! These freeze beautifully for up to 3 months. I double-wrap them individually in plastic wrap and then toss them in a freezer bag. They thaw in about 15 minutes at room temperature, or 20 seconds in the microwave.
- Reheat: Microwave is fine (10-15 seconds), but if you’re making a plate for guests, pop them in a 300°F oven for 5 minutes. The edges get slightly crisp and the centers stay soft.
Things I Wish I’d Known the First Time
- Don’t skip the baking powder. I made that mistake once. The brownies came out dense and flat, more like a bean fudge than a brownie. That half teaspoon makes the difference between a brick and a bite that feels like the real thing.
- Taste the batter before you add the eggs. Okay, you can’t taste it once the eggs are in, but before that final blend, dip a finger in. If it’s not sweet enough for you, add another tablespoon of maple syrup. The sweetness level is totally personal — I like mine on the dark, slightly bitter side, but my sister always adds extra syrup.
- Let them cool completely. I know I said this above, but it’s worth repeating. Warm brownies are good. Cooled brownies are the brownies you’re dreaming about. The texture sets, the chocolate chips solidify, and the flavor deepens overnight. Honestly, day two is the peak.
- Every oven runs differently. My friend’s oven bakes hot and her batch was done at 17 minutes. Start checking at 15 minutes if your oven runs hot. A toothpick inserted into the center should come out with a few moist crumbs attached — not clean, not wet batter.
Swaps That Actually Work (Plus the Ones That Don’t)
- Dairy-Free Version: Use coconut oil instead of butter and make sure your chocolate chips are dairy-free. This is the version my neighbor makes — she keeps a stash in her freezer for late-night cravings.
- Nut-Free Version: Swap the almond flour for oat flour (just blitz rolled oats in the blender until they’re a fine powder). The texture is slightly more cakey and less fudgy, but it’s still really, really good. My kids’ friend has a tree nut allergy and she loves this version.
- Peanut Butter Swirl: After you fill the muffin cups, drop a small dollop of peanut butter on top of each one and swirl it with a toothpick. Bake as directed. This is my husband’s favorite — he calls it a “protein buckeye.”
- Make it a Full-Size Brownie: Pour the batter into a greased 8×8 pan and bake for 22-25 minutes. Check the center with a toothpick. The bake time will be longer, but it works perfectly.
- No Chocolate Chips? Use chopped dark chocolate or even white chocolate chips. But don’t leave them out entirely — the little pockets of melted chocolate are what make these feel like a treat instead of a health food.
Questions I Get All the Time
Q: Why did my brownie bites turn out dry?
A: Ugh, I’ve been there. The most likely culprit is over-baking. Since these are mini bites, they go from perfectly fudgy to dry in about two minutes. Check them at 18 minutes next time. You want them just set in the center — a toothpick should come out with moist crumbs, not clean.
Q: Can I use a different kind of bean?
A: Chickpeas work, but the texture is slightly grainier and the flavor is more noticeable. I’ve tested it and the black beans are truly the best for that dark, fudgy chocolate thing we’re going for. If all you have are chickpeas, add an extra tablespoon of cocoa powder to mask the flavor.
Q: Can I add a scoop of protein powder?
A: You can, but you have to adjust the liquid. Whey protein will dry them out; plant protein can make them gritty. If you really want to add it, reduce the almond flour by 2 tablespoons and add an extra egg or 1/4 cup of applesauce. I prefer the recipe as written — the beans and eggs provide plenty of protein without the weird aftertaste.
Q: What do you serve with these?
A: They’re perfect on their own with a glass of cold milk, but honestly, I love them crumbled over a bowl of vanilla Greek yogurt for a high-protein breakfast. Sometimes I warm one up and top it with a scoop of vanilla ice cream for a full-on dessert. My kids love them straight out of the freezer in their lunch boxes.
More Recipes My Family Makes on Repeat
If you loved these brownie bites, you’ll probably want a few more go-to snacks in your rotation. Here are the ones that get the most repeats at my house:
- Soft Baked Protein Cookies — Cakey, chewy, and packed with protein. My daughter takes these to her art studio for a midday pick-me-up.
- The Fudgy Black Bean Brownies — The full-size version of these bites, perfect for feeding a crowd.
- No-Bake Peanut Butter Protein Bites — Five ingredients, no oven, and ready in ten minutes. The ultimate emergency snack.
These are the kind of brownie bites you make on a Sunday afternoon and find yourself reaching for all week long. They hit that spot between a healthy snack and a real dessert, without pretending to be something they’re not. They’re fudgy. They’re chocolatey. And they just happen to be good for you.
If you make a batch, I’d love to hear how they turn out. Drop a comment below and tell me your favorite variation — I’m always looking for new ideas to test in my kitchen.
📌 High Protein Brownie Bites that taste fudgy, rich, and nothing like a health bar — save this recipe for your next healthy snack prep!
High Protein Brownie Bites
Equipment
- Blender
- Mini Muffin Tin
- Silicone Liners
Ingredients
- 1 can (15 oz) black beans, rinsed and drained
- 2 large eggs
- 1/3 cup maple syrup
- 1/4 cup coconut oil (or unsalted butter), melted
- 1/3 cup unsweetened cocoa powder
- 1/2 cup almond flour
- 1 tsp vanilla extract
- 1/2 tsp baking powder
- 1/4 tsp salt
- 1/3 cup dark chocolate chips
Instructions
- In your blender or food processor, combine the rinsed black beans, eggs, maple syrup, melted coconut oil (or butter), and vanilla extract. Blend on high for about 30 seconds, until the mixture is completely smooth. Scrape down the sides once or twice. You want absolutely no bean chunks.
- Add the cocoa powder, almond flour, baking powder, and salt to the blender. Blend again on low, then increase to high for 15-20 seconds. Scrape down the sides once more and blend until the batter is glossy and smooth. It should be thick enough to mound in a spoon — not runny. If it’s too runny, add an extra tablespoon of almond flour.
- Remove the blender jar from the base. Stir in the dark chocolate chips with a spatula. Fold them in gently if you over-blend the chips, they’ll melt into the batter and you’ll lose those pockets of melted chocolate.
- Spoon the batter into the prepared mini muffin cups, filling them almost to the top. Press a few extra chocolate chips onto the tops of each bite.
- Bake for 18-22 minutes, rotating the pan halfway through. The edges should look set and just barely start to pull away from the liner. The center will look soft and slightly puffed — it shouldn’t look jiggly, but it will be tender. Check at 18 minutes; if the center still looks wet and wobbly, give it the full 22.
- Let the brownie bites cool in the pan for exactly 10 minutes. Then transfer them to a wire rack to cool completely. They firm up dramatically as they cool.
Notes
Related posts:
 High-Protein Overnight Oats That Actually Taste Like Breakfast (Not a Chalky Disaster)
 Mini Quiche Recipe: The Store-Bought Crust Version That Tastes Like You Made It From Scratch
 The Slow Cooker Cowboy Casserole That Saves Tired Weeknights (No Soggy Tots Allowed)
 Quick Lemon Ricotta Pasta for Busy Weeknights: Creamy, Bright, and on the Table in 20 Minutes
 Juicy Oven Baked Chicken Thighs That Stay Golden and Tender — in 40 Minutes
 Lemon Garlic Butter Baked Salmon in Foil That’s Ready in 25 Minutes — No Fuss, No Mess