
The first time I made mint chocolate chip ice cream that actually tasted like something — not just frozen sweet cream with green dye — I was standing in my grandmother Marta’s kitchen in late July, stirring a pot of cream and fresh mint. The smell was so bright and clean it cut through the humid North Carolina air. I knew right then that the boxed stuff would never be the same.
The key, Marta taught me, is building the mint flavor in layers. Fresh mint steeped into the cream gives you the garden-fresh backbone. A splash of peppermint extract gives you that iconic punch we all grew up loving at the parlor.
And the texture? No ice cream maker required. This is a no-churn custard base that freezes soft enough to scoop right out of the freezer, every single time.
The short version: A 20-minute stovetop custard base that churns up perfectly creamy in your stand mixer — no fancy machine needed.
My nine-year-old, who turns her nose up at most homemade desserts, declared this one “better than the store.” That is the highest praise this kitchen receives.
- Serves: 1 quart (about 8 servings)
- Hands-On Time: 20 min | Total Time: 6 hrs (includes chilling and freezing)
- Difficulty: Medium-easy — you just need to watch a pot and stay patient
- Cost per serving: ~$1.50
- Calories: ~320 per serving
- Dietary Notes: Naturally gluten-free / Can be made dairy-free with coconut cream
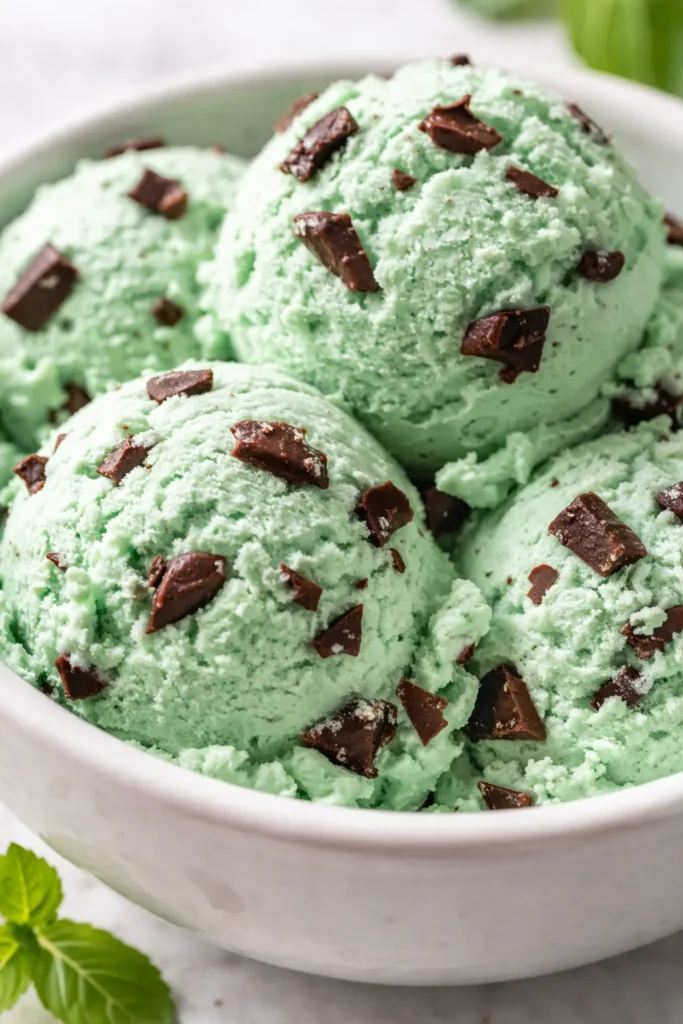
(Photo above: A generous scoop of vibrant green mint chocolate chip ice cream resting in a vintage white ceramic bowl, a sprig of fresh mint placed on top, morning light streaming from a side window casting soft shadows on the wooden table.)
Why This Ice Cream Stays Soft (No Rock-Hard Freezer Brick Here)
The biggest complaint I hear about homemade ice cream — especially no-churn — is that it freezes into a solid block. You have to let it sit on the counter for twenty minutes just to get a spoon in.
This recipe solves that in two ways.
First, the custard base. Cooking the egg yolks with the cream creates a rich, fatty mixture that freezes smoothly and resists large ice crystals. It’s the same reason French-style ice cream is famously scoopable — the fat and proteins keep the whole thing from turning into a solid sheet of ice.
Second, a little secret. A splash of vanilla vodka in the base. Don’t worry, you won’t taste it. Alcohol has a lower freezing point than water, so the ice cream stays soft even after a week in the freezer. Marta used a bit of honey. I use vanilla vodka because it doesn’t borrow from the mint flavor.
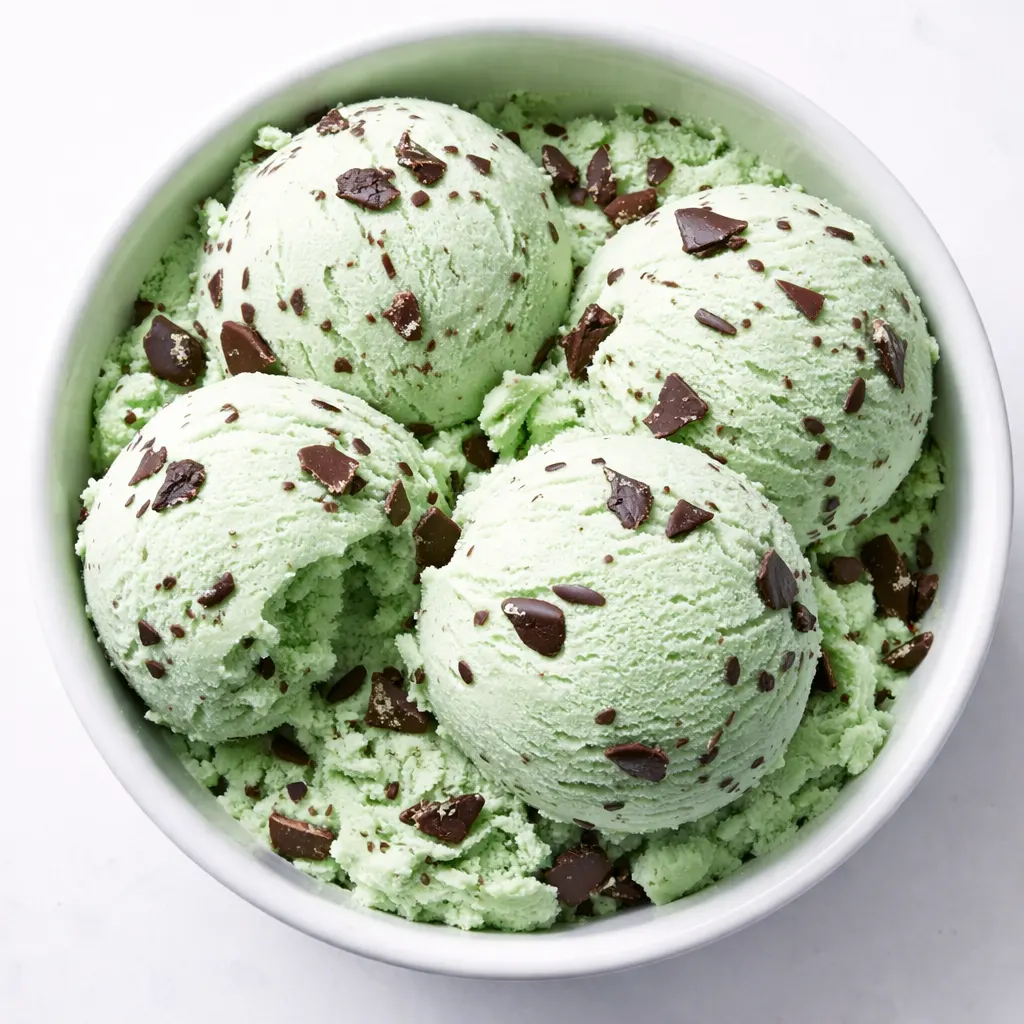
The result is a mint chip that scoops like the good stuff from the parlor — creamy, dense, and full of flavor, not ice shards.
Ingredients Worth Talking About
- 1 cup fresh mint leaves (tightly packed): This is non-negotiable for the real flavor. Use spearmint or peppermint. I wash mine the morning of, spin them dry in a salad spinner, and let them sit out for an hour so the oils concentrate.
- 2 cups heavy cream + 1 cup whole milk: The cream gives richness, the milk keeps it from getting too heavy. Don’t use half-and-half here — the texture won’t be the same.
- 5 large egg yolks: The backbone of the custard. Save the whites for an omelet or meringue.
- 3/4 cup granulated sugar: Just enough to sweeten without overwhelming the mint.
- Pinch of salt: A tiny one. It makes the mint pop and balances the sweetness.
- 1 tsp peppermint extract: This gives the “candy shop” flavor. Go for real extract, not imitation, if you can. The difference is noticeable.
- Green food coloring (optional): I use a drop of natural spirulina-based green gel. My kids insist it has to be green. I caved. You can skip it completely.
- 4 oz dark chocolate (70%), finely chopped: The “chip” component. Skip the store-bought chips — they have stabilizers that keep them from melting properly. A chopped bar gives those irregular shards that are so much better.
- 1 tbsp vanilla vodka (optional but recommended): The secret to a scoopable texture. You won’t taste it, I promise.
What You’ll Need
- Medium saucepan
- Whisk
- Fine-mesh strainer
- Large bowl (for the ice bath)
- Stand mixer or hand mixer with a cold bowl (or a blender)
- Loaf pan or freezer-safe container
- Spatula
No ice cream maker required. The stand mixer does the churning work for you.
Making Mint Chocolate Chip Ice Cream, Start to Finish
This process moves quickly once you start, so have everything measured and ready.
First, steep the mint: Combine the cream, milk, and fresh mint in a medium saucepan. Heat over medium-low until small bubbles form around the edges — about 6-8 minutes. Do not let it boil. Remove from heat, cover, and let steep for 30 minutes. (📸 Photo tip: The cream should look pale green and smell strongly of mint. If it doesn’t smell like mint, steep it longer.)
- Strain: Pour the steeped cream through a fine-mesh strainer into a clean bowl, pressing on the mint leaves to extract every drop. Discard the leaves. Rinse the saucepan.
- Temper the eggs: In a separate bowl, whisk the egg yolks, sugar, and salt together until thick and pale, about 2 minutes. Slowly pour about 1 cup of the warm cream into the yolks while whisking constantly. This is the tempering step — it keeps the eggs from scrambling.
- Cook the custard: Pour the egg mixture back into the saucepan with the remaining cream. Cook over medium-low heat, stirring constantly with a wooden spoon, until the custard thickens enough to coat the back of the spoon — about 5-7 minutes. Visual cue: Run your finger across the back of the spoon. If the line holds and doesn’t run, it’s done. The custard will look like a thick soup — not pudding yet, but close.
- Chill quickly: Immediately strain the custard into a bowl set over an ice bath. Stir in the peppermint extract, vodka (if using), and food coloring (if using). Stir occasionally until completely cool, then cover and refrigerate for at least 4 hours or overnight. (📸 Photo tip: The custard should be thick like a pudding — not runny.)
- Churn (no machine needed): Pour the chilled custard into a chilled stand mixer bowl. Whip on medium-high speed for 3-4 minutes until it looks like softly whipped cream and has doubled in volume. This is the churning — it incorporates the air.
- Fold in the chocolate: Gently fold in the chopped dark chocolate by hand. Do not overmix or the chocolate will break up too small. My kids love when I drizzle a little melted chocolate on top before freezing for those “crunch” layers.
- Freeze: Scrape the mixture into a loaf pan. Press a piece of parchment paper directly against the surface (this prevents ice crystals). Freeze for at least 6 hours, or until firm.
- Scoop and enjoy: Let it sit on the counter for 5 minutes before scooping. The texture will be creamy and smooth — just like the parlor.
Make-Ahead Notes (Because We’re All Busy)
I make a batch of this on Sunday afternoons during the summer. By Tuesday, it’s perfectly firm and my family knows exactly where to find it in the freezer for an afternoon treat.
- Fridge: The custard base can be made up to 3 days ahead. Store it covered in the fridge. Give it a good stir before churning.
- Freezer: Once fully frozen, store in an airtight container for up to 2 months. Press parchment on the surface and seal tightly to keep out freezer smells.
- Scoop: Let it sit on the counter for 10-15 minutes before scooping if it’s been in the freezer for more than a week. The texture will be perfectly creamy.
Things I Wish I’d Known the First Time
- Don’t skip the chilling. I know it’s hard to wait. But if you try to churn a warm custard, it won’t whip up properly and you’ll end up with a dense, icy block. Give it the full 4 hours in the fridge.
- Chop the chocolate small. “Finely chopped” is the goal. If the pieces are too big, they’ll sink to the bottom and freeze into hard rocks. You want shards in every bite.
- Trust the finger test. The first time I made this, I was terrified of scrambling the eggs. But the spoon test is foolproof. When the custard leaves a clean line on the back of a wooden spoon, it’s thick enough to coat and protect the eggs.
- Peppermint extract is strong. Start with 1 teaspoon. Taste the custard before freezing. If you want a stronger “candy” flavor, add another 1/4 teaspoon. But remember — flavors dull when frozen, so go a little stronger than you think you need.
Swaps That Actually Work
- Dairy-Free: Use full-fat canned coconut cream instead of the heavy cream and milk. The texture is a tiny bit icier, but still delicious. This is the version I make for my sister-in-law who’s lactose intolerant — she loves it.
- Flavor variation — Double Mint: Add 1/4 teaspoon of mint extract to the egg yolks when you whisk them. It turns into a classic “grasshopper” flavor that my husband calls “Thin Mint in a bowl.”
- Kid-Friendly: Let them add the food coloring! I use natural green spirulina powder mixed with a tablespoon of water. It gives a pale, pretty green without any artificial dyes.
- Make-ahead for a party: Make the custard base up to 3 days ahead. Then churn and freeze the morning of. Your freezer will have a beautiful quart of homemade ice cream ready for the kids’ dessert table.
Questions I Get About This Recipe All the Time
Q: Why did my custard turn out scrambled?
A: Ugh, I’ve been there. It usually happens when the heat was too high or the tempering step was rushed. Keep the burner on medium-low and add the warm cream to the eggs very slowly, whisking constantly. If you see little lumps, strain them out immediately — it might not be perfect, but it will still taste good.
Q: Can I make this without a stand mixer?
A: Absolutely! You can use a hand mixer with the beaters. Or, for the laziest version, pour the chilled custard into a blender and pulse it for 30 seconds until it’s thick and fluffy. The key is just incorporating air.
Q: How long does this last in the freezer?
A: Stored properly in an airtight container with parchment pressed on the surface, it’s good for about 2 months. After that, ice crystals start to form and the texture changes. Pro tip: Store it in the back of the freezer, not the door, where temperature fluctuates less.
Q: What do you serve with mint chocolate chip ice cream?
A: Honestly, it’s perfect on its own. But if you’re serving it as a dessert, a warm brownie or a slice of flourless chocolate cake is incredible. Or do what my kids love — a scoop on top of a warm chocolate chip cookie. The contrast of warm cookie and cold mint ice cream is *chef’s kiss*.
More Recipes My Family Makes on Repeat
If you liked this one, here are a few others that get the same reaction at our table:
- [Internal Link Placeholder: No-Churn Salted Caramel Ice Cream] — The saltiness cuts the sweetness perfectly.
- [Internal Link Placeholder: Easy Strawberry Shortcakes] — The perfect summer dessert with fresh berries.
- [Internal Link Placeholder: Grandma Marta’s Apple Cake] — The recipe that started it all for this blog.
This mint chocolate chip ice cream has become our official summer Sunday tradition. I make it in the morning while the house is still cool, and by evening we’re scooping it out on the porch. My kids are already planning their variations — I think birthday cake mix-in is next.
If you try it, drop a comment below — I love hearing how it goes for you! Or tag me on Pinterest so I can see your beautiful scoop.
📌 Homemade mint chocolate chip ice cream that freezes soft and creamy — save this no-churn recipe for your next summer gathering or Sunday afternoon treat!
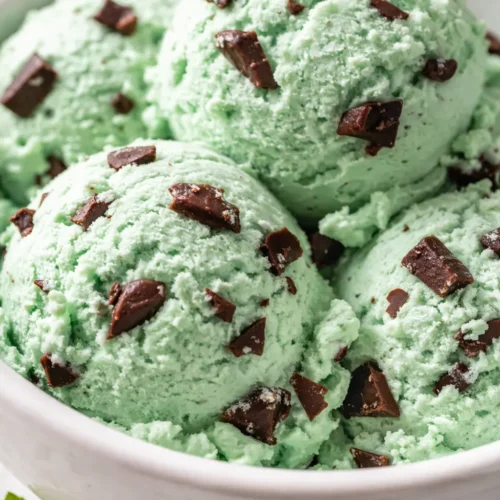
Mint Chocolate Chip Ice Cream: The No-Churn Version That Actually Stays Scoopable
Equipment
- Medium Saucepan
- Whisk
- Fine-mesh strainer
- Large Bowl
- Stand mixer or hand mixer
- Loaf pan (or freezer-safe container)
- Spatula
Ingredients
Custard Base
- 1 cup fresh mint leaves, tightly packed
- 2 cups heavy cream
- 1 cup whole milk
- 5 large egg yolks
- 3/4 cup granulated sugar
- 1 pinch salt
- 1 tsp peppermint extract
- Green food coloring (optional)
Mix-ins
- 4 oz dark chocolate (70%), finely chopped
- 1 tbsp vanilla vodka (optional)
Instructions
- Combine the cream, milk, and fresh mint in a medium saucepan. Heat over medium-low until small bubbles form around the edges — about 6-8 minutes. Do not let it boil. Remove from heat, cover, and let steep for 30 minutes. The cream should look pale green and smell strongly of mint.
- Pour the steeped cream through a fine-mesh strainer into a clean bowl, pressing on the mint leaves to extract every drop. Discard the leaves. Rinse the saucepan.
- In a separate bowl, whisk the egg yolks, sugar, and salt together until thick and pale, about 2 minutes. Slowly pour about 1 cup of the warm cream into the yolks while whisking constantly. This tempers the eggs and prevents scrambling.
- Pour the egg mixture back into the saucepan with the remaining cream. Cook over medium-low heat, stirring constantly with a wooden spoon, until the custard thickens enough to coat the back of the spoon — about 5-7 minutes. Test by running your finger across the back of the spoon; if the line holds and doesn’t run, it’s done.
- Immediately strain the custard into a bowl set over an ice bath. Stir in the peppermint extract, vodka (if using), and food coloring (if using). Stir occasionally until completely cool, then cover and refrigerate for at least 4 hours or overnight. The custard should be thick like pudding.
- Pour the chilled custard into a chilled stand mixer bowl. Whip on medium-high speed for 3-4 minutes until it looks like softly whipped cream and has doubled in volume. This incorporates the air — the no-churn churning step.
- Gently fold in the chopped dark chocolate by hand. Do not overmix or the chocolate will break up too small. For extra crunch, drizzle a little melted chocolate on top before freezing.
- Scrape the mixture into a loaf pan. Press a piece of parchment paper directly against the surface (this prevents ice crystals). Freeze for at least 6 hours, or until firm. Let sit on the counter for 5 minutes before scooping.
Notes
Related posts:
 The Slow Cooker Cowboy Casserole That Saves Tired Weeknights (No Soggy Tots Allowed)
 Lemon Garlic Butter Baked Salmon in Foil That’s Ready in 25 Minutes — No Fuss, No Mess
 Moist Chocolate Zucchini Bread That Doesn’t Turn Out Rubbery — Finally
 Creamy Homemade Strawberry Dole Whip (That Tastes Just Like the Real Thing)
 Blueberry Peach Bread That Doesn’t Sink or Turn Mushy — Finally
 Quinoa Chicken Sausage Bowls That Are Ready in 30 Minutes (And Actually Keep Well)