
The first time I made these, my daughter Nora — who is 19 and lives on Chick-fil-A and sheer determination — actually texted me from college asking for the recipe. That never happens. She’s the one who rolls her eyes when I describe what’s on the stove. But these bowls? She made them three times in two weeks for her roommates, and I’m pretty sure she’s the one who taught me a thing or two about the lime crema ratio.
The short version: One pan, 30 minutes of your life, and a chicken burrito bowl that beats anything from a foil container.
I’ve made this roughly 20 times since last fall, tweaking the spice level and the timing until the chicken comes out juicy every single time and the rice doesn’t turn into porridge. My picky nine-year-old nephew asked for it for his birthday dinner. Enough said.
- Serves: 4 as a main
- Hands-On Time: 15 min | Total Time: 30 min
- Difficulty: Easy enough for a Tuesday — even if you’re juggling homework and emails
- Cost per serving: ~$3.50
- Calories: ~550 per bowl
- Dietary Notes: Gluten-free naturally; dairy-free with a simple crema swap
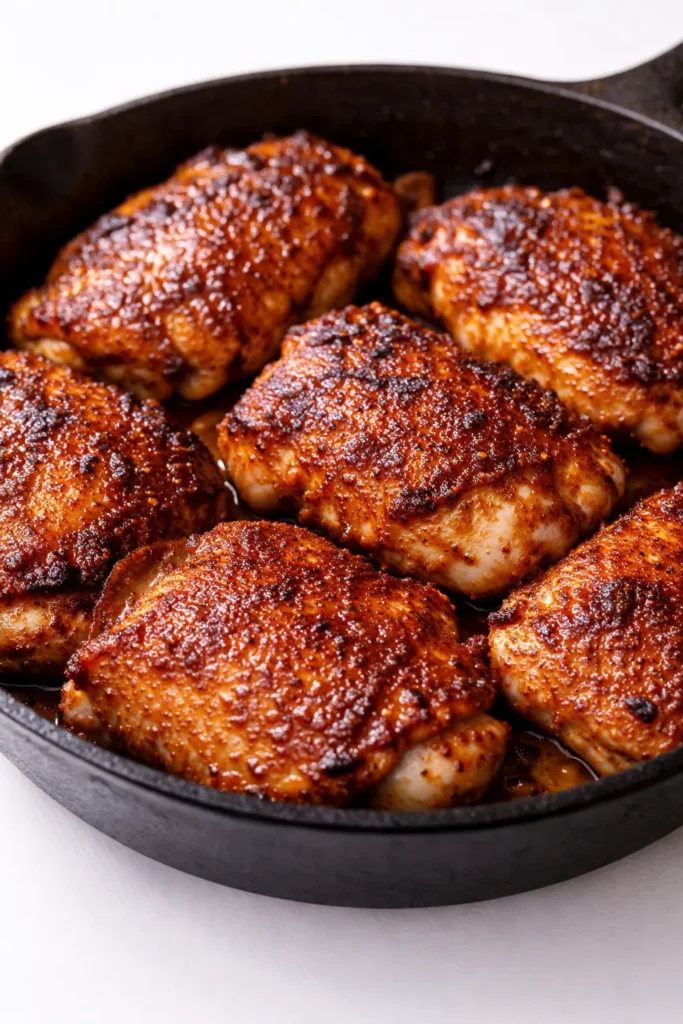
(Photo above: overhead shot of the finished burrito bowls arranged on a rustic wooden table — white bowls with brown rice, juicy chicken pieces, black beans, corn, avocado slices, and a drizzle of crema. Warm afternoon light from a window on the left edge. The toppings are vibrant: red tomatoes, green cilantro, a wedge of lime on the side.)
The One Trick That Keeps This From Being Soggy
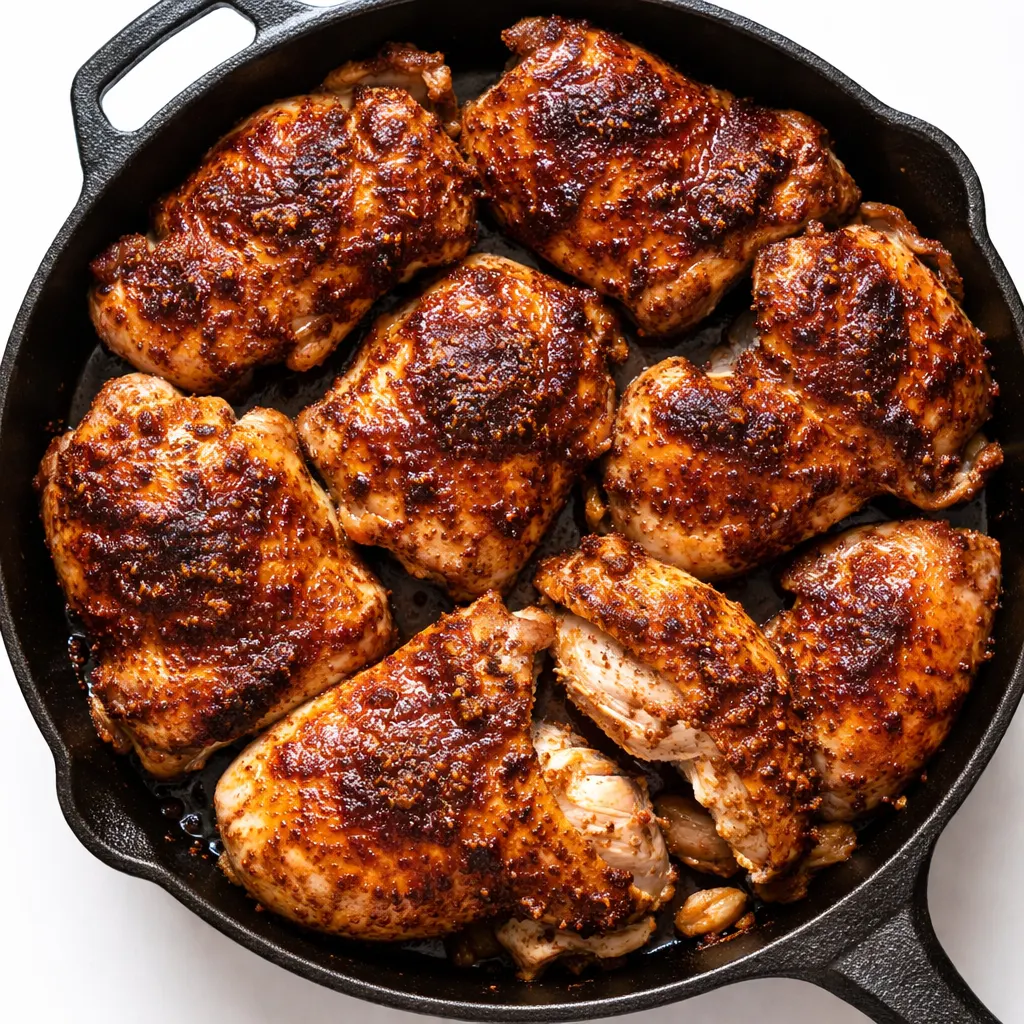
Here’s the thing about one-pan rice dishes: if you dump everything in at once, you get sad, mushy rice and dry chicken. So I do a little staging. The chicken gets seared first — just enough to get color, not cooked through — then rests while the rice starts cooking. By the time the rice is almost done, the chicken goes back in and finishes together. No separate pans, no extra cleanup, and the textures stay distinct. The rice stays fluffy, the chicken stays tender, and the whole pan smells like a Friday night out, but you’re in your sweatpants.
I learned this the hard way after too many “one-pot” disasters that my family ate politely. Now they actually ask for seconds.
Everything You Need (And a Few Notes From Me)
- 1 lb boneless, skinless chicken thighs (or breasts): Thighs are more forgiving — they stay juicy even if you get distracted. Breasts work too, just watch the timing. My kids can’t tell the difference if I use thighs, and they’re cheaper, so I’m team thigh.
- 1 tbsp olive oil: For searing. Don’t skip it — the fond on the pan is flavor gold.
- 1 medium onion, diced: Yellow or white. It softens into the rice and nobody complains.
- 2 cloves garlic, minced: Fresh only. The jarred stuff is fine in a pinch, but fresh garlic makes the pan smell like a real kitchen.
- 1 cup long-grain white rice: Basmati or jasmine — both work. Do not use brown rice unless you want to add liquid and time (I’ve got a note on that in the variations).
- 1.5 cups chicken broth: Low-sodium so you control the salt. If you only have water, add an extra pinch of cumin and salt.
- 1 (15 oz) can black beans, drained and rinsed: Rinsing cuts the sodium and the canned flavor, and it takes ten seconds.
- 1 cup frozen corn (or canned, drained): Frozen is fine — no need to thaw. It perks up in the hot rice.
- 1 tsp chili powder, ½ tsp cumin, ½ tsp smoked paprika, ¼ tsp cayenne (optional): This is my house blend. Adjust heat to your family’s tolerance. I do a lighter spice for my nephew and add extra cayenne for the adults after he’s in bed.
- Salt and pepper: To taste. I add ½ tsp salt to the rice liquid and the rest at the end.
- Toppings: diced avocado, fresh tomatoes, cilantro, shredded cheese, sour cream (or my lime crema — ½ cup Greek yogurt + juice of 1 lime + pinch of salt).
What to Pull Out Before You Start
- A large skillet or braiser pan (12-inch, with a lid): I use a deep stainless steel pan. A nonstick will work too — just don’t crank the heat too high or the fond won’t develop.
- Cutting board and sharp knife: For the chicken and veggies.
- Wooden spoon or spatula: For scraping up the good bits.
- Measuring cups and spoons: Not optional for the liquid — trust me on this.
Let’s Make It (Step by Step)
This goes fast, so read through once before you start. The pan does most of the work — you’re just the stage manager.
First, prep your chicken: Pat the thighs dry with paper towels (this is non-negotiable for a good sear). Season both sides with ½ tsp salt, ¼ tsp pepper, and a pinch of the chili powder.
- Heat the oil in your skillet over medium-high heat until it shimmers — about 2 minutes. Add the chicken in a single layer (work in batches if your pan is crowded). Cook 4 minutes per side until golden brown. Transfer to a plate. The chicken won’t be cooked through yet, and that’s fine. (📸 Photo tip: You should see deep brown spots on the chicken — that’s the flavor. If it’s pale, let it go another minute before flipping.)
- Sizzle the aromatics: Reduce heat to medium. Add the diced onion to the same pan with a pinch of salt. Cook 3 minutes, stirring occasionally, until softened and translucent. Add the garlic and cook 30 seconds until fragrant — don’t let it burn. (📸 Photo tip: You should see the garlic glisten and smell it clearly. If it smells burned, you waited too long.)
- Toast the rice and spices: Add the rice, chili powder, cumin, smoked paprika, and cayenne (if using). Stir for 1 minute — the rice should look slightly glistening and smell toasty. This step makes the rice more flavorful.
- Add the liquid and beans: Pour in the chicken broth and scrape the bottom of the pan with your wooden spoon to lift up all the browned bits (that’s golden flavor right there). Add the black beans and corn. Stir to combine. Bring to a boil, then reduce heat to low, cover, and simmer for 12 minutes.
- Nestle the chicken back in: After 12 minutes, the rice should be almost tender and most of the liquid absorbed. Place the chicken thighs on top of the rice (don’t stir them in — they’ll sink and steam). Cover again and cook another 5 minutes. When I’m really tired, I skip the resting step and just slice the chicken before adding it back — it cooks faster and my family doesn’t notice.
- Rest and shred: Turn off the heat. Let the pan sit covered for 5 minutes — this lets the rice finish absorbing steam. Remove the chicken, shred or slice it, then return it to the pan and fluff the rice gently with a fork. Taste and adjust salt.
- Serve with toppings: Divide among bowls and let everyone build their own with avocado, tomatoes, cilantro, cheese, and crema. My family fights over the avocado, so I slice extra.
How I Meal Prep These for the Week
This recipe was born on a Sunday meal prep session. I make the full batch (double it if your pan is big enough), and we eat it for lunches and quick dinners. The flavors get even better on day two.
- Fridge: Store in an airtight container up to 5 days. Reheat in a skillet with a splash of water to re-steam the rice — or just microwave if you’re in a hurry (it’s still good, I promise).
- Freezer: Yes! Freeze in individual portions (skip the fresh toppings). Thaw overnight in the fridge. The rice might be a tad softer, but the flavor is intact. I’ve done it a dozen times and it’s never let me down.
- Reheat: Best — skillet over medium heat with a lid, 5-7 minutes. Fine — microwave 2-3 minutes. Just don’t blast it on high or the chicken dries out.
Things I Wish I’d Known the First Time
- Don’t lift the lid during the 12-minute simmer: I know it’s tempting to check, but every time you lift it, steam escapes and the rice might not cook evenly. Trust the timer.
- Rinse the rice if you want fluffier grains: I don’t always bother, but when I do, the rice is noticeably less sticky. Rinse in a fine-mesh sieve until the water runs clear before toasting it.
- If your chicken breasts are huge, pound them to even thickness: Otherwise the thin end dries out while the thick end is still raw. Thighs don’t need this because they’re forgiving, but breasts do. Even if you mess it up a little, it’ll still taste good — I’ve definitely done it and nobody complained.
- Make extra crema: The lime Greek yogurt sauce is what takes this from “good” to “I want this again tomorrow.” Double the recipe and use it on tacos, salads, or just eat it with a spoon (no judgment).
Swaps That Actually Work
- Dairy-Free: Skip the cheese and sour cream. Use the lime crema but swap Greek yogurt for a plain dairy-free yogurt (like unsweetened coconut or oat-based). My sister does this, and it’s still creamy and tangy.
- Brown Rice Version: Use 1 cup brown rice and increase broth to 2 cups. Simmer covered for 35 minutes, then add the chicken back and cook 10 more minutes. The timing is different but the method is the same. I’ve done it — it’s just a longer evening.
- Spicy Version for Adults: Use an extra teaspoon of chili powder and add a diced jalapeño with the onion. Or drizzle with hot sauce at the table. I do this after my kids are in bed for my husband and me.
- Vegetarian Version: Skip the chicken and add a second can of black beans plus a can of diced green chiles. The rice still gets plenty of flavor from the spices. My vegetarian friend swoons over this.
- Kid-Friendly: Omit the cayenne, use mild chili powder, and let them add their own cheese. My nephew loves it with extra sour cream.
Questions I Get About This Recipe All the Time
Q: Why did my rice turn out mushy?
A: Ugh, I’ve been there. Two most likely causes: you added too much liquid (measure the broth carefully) or you lifted the lid too often during the simmer. Next time, be precise with the broth and keep that lid clamped on — you’ve got this.
Q: Can I make this with ground chicken instead of thighs?
A: Yes! Brown the ground chicken in step 1, breaking it into crumbles. Remove it, then continue with the onion and garlic. Add it back with the broth. It’ll cook through as the rice simmers. I’ve done this when I forgot to thaw the thighs — still great.
Q: How long does this keep in the fridge? Can I freeze it?
A: Stays perfect in the fridge for up to 5 days in an airtight container. Freezes beautifully for up to 3 months. When reheating from frozen, thaw overnight in the fridge, then reheat in a skillet with a splash of water. The rice softens just a tad but the flavor is still there.
Q: What do you serve with this besides the usual toppings?
A: Honestly, it’s a full meal in a bowl, but if you want extra: tortilla chips with salsa on the side, a simple side salad with lime vinaigrette, or — my secret — pickled jalapeños on top for that tangy kick. My kids love it with a side of black bean soup, which is basically the same beans with more broth, but don’t tell them.
More Recipes My Family Makes on Repeat
If you liked this one, here are a few others that get the same reaction at our table:
- Sheet Pan Chicken Fajitas — Same one-pan magic, different flavor profile, and the kids actually eat the peppers.
- 20-Minute Black Bean Soup — Perfect for using up leftover toppings from burrito bowl night.
- Creamy Cilantro Lime Dressing — The one sauce I make every week, and it’s amazing on these bowls.
If you try this — and I really hope you do — drop a comment below and tell me how it went. I love hearing about the adaptations you make. My favorite comment so far was from a reader who added leftover grilled corn and said it was “life-changing.” I believe her.
📌 This one-pan chicken burrito bowl recipe comes together in 30 minutes with juicy chicken and fluffy rice — save it for your next busy weeknight meal prep.
One-Pan Chicken Burrito Bowls That Taste Like Takeout (Without the Delivery Fee)
Equipment
- Large Skillet with Lid
- Cutting board and knife
- Wooden Spoon or Spatula
- Measuring Cups and Spoons
Ingredients
For the Chicken and Rice
- 1 lb boneless skinless chicken thighs
- 1 tbsp olive oil
- 1 medium onion, diced
- 2 cloves garlic, minced
- 1 cup long-grain white rice
- 1.5 cups chicken broth
- 1 (15 oz) can black beans, drained and rinsed
- 1 cup frozen corn
- 1 tsp chili powder
- 0.5 tsp ground cumin
- 0.5 tsp smoked paprika
- 0.25 tsp cayenne pepper (optional)
- to taste salt
- to taste black pepper
For the Lime Crema
- 0.5 cup Greek yogurt
- 1 lime, juiced
- pinch salt
For Serving
- diced avocado
- fresh tomatoes, chopped
- fresh cilantro, chopped
- shredded cheese (cheddar or Mexican blend)
- sour cream (optional)
Instructions
- Pat chicken thighs dry and season with 1/2 tsp salt, 1/4 tsp pepper, and a pinch of chili powder.
- Heat oil in a large skillet over medium-high heat. Add chicken in a single layer and cook 4 minutes per side until golden brown. Transfer to a plate (chicken will not be fully cooked).
- Reduce heat to medium. Add diced onion with a pinch of salt and cook 3 minutes until softened. Add garlic and cook 30 seconds until fragrant.
- Add rice, chili powder, cumin, smoked paprika, and cayenne (if using). Stir for 1 minute until rice is glistening and fragrant.
- Pour in chicken broth and scrape up browned bits from the bottom of the pan. Add black beans and corn. Bring to a boil, then reduce heat to low, cover, and simmer for 12 minutes.
- After 12 minutes, place the seared chicken thighs on top of the rice (do not stir). Cover and cook another 5 minutes.
- Turn off heat and let the pan sit covered for 5 minutes. Remove chicken, shred or slice, then return to the pan. Fluff rice gently with a fork. Taste and adjust salt.
- Divide among bowls and top with avocado, tomatoes, cilantro, cheese, sour cream, and lime crema as desired.
Notes
Related posts:
 The Slow Cooker Cowboy Casserole That Saves Tired Weeknights (No Soggy Tots Allowed)
 Quick Lemon Ricotta Pasta for Busy Weeknights: Creamy, Bright, and on the Table in 20 Minutes
 Lemon Garlic Butter Baked Salmon in Foil That’s Ready in 25 Minutes — No Fuss, No Mess
 Lipton Onion Soup Meatloaf for Tuesday Nights: Moist, Savory, and the Only One You’ll Ever Need
 Kielbasa Sausage Cheesy Potato Casserole That Tastes Like Sunday Dinner — In Under an Hour
 Quinoa Chicken Sausage Bowls That Are Ready in 30 Minutes (And Actually Keep Well)