
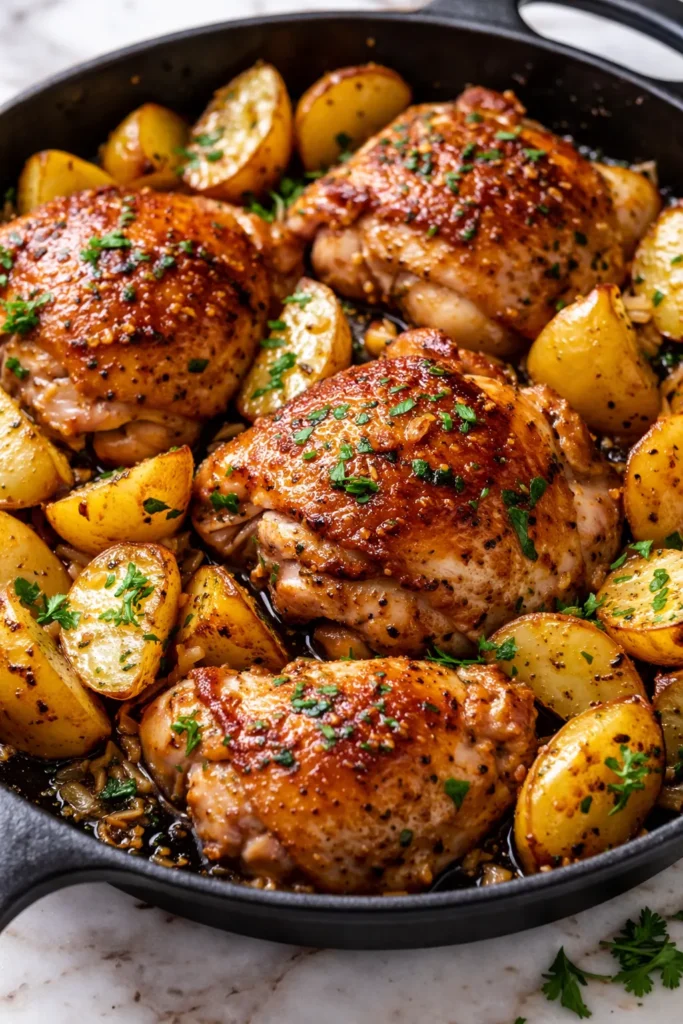
I have made this one-skillet garlic butter chicken and potatoes so many times I’ve stopped counting. The first few versions were perfectly fine — edible, even good — but they weren’t the kind of dinner you text your sister about. Then I realized what I was doing wrong. I was crowding the pan. I was moving the chicken too soon. I was treating the potatoes like an afterthought. This version? The skin is shatteringly crisp. The potatoes come out tender and creamy on the inside with a golden, buttery crust on the outside. The garlic butter pools in the bottom of the skillet and begs to be soaked up with a piece of bread or spooned over the chicken. It’s the dinner that makes a Tuesday night feel like you did something special.
The short version: One pan, 45 minutes, chicken that’s crispy on the outside and juicy inside, with potatoes that soak up every drop of garlic butter.
My neighbor, who runs a professional kitchen, asked for this recipe the first time I made it. That was the moment I knew the extra step of par-cooking the potatoes was worth every second. This is the skillet that belonged to my grandmother Marta. It’s seasoned with decades of dinners just like this one — simple, honest food that fills the house with a smell you can’t forget.
- Serves: 4 as a main
- Hands-On Time: 20 min | Total Time: 45 min
- Difficulty: Easy enough for a Wednesday
- Cost per serving: ~$4.50
- Calories: ~550 per serving
- Dietary Notes: Naturally gluten-free. Adaptable for dairy-free with ghee or high-temp oil
(Photo above: A moody, overhead shot of the cast-iron skillet sitting on a wooden trivet. The chicken thighs are golden brown, nestled between halved baby potatoes that have caught the butter and garlic in their cut sides. A sprig of rosemary and a few whole garlic cloves are scattered across the top. Steam rises faintly in the afternoon light.)
The Thing That Makes the Chicken Actually Crispy (Not Soggy)
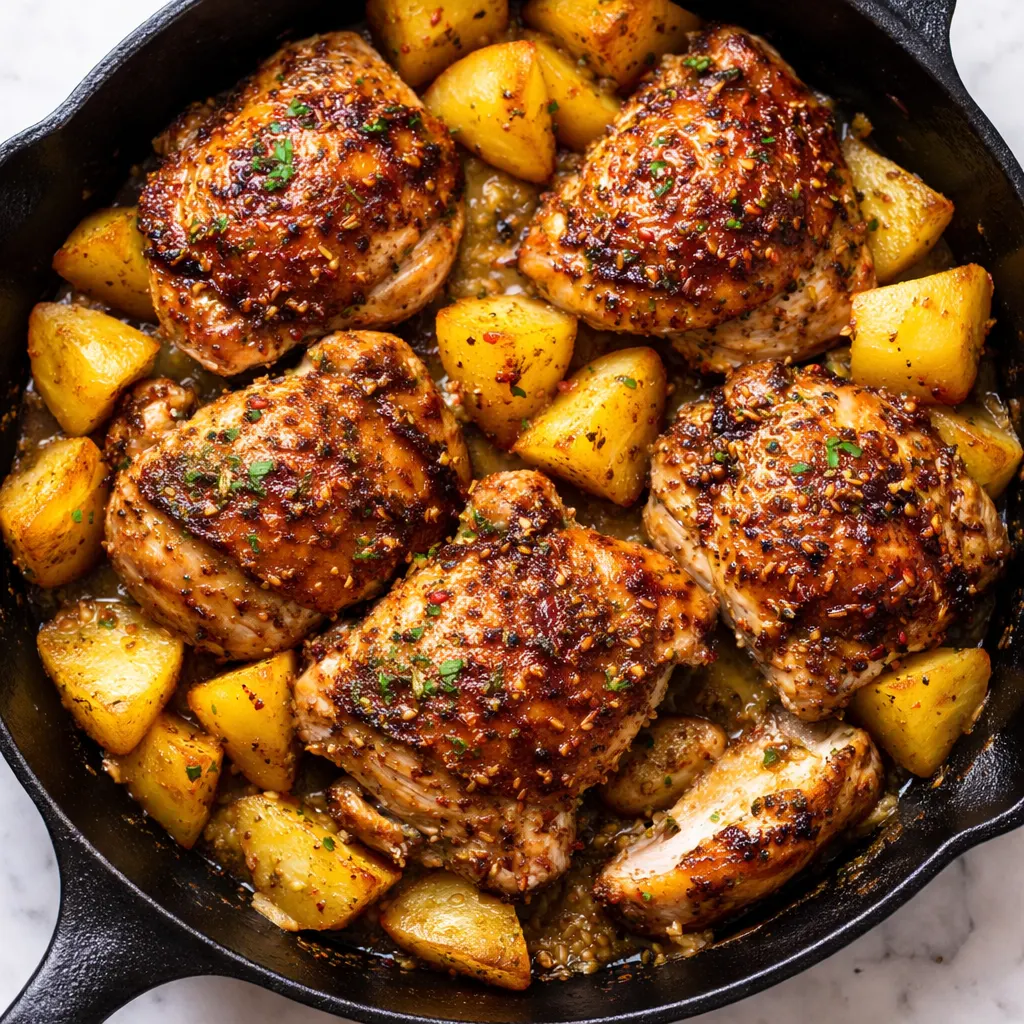
The biggest problem with skillet chicken and potatoes is the steam. The potatoes release moisture as they cook, and that moisture creates a barrier of steam between the chicken skin and the hot pan. The skin ends up rubbery. The potatoes end up watery. I ruined a lot of perfectly good chicken thighs before I figured out how to fix it.
First, I par-cook the potatoes in the microwave before they ever hit the skillet. This means they spend less time in the pan, which means less steam, which means the chicken skin stays dry enough to crisp up. Second, I don’t crowd the pan. Crowding drops the temperature of the oil and the chicken stews in its own juices instead of searing. A hot, dry pan and patient hands — that’s the whole trick. Marta never had a microwave, but she would have loved the shortcut.
Everything You Need (And a Few Notes From Me)
- 4 bone-in, skin-on chicken thighs (about 2 lbs): The bones add flavor to the sauce and keep the meat juicy. My kids will eat thighs way before they touch a breast — and they’re practically impossible to overcook.
- 1.5 lbs baby potatoes (halved or quartered): You want them roughly the same size so they cook evenly. I leave the skins on because they get crispy and my husband likes the texture. Red or gold both work beautifully.
- 4 tbsp unsalted butter, softened: We’ll use it in two stages — for basting the chicken and for the final sauce. If you only have salted butter, just skip the extra salt in the seasoning.
- 6 cloves garlic (smashed, not minced): Smashed garlic cloves release their flavor slowly without burning the way minced garlic does. This was Marta’s trick for any pan sauce — she hated the bitter edge of burnt garlic.
- Fresh rosemary and thyme: A few sprigs of each. Dried herbs work in a pinch, but fresh ones hold up to the high heat and add a brightness that cuts through all that butter. I keep a pot of rosemary on my windowsill just for this recipe.
- Salt, pepper, and a pinch of red pepper flakes (optional): The flakes are for warmth, not heat. I add them. My mom doesn’t. Both versions are perfect — you decide.
What to Pull Out Before You Start
- 10- or 12-inch cast-iron skillet: It holds heat better than anything else and gives you that deep, even sear. If you don’t have cast iron, a heavy-bottomed stainless steel pan works — just watch your heat level.
- Microwave-safe bowl or small pot: For par-cooking the potatoes.
- Tongs: For flipping the chicken without piercing the skin. Piercing releases juices and you want every drop inside the meat.
- Meat thermometer: Chicken thighs are safe at 165°F, but I pull them at 160°F and let the carryover heat do the rest.
Here’s How I Do It (Start to Finish in 45 Minutes)
Read through the steps once so you understand the rhythm. It’s mostly hands-off, but there are a few moments where the timing matters.
Prep (5 minutes): Pat the chicken dry with paper towels. This is non-negotiable — dry skin is crispy skin. Season it generously with salt and pepper. Halve or quarter the potatoes so they’re about the same size.
- Par-cook the potatoes: Place the potatoes in a microwave-safe bowl with 2 tablespoons of water. Cover and microwave for 4–5 minutes, until they’re just tender enough for a knife to slip through. Drain them well. (📸 Photo tip: They should look slightly steamed and pale, but not falling apart.)
- Preheat the skillet: Place your cast-iron skillet over medium-high heat. Add 1 tablespoon of butter and let it melt until it’s foaming but not browning. (📸 Photo tip: The foam should be active and bubbly — that’s the signal the pan is hot enough.)
- Sear the chicken: Place the chicken skin-side down in the hot skillet. Don’t move it for 6–7 minutes. The skin will release from the pan naturally when it’s ready. Flip and cook the other side for 4 minutes. Remove the chicken to a plate. I know it’s tempting to peek — wait for the release.
- Crisp the potatoes: Pour off all but 2 tablespoons of the rendered fat. Add the par-cooked potatoes cut-side down. Let them cook undisturbed for 5 minutes. They should develop a deep golden crust. Toss them and cook for another 2 minutes.
- Build the garlic butter: Reduce the heat to medium-low. Push the potatoes to the sides of the pan. Add the remaining 3 tablespoons of butter, the smashed garlic cloves, and the herbs. Swirl the pan until the butter is fragrant and the garlic has softened — about 1 minute. Don’t let the garlic brown, or it will turn bitter.
- Finish together: Return the chicken to the skillet, nestling it skin-side up among the potatoes. Spoon some of the garlic butter over the chicken. Transfer the skillet to a 400°F oven (or cover and cook on low on the stovetop) for 12–15 minutes, until the chicken reaches 160°F and the potatoes are fully tender.
- Rest and serve: Let the skillet rest for 5 minutes. The carryover heat will bring the chicken to 165°F. Spoon the garlic butter from the pan over everything before serving.
How I Make This Work for a Busy Week
I don’t always have 45 minutes on a weeknight. When I meal prep, I do the first two steps ahead of time — pat the chicken dry and season it, then par-cook the potatoes. They sit in the fridge until I’m ready. The actual cooking feels like a quick assembly after that.
- Fridge: Cooked chicken and potatoes keep in an airtight container for 3–4 days. Reheat in a hot skillet or toaster oven to bring back the crispiness.
- Freezer: The cooked dish freezes well for up to 2 months. Freeze it flat in a freezer bag or airtight container. Thaw overnight in the fridge.
- Reheat: The microwave will work, but it will soften the skin. If you have the time, reheat in a 375°F oven for 10 minutes or in a hot skillet on the stovetop with a little extra butter.
Things I’ve Learned After Making This Too Many Times to Count
- Dry the chicken like you mean it: Use paper towels and pat it dry, then let it sit uncovered in the fridge for 10 minutes if you have the time. The surface moisture is the enemy of a golden crust.
- Don’t flip too early: The chicken will tell you when it’s ready. It will release from the pan easily. If you have to pull, it’s not done searing. Be patient — that extra minute changes everything.
- Use whole garlic cloves: Minced garlic burns too quickly over this heat. Smashed whole cloves infuse the butter without turning acrid. I’ve ruined this dish with burnt garlic more times than I’d like to admit.
- Let it rest: The hardest part is waiting. But if you cut into the chicken right away, the juices run out into the pan instead of staying in the meat. Give it the 5 minutes. The texture will be completely different.
Make It Yours: The Versions My Family Asks For
- Dairy-Free: Use a high-quality olive oil or vegan butter in place of the regular butter. Ghee also works beautifully and adds a nutty depth. I make this version for my sister and she swears she can’t tell the difference.
- Extra Veggies: Add a handful of green beans or asparagus in the last 10 minutes of roasting. They soak up the garlic butter beautifully. This is how I sneak extra greens onto my kids’ plates — they eat the vegetables without a single complaint.
- Spicy Version: Add 1/2 teaspoon of red pepper flakes and a finely chopped Fresno chili with the potatoes. The heat cuts through the richness. My husband adds extra Sriracha at the table like it’s his job.
- Chicken Breasts: Boneless, skinless breasts work, but reduce the cooking time. Sear for 4 minutes per side and finish in the oven for 10 minutes. Watch them closely — breasts dry out fast. A thermometer is your best friend here.
The Questions I Get About This Recipe Every Single Time
Q: Why did my chicken skin turn out rubbery instead of crispy?
A: That usually means the pan wasn’t hot enough, or you crowded it. Make sure your skillet is fully preheated before the chicken goes in, and leave space between the pieces. If the pan is too full, the chicken steams instead of sears. I’ve made this mistake more times than I want to admit.
Q: Can I use boneless chicken thighs instead of bone-in?
A: Yes, but adjust the timing. Boneless thighs cook faster — about 4 minutes per side for the sear, and 8–10 minutes in the oven. The beauty of bone-in is that it’s harder to overcook. Just watch your thermometer and pull them at 160°F.
Q: How do I store leftovers? How long do they last?
A: Store them in an airtight container in the fridge for up to 4 days. The potatoes will absorb some of the liquid as they sit, but they’re still delicious. For the crispiest reheat, use a skillet over medium heat, not the microwave. It takes 5 extra minutes and makes all the difference.
Q: What do you serve with this? Any sides you swear by?
A: I love a bright, simple side to balance the richness. A lemony arugula salad with shaved Parmesan is my go-to. My kids love it with steamed broccoli that I drizzle with a little of the pan butter. And if I’m feeling indulgent, a warm baguette to soak up the garlic butter at the bottom of the pan is absolutely necessary.
More Recipes from My Kitchen That Get the Same Reaction
If this one-skillet dinner is up your alley, here are a few others that have earned a permanent spot in my rotation. My family asks for them by name.
- Lemon Herb Roasted Chicken and Vegetables — Bright, citrusy, and the vegetables caramelize beautifully. A Sunday dinner staple.
- Creamy Tuscan Garlic Chicken — Rich, saucy, and ready in 30 minutes for a busy weeknight. My kids ask for the extra sauce for dipping bread.
- Sheet Pan Paprika Chicken and Potatoes — A smoky, spicy variation that requires even less hands-on time. Perfect for the nights you need to walk away from the oven.
This is the kind of dinner that looks impressive enough for company but is easy enough for a quiet Tuesday. I love knowing that this skillet is sitting on my stove, filling the house with the smell of garlic and herbs. When I pull it out of the oven and hear that sizzle, that’s when I know everything is right in the world.
If you try it, drop a comment below and tell me how it went! I love hearing about the versions you make in your own kitchen. Tag me on Pinterest so I can see yours.
📌 Save this garlic butter chicken and potatoes skillet recipe for your next weeknight dinner that needs to feel special — it’s the one-pan meal your family will request again and again.
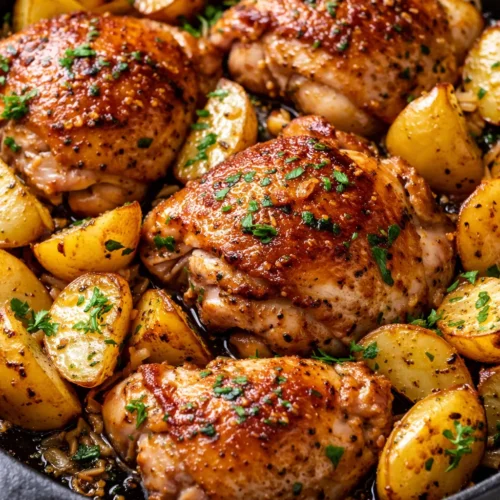
Garlic Butter Chicken and Potatoes Skillet That Actually Gets the Skin Crispy
Equipment
- 10- or 12-inch cast-iron skillet
- Tongs
- Meat thermometer
- Microwave-safe bowl
Ingredients
- 1.5 lbs baby potatoes, halved or quartered
- 4 tbsp unsalted butter, divided
- 6 cloves garlic, smashed
- 2 sprigs fresh rosemary
- 4 sprigs fresh thyme
- 1 tsp salt
- 1/2 tsp black pepper
- 1/4 tsp red pepper flakes (optional)
- 4 bone-in, skin-on chicken thighs (about 2 lbs)
Instructions
- Place the potatoes in a microwave-safe bowl with 2 tablespoons of water. Cover and microwave for 4–5 minutes, until just tender. Drain well.
- Preheat a cast-iron skillet over medium-high heat. Add 1 tablespoon of butter and let it melt until foaming.
- Place the chicken skin-side down in the hot skillet. Cook without moving for 6–7 minutes, until the skin releases naturally. Flip and cook for another 4 minutes. Remove chicken to a plate.
- Pour off all but 2 tablespoons of rendered fat. Add the par-cooked potatoes cut-side down. Cook undisturbed for 5 minutes, then toss and cook 2 more minutes.
- Reduce heat to medium-low. Push potatoes to sides. Add remaining 3 tablespoons butter, smashed garlic cloves, and herbs. Swirl until fragrant, about 1 minute.
- Return chicken to skillet skin-side up. Spoon garlic butter over chicken. Transfer to a 400°F oven (or cover and cook on stovetop) for 12–15 minutes, until chicken reaches 160°F and potatoes are tender.
- Let rest 5 minutes. Spoon garlic butter from pan over everything before serving.
Notes
Related posts:
 Mini Quiche Recipe: The Store-Bought Crust Version That Tastes Like You Made It From Scratch
 The Slow Cooker Cowboy Casserole That Saves Tired Weeknights (No Soggy Tots Allowed)
 Quick Lemon Ricotta Pasta for Busy Weeknights: Creamy, Bright, and on the Table in 20 Minutes
 Lemon Garlic Butter Baked Salmon in Foil That’s Ready in 25 Minutes — No Fuss, No Mess
 Lipton Onion Soup Meatloaf for Tuesday Nights: Moist, Savory, and the Only One You’ll Ever Need
 Kielbasa Sausage Cheesy Potato Casserole That Tastes Like Sunday Dinner — In Under an Hour