
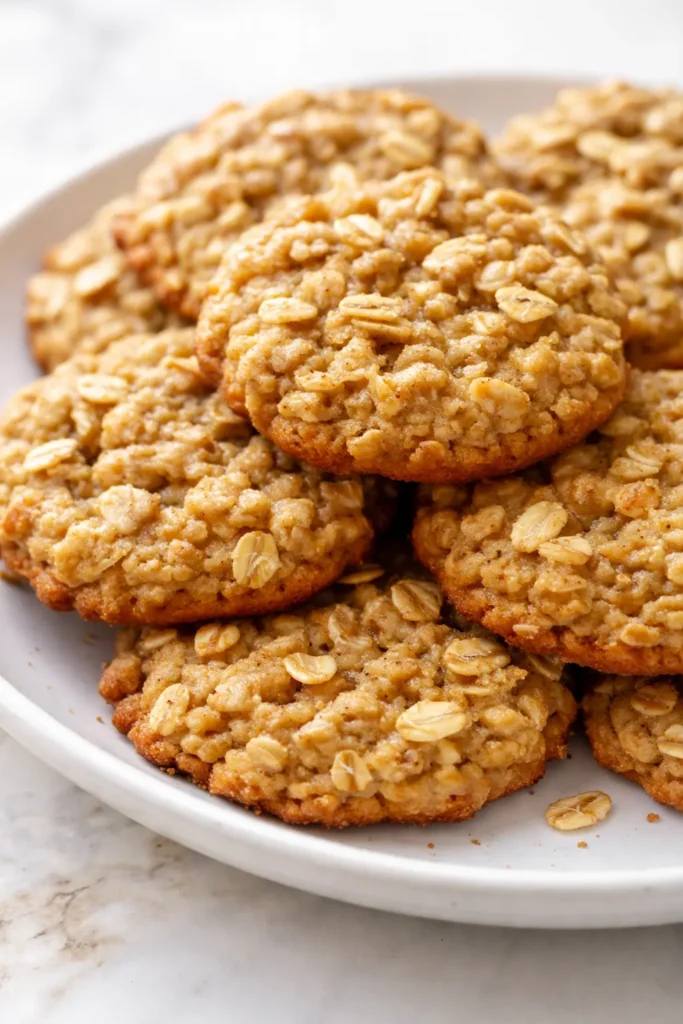
The problem with most “healthy” cookies is that they taste like they’re doing you a favor. Dry. Crumble. Bland. I’ve been there—I’ve made that version more times than I want to count. This one is different. These Healthy Banana Oatmeal Cookies are genuinely chewy, naturally sweet from the fruit, and they satisfy the real cookie craving. No weird ingredients. No flour. No refined sugar. Just pure, simple goodness that my daughter Nora and her college roommates fight over. Let me show you exactly how to make them so they turn out perfect every time.
The short version: Ripe bananas + oats + a few pantry staples = a tender, chewy cookie ready in 22 minutes flat.
I’ve made this recipe over 40 times, tweaking the ratios until I got that perfect balance—soft in the center, golden at the edges, and sturdy enough to pack in a lunchbox without falling apart. My picky 9-year-old neighbor asked for the recipe after trying one fresh out of the oven. That’s when I knew I’d finally cracked the code.
- Serves: 18 cookies
- Hands-On Time: 10 min | Total Time: 22 min
- Difficulty: Easy enough for a Tuesday afternoon with a toddler helping
- Cost per serving: ~$0.25 per cookie
- Calories: ~95 per cookie
- Dietary Notes: Naturally gluten-free (use certified GF oats), dairy-free, no refined sugar
(Photo above: A stack of perfectly golden banana oatmeal cookies on a rustic wooden board, afternoon light catching the crispy edges. A few banana slices and a sprinkle of cinnamon on the cloth napkin nearby.)
Why These Don’t Taste Like Cardboard (The Chewy Secret)
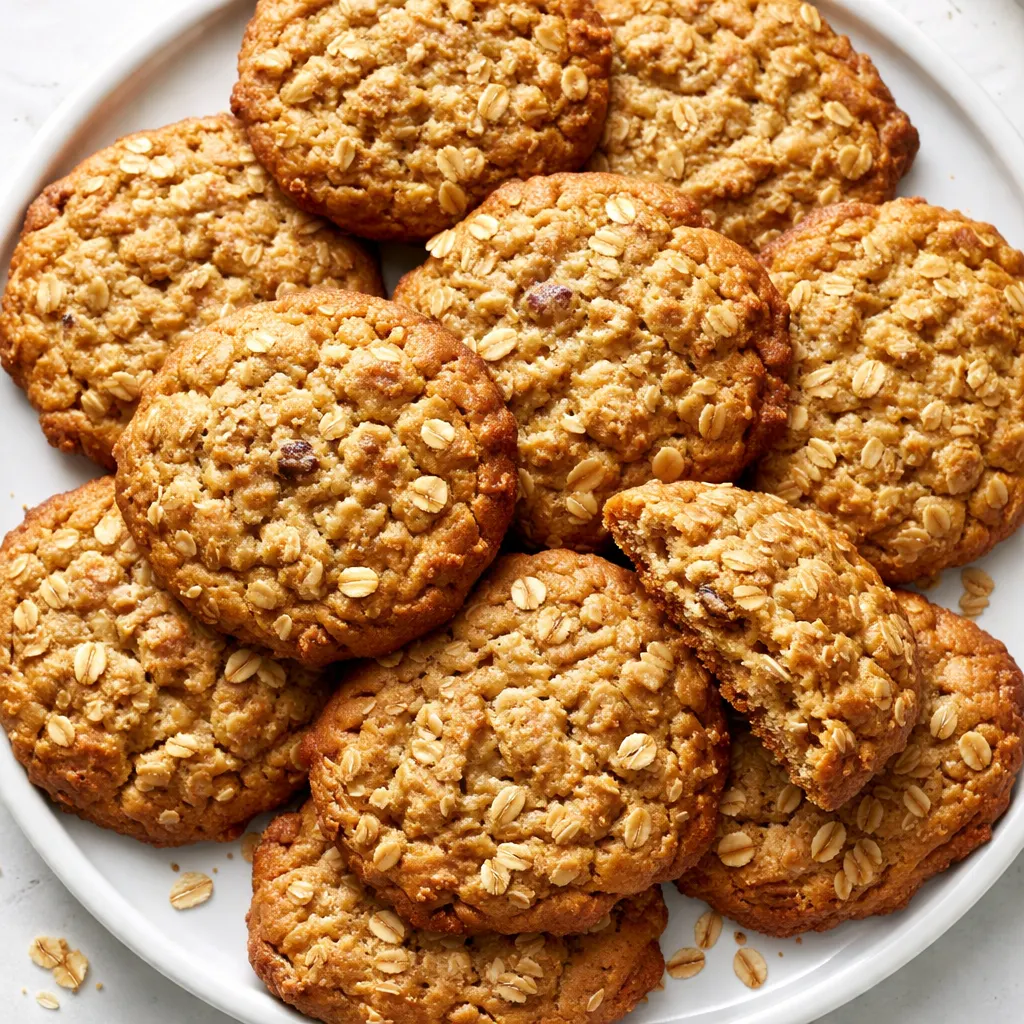
Most healthy cookie recipes swap butter for applesauce and cut the sugar until there’s nothing left. The result? A hockey puck that tastes like regret. I learned the hard way that the secret to a truly good healthy cookie is moisture management. Overly ripe bananas—the kind with brown spots all over—are naturally sweet and packed with moisture. The trick is to let the oats soak up that moisture. I let the dough rest for 5 minutes before baking. That short rest is what transforms dry oats into a tender, chewy texture.
The other secret is not overmixing. Stir just until everything comes together. The first time I made these, I used my stand mixer. The cookies came out tough and dense. Now I fold by hand and the difference is night and day.
These cookies are the ones that prove “healthy” and “delicious” don’t have to be sworn enemies. You’ll see.
What You Need (Plus My Honest Notes)
- 3 large very ripe bananas (mashed, ~1 ½ cups): The spottier the better. If they’re not at the freckled stage, the cookies will be flat and bland. Roast them in the oven at 350°F for 15 minutes if you’re in a pinch—it concentrates the sugar. My kids can smell the difference when I use perfect, unripe bananas, so I’ve learned to wait.
- 1 ½ cups old-fashioned rolled oats: Not quick oats. Quick oats absorb too much liquid and turn into a gluey paste. Old-fashioned oats give you that satisfying, chewy texture. Certified gluten-free if needed.
- 1 tsp cinnamon: This is what makes them smell like a cozy morning. Don’t skip it.
- 1 tsp vanilla extract: Rounds out the flavor and makes them taste “bakery-worthy.”
- ½ tsp salt: Essential. Don’t skip it.
- ½ tsp baking soda: Helps with lift and tenderness.
- 2 tbsp coconut oil (or butter), melted: A tiny bit of healthy fat for richness and that perfect golden edge.
- 1 large egg: Binds everything together.
- Optional: ⅓ cup chocolate chips or chopped walnuts: My daughter’s roommates prefer chocolate chips. I like walnuts for the crunch. Both are great.
The Setup (It’s Minimal, I Promise)
- Large mixing bowl
- Fork or potato masher (for the bananas)
- Measuring cups and spoons
- Baking sheet
- Parchment paper (or a silicone mat)
- Spatula or wooden spoon
That’s it. You don’t need a mixer or any fancy equipment.
Let’s Make Them (Start to Finish)
This goes fast, so preheat your oven and prep your pan before you start mixing.
Preheat and Prep: Preheat your oven to 350°F. Line a baking sheet with parchment paper.
- Mash the bananas: In a large bowl, mash the bananas with a fork until they reach a chunky paste. A few lumps are fine—they add texture. (📸 Photo tip: The bananas should look like a thick, lumpy puree—not completely smooth.)
- Add the wet ingredients: Stir in the melted coconut oil, vanilla, and egg until combined.
- Add the dry ingredients: Add the oats, cinnamon, salt, and baking soda. Fold gently with a spatula until just combined. Do not overmix. The dough will look shaggy and loose. That is correct. (📸 Photo tip: The dough looks wet and a bit loose—don’t be tempted to add more oats!)
- Let the dough rest: This is the most important step. Let the dough sit on the counter for 5 minutes. This allows the oats to absorb the moisture, which gives you that perfect chewy texture.
- Scoop and shape: Using a cookie scoop or two spoons, drop rounded tablespoons of dough onto the prepared baking sheet, spacing them about 2 inches apart. Gently flatten the tops slightly with the back of a spoon—they won’t spread much on their own.
- Bake: Bake for 10–12 minutes, until the edges are golden and the tops look set. The center should spring back when gently pressed. The smell of cinnamon and banana filling your kitchen is the first sign they’re close.
- Cool on the pan: Let the cookies cool on the baking sheet for 5 minutes before transferring to a wire rack. This is critical—they are fragile when hot. The 5 minutes of cooling firms them up. I know the smell is torture. Wait. It’s worth it.
How I Batch These for School Mornings
I make a double batch every Sunday and we’re set for the week. The key is to store them properly so they don’t dry out. Here’s my system:
- Fridge: Store in an airtight container for up to 5 days. Place a piece of bread in the container to keep them soft—it absorbs the excess air. Replace the bread every 2 days.
- Freezer: Yes! These freeze beautifully. Bake them fully, let them cool, and layer them in a freezer-safe bag with parchment paper between layers. They’ll keep for 3 months.
- Reheat: The microwave works in a pinch (15 seconds), but the oven at 300°F for 5 minutes brings back the crispy edges. My kids eat them straight from the freezer—they like them cold!
My Honest Advice After 40 Batches
I made every mistake you can imagine so you don’t have to. Here’s what I wish I’d known from the beginning:
- Don’t overmix. I know I already said it, but it’s that important. Stir until the oats are just moistened. Overmixing develops the starches and makes the cookies tough.
- Let them cool completely before storing. If you pack them away while they’re still warm, the steam will make them soggy. Patience, my friend.
- Use the banana ripeness rule. If your bananas aren’t spotty, add 1–2 tablespoons of maple syrup or honey to compensate for the sweetness. I’ve done it when I was desperate and it works.
- Even if you mess up, they’re still good. I’ve accidentally used quick oats (they were a bit gluey but still got eaten). I’ve forgotten the salt (still edible). I’ve overbaked them (crunchier, but my husband loved them). The beauty of this recipe is that it’s forgiving.
Make Them Yours (The Versions My Kids Fight Over)
- Kid-Friendly: Add a handful of mini chocolate chips. My neighbor’s kids call them “breakfast cookies” and I don’t correct them.
- Nut-Free: Skip the walnuts or use sunflower seeds for crunch. Works perfectly.
- Extra Protein: Add 2 tablespoons of peanut butter or almond butter. Reduce the coconut oil to 1 tablespoon.
- Spiced Chai Version: Add ½ tsp cardamom and ¼ tsp nutmeg along with the cinnamon. Makes them taste like a chai latte.
- Vegan Option: Replace the egg with a flax egg (1 tbsp ground flaxseed + 3 tbsp water). Let it sit for 5 minutes before adding. They’ll be slightly less puffy but still delicious.
Questions People Always Ask Me About These
Q: Why are my cookies falling apart?
A: The most common reason is that the bananas were too wet or the cookies didn’t cool long enough on the pan. Let them cool for the full 5 minutes—they firm up as they sit. Also, make sure you’re using old-fashioned oats, not quick oats. Quick oats don’t provide enough structure.
Q: Can I use quick oats instead of old-fashioned oats?
A: I really recommend old-fashioned oats for the best texture. Quick oats absorb too much liquid and turn the cookies into a dense, gluey mess. If you only have quick oats, reduce the rest time to 2 minutes and expect a softer, more cake-like cookie. It’s still good—just different.
Q: How do I store these so they stay soft?
A: Airtight container at room temperature for 3 days, or in the fridge for up to a week. The bread trick really works: toss a slice of bread in the container and it keeps the cookies perfectly moist. Change the bread every couple of days.
Q: What do you serve with these?
A: My favorite pairing is a hot cup of coffee or a cold glass of milk. They’re also amazing crumbled over yogurt for a breakfast bowl. My daughter Nora loves them with a smear of almond butter on top for an afternoon snack.
More Recipes My Family Makes on Repeat
If you liked these cookies, here are a few others that get the same reaction at our table:
- Healthy Banana Muffins — The perfect companion to these cookies, using the same banana-oat base.
- No-Bake Peanut Butter Oat Bars — When you don’t even want to turn on the oven. So simple.
- Easy Overnight Oats — My go-to for busy mornings. Just as wholesome and satisfying.
These cookies are the ones that changed my mind about what “healthy” baking can be. They’re not a compromise. They’re a genuine treat that happens to be good for you. I hope they become a staple in your kitchen the way they have in mine.
If you make a batch, drop a comment below or tag me on Pinterest—I love seeing your kitchens at work!
📌 Healthy banana oatmeal cookies that are naturally sweet, perfectly chewy, and ready in 22 minutes—save this for your next meal prep Sunday!
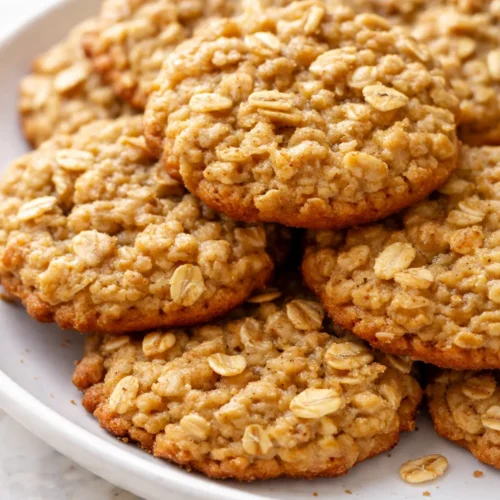
Healthy Banana Oatmeal Cookies
Equipment
- Large Mixing Bowl
- Fork
- Baking Sheet
- Parchment Paper
- Spatula
Ingredients
- 3 large very ripe bananas, mashed
- 1 1/2 cups old-fashioned rolled oats
- 1 teaspoon cinnamon
- 1 teaspoon vanilla extract
- 1/2 teaspoon salt
- 1/2 teaspoon baking soda
- 2 tablespoons melted coconut oil or butter
- 1 large egg
Optional Add-Ins:
- 1/3 cup chocolate chips
- 1/3 cup chopped walnuts
Instructions
- Preheat your oven to 350°F. Line a baking sheet with parchment paper.
- In a large bowl, mash the bananas with a fork until they reach a chunky paste. A few lumps are fine — they add texture.
- Stir in the melted coconut oil, vanilla, and egg until combined.
- Add the oats, cinnamon, salt, and baking soda. Fold gently with a spatula until just combined. Do not overmix. The dough will look shaggy and loose. That is correct.
- Let the dough sit on the counter for 5 minutes. This allows the oats to absorb the moisture, which gives you that perfect chewy texture.
- Using a cookie scoop or two spoons, drop rounded tablespoons of dough onto the prepared baking sheet, spacing them about 2 inches apart. Gently flatten the tops slightly with the back of a spoon.
- Bake for 10–12 minutes, until the edges are golden and the tops look set. The center should spring back when gently pressed. The smell of cinnamon and banana filling your kitchen is the first sign they’re close.
- Let the cookies cool on the baking sheet for 5 minutes before transferring to a wire rack. This is critical — they are fragile when hot. The 5 minutes of cooling firms them up.
Notes
Related posts:
 The Slow Cooker Cowboy Casserole That Saves Tired Weeknights (No Soggy Tots Allowed)
 Lemon Garlic Butter Baked Salmon in Foil That’s Ready in 25 Minutes — No Fuss, No Mess
 Moist Chocolate Zucchini Bread That Doesn’t Turn Out Rubbery — Finally
 Creamy Homemade Strawberry Dole Whip (That Tastes Just Like the Real Thing)
 Blueberry Peach Bread That Doesn’t Sink or Turn Mushy — Finally
 Quinoa Chicken Sausage Bowls That Are Ready in 30 Minutes (And Actually Keep Well)