
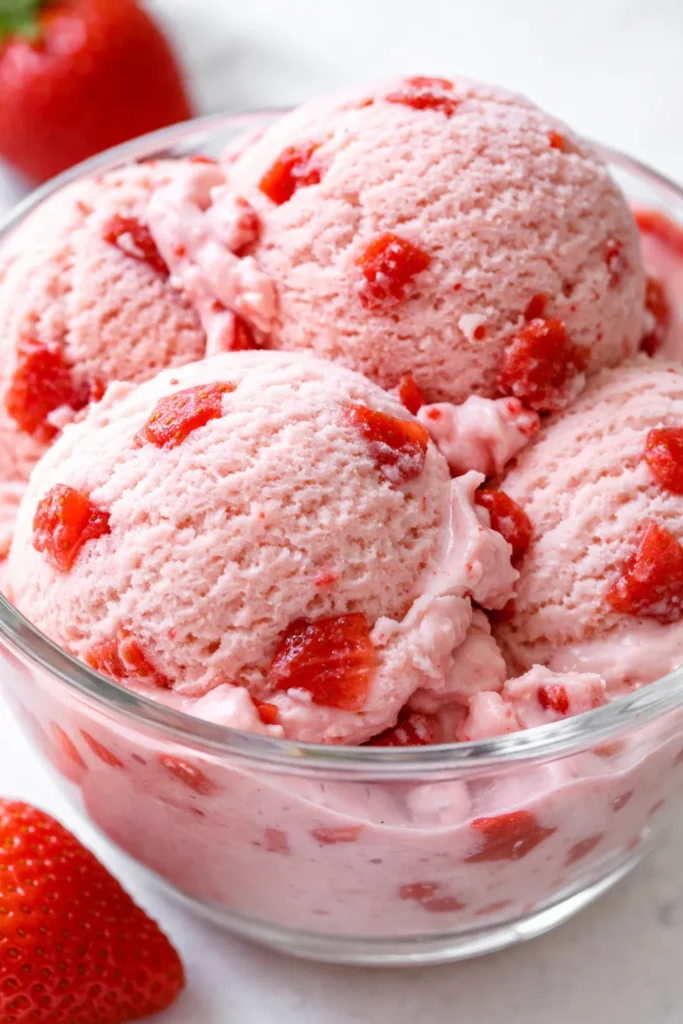
That first scoop — the way it melts on your tongue, the tiny bits of real strawberry you actually taste, the creamy texture that’s nothing like the icy stuff from the store. This is the ice cream my kids beg for every time the temperature hits eighty. And the best part? No machine. No custard. No stress.
The short version: Four ingredients, twenty minutes of hands-on work, and you get a pint of the creamiest strawberry ice cream you’ve ever made at home.
I’ve been making this version for seven summers now. The first few times I tried custard-based ice cream with my hand-crank churn, I ended up with either scrambled eggs or a frozen brick. This no-churn method is the one Marta would have used if she’d had sweetened condensed milk in her German pantry — it’s that simple, and it works every single time.
- Serves: 8 as dessert
- Hands-On Time: 20 min | Total Time: 6 hr (includes freezing)
- Difficulty: Easy — no machine, no tempering eggs
- Cost per serving: ~$1.50
- Calories: ~250 per serving
- Dietary Notes: Naturally gluten-free; adaptable for dairy-free with coconut cream
(Photo above: overhead shot of two scoops of homemade strawberry ice cream in a white ceramic bowl, garnished with fresh halved strawberries and a sprig of mint, morning light streaming in from a window on the left — the ice cream looks dense and creamy with visible flecks of real berry.)
The Trick That Makes This Ice Cream So Creamy (No Machine Needed)
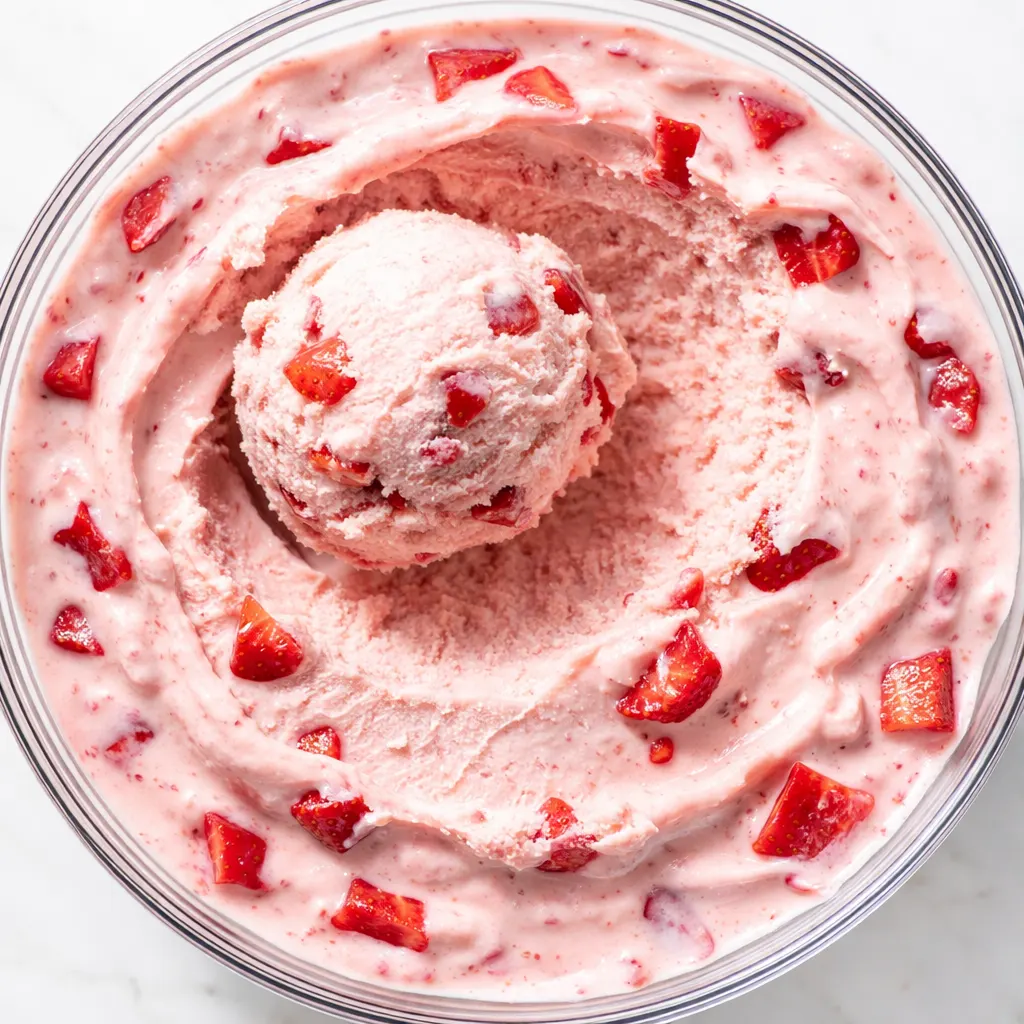
Sweetened condensed milk is the secret. It’s thick, sweet, and full of sugar, which lowers the freezing point of the cream. That means you don’t get giant ice crystals — you get a smooth, scoopable texture straight from the freezer. No stirring every hour, no ice cream maker, no fuss.
The other trick? Macerating the strawberries. Tossing them with a little sugar and lemon juice draws out their natural juices and concentrates the flavor. You end up with tiny, jammy bits of berry that taste like peak summer in every bite.
Skip the maceration and your ice cream will be bland and watery. Do it right, and you’ll wonder why you ever bought the stuff in a carton.
Everything You Need — and a Few Notes From Me
- 2 cups (480 ml) heavy cream: The base that gives you that rich, creamy texture. Don’t use half-and-half or milk here — it won’t whip properly and you’ll end up with ice. Trust me, I tried and regretted it.
- 1 can (14 oz / 397 g) sweetened condensed milk: This is what makes the whole thing work without a machine. Make sure it’s full-fat sweetened condensed milk — not evaporated milk. My kids can tell the difference in about half a second.
- 1½ cups (200 g) fresh strawberries, hulled and chopped, plus a few extra for garnish: Ripe, red, fragrant strawberries are key. If they smell like nothing, your ice cream will taste like nothing. Frozen berries work in a pinch but drain the thawed juice first or you’ll get icy streaks.
- 2 tablespoons granulated sugar: For macerating the berries. This draws out the juice and makes the strawberry flavor pop.
- 1 tablespoon fresh lemon juice: Brightens the berry flavor and helps the maceration. Don’t skip it — you won’t taste lemon, just strawberry that tastes more like itself.
- 1 teaspoon vanilla extract: Rounds out the sweetness. Use real vanilla if you have it; artificial is fine in a pinch.
What to Pull Out Before You Start
- Large mixing bowl (glass or metal — metal chills better if you stick it in the fridge first)
- Hand mixer or a strong whisk and some arm stamina
- Small bowl for macerating berries
- Loaf pan (8.5 x 4.5 inches works great) or a freezer-safe container
- Parchment paper (optional, helps with easy unmolding)
- Spatula for folding
One note: a metal loaf pan freezes faster than a glass dish, which means smaller ice crystals. Just something I learned after enough impatient scoops.
Let’s Make It — Step by Step
This goes fast once you start, so read through once and set yourself up. The hardest part is waiting for it to freeze.
Macerate the berries first: In a small bowl, toss the chopped strawberries with the sugar and lemon juice. Let them sit at room temperature for at least 30 minutes — an hour is better. You’ll see a syrupy red liquid pool at the bottom. That’s pure flavor. Set aside.
- Whip the cream to stiff peaks: Pour the cold heavy cream into your large bowl. Beat with a hand mixer on medium-high until you see firm peaks that hold their shape when you lift the beaters. Be careful not to go too far — if it starts looking grainy, you’ve made butter. (📸 Photo tip: You’re looking for peaks that stand up straight, not flop over. Hold the beater up — if the cream holds a point, you’re good.)
- Whisk the condensed milk and vanilla together: In another bowl, stir the sweetened condensed milk and vanilla until smooth. It’s thick — just mix until combined.
- Fold the condensed milk into the whipped cream: Add about a third of the condensed milk mixture to the whipped cream and gently fold with a spatula until streaks disappear. Add the rest in two more additions, folding each time until no streaks remain. Don’t stir aggressively — you’ll deflate the cream. (📸 Photo tip: You want a uniform, airy mixture that looks like a thick mousse. If it starts looking runny, you folded too much.)
- Add the macerated strawberries with their syrup: Pour the berries and all their red syrup into the cream mixture. Fold gently just three or four times — you want ribbons of red and chunks of berry throughout, not a fully pink batter. Overmixing will break up the fruit too much.
- Pour into your pan and smooth the top: Line a loaf pan with parchment paper (easier to lift out later) or just use a freezer-safe container. Scrape the mixture in and spread it even. Press a piece of plastic wrap directly onto the surface to prevent ice crystals from forming.
- Freeze for at least 6 hours, overnight is better: Place the pan on a flat shelf in your freezer. Don’t open the door for the first 4 hours — let it set. After that, if you want an even creamier texture, you can stir it once with a fork at the 2-hour mark to break up any ice crystals, but I’ve found it’s not strictly necessary with this recipe.
- Scoop and serve: When you’re ready, let the ice cream sit at room temperature for 5–10 minutes before scooping. It’ll soften just enough to make a perfect ball. Garnish with a fresh strawberry and a mint leaf if you’re feeling fancy.
How I Prepped These for a Week of Summer Evenings
I make a double batch every Sunday during strawberry season. One goes into a loaf pan for family scoops, and I pour the other into a silicone muffin pan to make individual portions. Each one is perfectly sized for a single cone or bowl — the kids can grab one after dinner without me having to deal with a whole pint softening on the counter.
- Fridge: Not applicable — this is a freezer recipe through and through.
- Freezer: Yes, up to 1 month. Wrap the pan tightly in plastic wrap and then foil to prevent freezer burn.
- Reheat: No reheating needed. To soften a frozen-solid pint, microwave the container on low power for 10–15 seconds — just enough to make scooping easy. Or leave it on the counter for 10 minutes.
Things I Wish I’d Known the First Time
- Stiff peaks, but not butter: Under-whipped cream gives you a soupy mixture that freezes icy. Over-whipped cream starts to separate. Stop the moment the cream holds a sharp peak. If you see yellow flecks, you’ve gone too far — start over with fresh cream.
- Let the berries macerate fully: Thirty minutes is the minimum. An hour is better. If you rush it, the strawberry pieces will freeze into hard, icy chunks instead of soft, jammy bits. Trust me, I’ve done it — the texture is weird.
- Use a metal pan for faster freezing: Metal conducts cold way better than glass or plastic. My loaf pan freezes in about 5 hours; a glass dish can take 7. If you’re impatient like me, go metal.
- Stir once after 2 hours if you’re paranoid about ice crystals: I don’t always bother, but if you want that extra-smooth texture, open the freezer after 2 hours and give the mixture a quick stir with a fork. It breaks up any early ice crystals and incorporates more air. Your call — both versions work fine.
- Even if you forget to let it soften before scooping, it’s still good: Hard ice cream is still ice cream. Run your scoop under hot water first and you’ll get a perfect curl. I’ve done this a dozen times and never had a complaint.
Swaps That Actually Work (For Every Kind of Eater)
- Dairy-free version: Use a can of full-fat coconut cream (chilled overnight, then only the solid part) instead of heavy cream. Use sweetened condensed coconut milk (it’s sold in cans now). The texture is slightly less rich but still creamy. My dairy-free friend swears by it.
- Kid-friendly twist: Add ½ cup crushed vanilla wafers or shortbread cookies along with the strawberries. My kids call it “strawberry shortcake ice cream” and it disappears fast.
- Fancy guest version: Swirl in a couple tablespoons of balsamic glaze right before freezing. The tangy-sweet contrast is incredible. I do this when adults come over and they always ask for the recipe.
- Vegan version: Same as dairy-free but use a vegan condensed milk. I haven’t tried it myself, but readers tell me it works with the coconut-based one.
- Low-sugar option: Use unsweetened condensed milk (available at some stores) and skip the sugar in the maceration. The texture won’t be quite as creamy, but it’s still good. My mom uses this version for her blood sugar.
Questions I Get About This Recipe All the Time
Q: Why did my ice cream turn out icy and hard as a rock?
A: Ugh, I’ve been there. Most likely, you either used a lower-fat cream (stick with heavy cream) or over-folded the berries, which broke them down into watery bits. Next time, make sure your cream is very cold and whip it until it holds stiff peaks. Also, don’t skip the plastic wrap pressed onto the surface — that prevents ice crystals. You’ve got this next time.
Q: Can I use frozen strawberries instead of fresh?
A: Yes, but thaw them first in a colander over a bowl and save the juice for another use (it’s great in cocktails). Then chop the thawed berries and macerate them as directed. The flavor won’t be quite as bright as fresh, but it’s a solid substitute when strawberries aren’t in season.
Q: How long does this ice cream last in the freezer?
A: Up to one month if you wrap it well. After that, the texture starts to get a bit icy and the flavor fades. I’ve never had a batch last that long in my house — it’s usually gone within a week. To keep it fresh, press plastic wrap directly onto the surface and seal the container tightly.
Q: What do you serve with this strawberry ice cream?
A: Three of my favorite pairings: warm chocolate brownies (the cold ice cream against fudgy brownie is heaven), a slice of pound cake, or — my kids’ favorite — simply in a waffle cone with extra fresh strawberries on top. For a grown-up twist, drizzle with a little aged balsamic vinegar and flaky sea salt.
More Recipes My Family Makes on Repeat
If you liked this one, here are a few others that get the same reaction at our table:
- Old-Fashioned Peach Cobbler — The one with the buttery biscuit topping that my husband claims is better than his grandmother’s.
- Chocolate No-Churn Ice Cream — For the days when only deep, dark chocolate will do. Same method, different flavor.
- Strawberry Rhubarb Crisp — When you have a pint of strawberries and a stalk of rhubarb from the farmer’s market.
That first scoop of yours — the one you’ll take from the pan after those long six hours — is going to taste like the best kind of patience. Serve it on a hot afternoon when the cicadas are singing and you’ve got nowhere to be. That’s the moment this ice cream was made for.
If you try it, drop a comment below — I love hearing how it goes for you. Or tag me on Pinterest so I can see your beautiful scoop.
📌 This no-churn strawberry ice cream recipe needs just 4 ingredients and 20 minutes of hands-on time — save it for your next hot afternoon when only something cold and creamy will do.
Homemade Strawberry Ice Cream That’s Creamier Than Store-Bought — Without an Ice Cream Maker
Equipment
- Large Mixing Bowl
- Hand Mixer
- Small bowl
- Loaf Pan (8.5×4.5 inches)
- Parchment Paper
- Spatula
Ingredients
- 2 cups heavy cream
- 1 can (14 oz) sweetened condensed milk
- 1½ cups fresh strawberries, hulled and chopped
- 2 tablespoons granulated sugar
- 1 tablespoon fresh lemon juice
- 1 teaspoon vanilla extract
Instructions
- Macerate the berries: In a small bowl, toss the chopped strawberries with the sugar and lemon juice. Let them sit at room temperature for at least 30 minutes — an hour is better. You’ll see a syrupy red liquid pool at the bottom. Set aside.
- Whip the cream to stiff peaks: Pour the cold heavy cream into your large bowl. Beat with a hand mixer on medium-high until you see firm peaks that hold their shape when you lift the beaters. Be careful not to go too far — if it starts looking grainy, you’ve made butter.
- Whisk the condensed milk and vanilla together: In another bowl, stir the sweetened condensed milk and vanilla until smooth.
- Fold the condensed milk into the whipped cream: Add about a third of the condensed milk mixture to the whipped cream and gently fold with a spatula until streaks disappear. Add the rest in two more additions, folding each time until no streaks remain. Don’t stir aggressively — you’ll deflate the cream.
- Add the macerated strawberries with their syrup: Pour the berries and all their red syrup into the cream mixture. Fold gently just three or four times — you want ribbons of red and chunks of berry throughout, not a fully pink batter.
- Pour into your pan and smooth the top: Line a loaf pan with parchment paper (easier to lift out later) or just use a freezer-safe container. Scrape the mixture in and spread it even. Press a piece of plastic wrap directly onto the surface to prevent ice crystals from forming.
- Freeze for at least 6 hours, overnight is better: Place the pan on a flat shelf in your freezer. Don’t open the door for the first 4 hours — let it set. After that, if you want an even creamier texture, you can stir it once with a fork at the 2-hour mark to break up any ice crystals, but I’ve found it’s not strictly necessary with this recipe.
- Scoop and serve: When you’re ready, let the ice cream sit at room temperature for 5–10 minutes before scooping. It’ll soften just enough to make a perfect ball. Garnish with a fresh strawberry and a mint leaf if you’re feeling fancy.
Notes
Related posts:
 The Slow Cooker Cowboy Casserole That Saves Tired Weeknights (No Soggy Tots Allowed)
 Lemon Garlic Butter Baked Salmon in Foil That’s Ready in 25 Minutes — No Fuss, No Mess
 Moist Chocolate Zucchini Bread That Doesn’t Turn Out Rubbery — Finally
 Creamy Homemade Strawberry Dole Whip (That Tastes Just Like the Real Thing)
 Blueberry Peach Bread That Doesn’t Sink or Turn Mushy — Finally
 Quinoa Chicken Sausage Bowls That Are Ready in 30 Minutes (And Actually Keep Well)